
I have a pair of custom OMF front wheels all billet black with hard to find stu real smoothie 15 inch front tires these tires came of GREG BIFFLE z1 car this set cost $1,700 new and are in perfect condition text for pics $600 Bo 209-735-8256
All posts by dstech
Rear winshield not shielding wind??
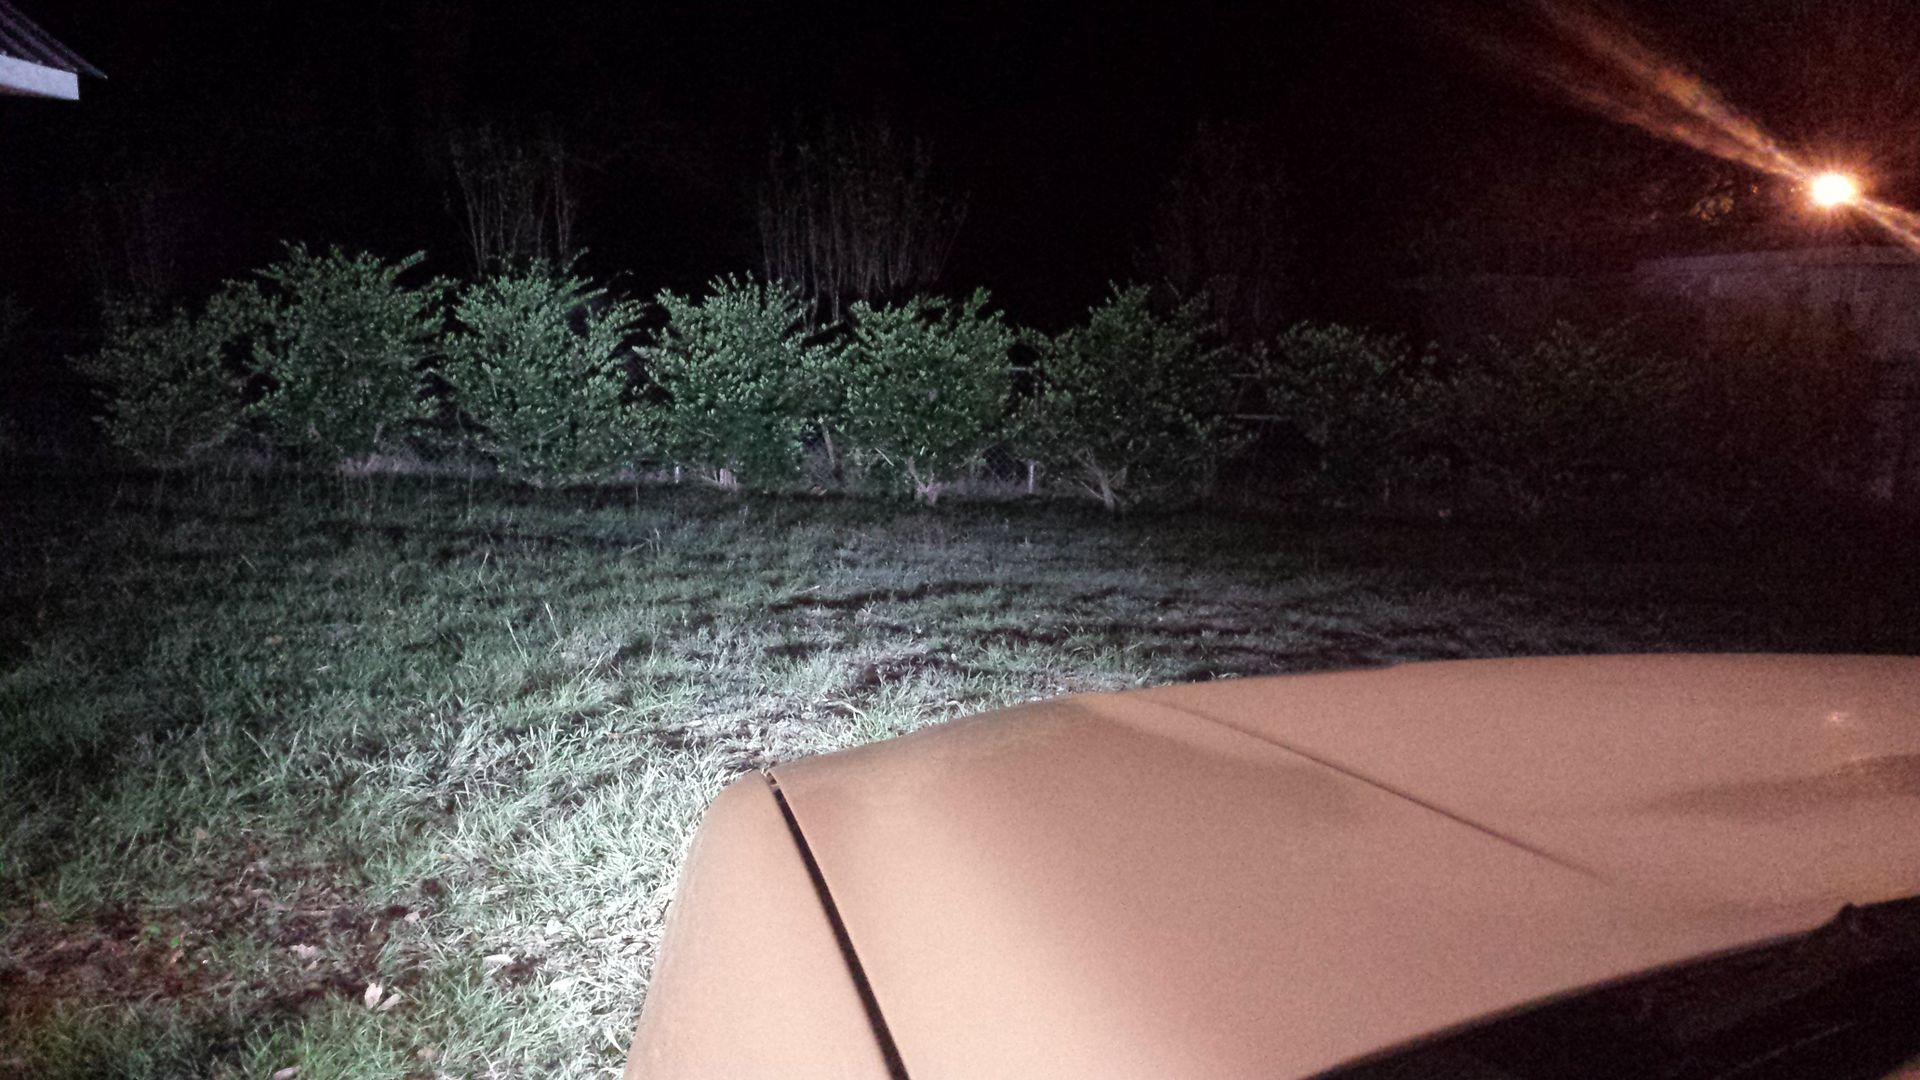
So it is getting cold in Michigan, and I wanted to stop the wind coming over the top, down the back and down my neck. (As seen in the picture, 2 seater with a stock cage, polaris glass front windshield, and polaris lower doors, trial armor top).
After looking at all the rear windshields on the market I thought the most expensive one, looked the best to me……. So I made a cardboard insert to see what it was going to be like, before I dropped the $$$
We took a 45mph test drive, and it seems the rear window is collecting air into the cabin….. while the air flow is different, it only that….. different. I really don’t think it has diminished the amount of air in the cab.
Any thoughts?? I know there are many contributing factors….. maybe wind deflectors up on the "A" pillar so that not as much air is caught by the rear window??
I am not giving up… I just think if I hadn’t done this little test, I would have been disappointed with the purchase of a rear window (especially one of the most expensive ones available):sad:
Your input would be greatly appreciated.
Keith
brakes dont feel right
just did a brake job did front and back pads .. the fronts feel good and the bakes feel soft … there is no brake fluid leaks just back brakes feel weaker then they were before I put new pads on … any ideas ?
Denali LED Lightbar Installation
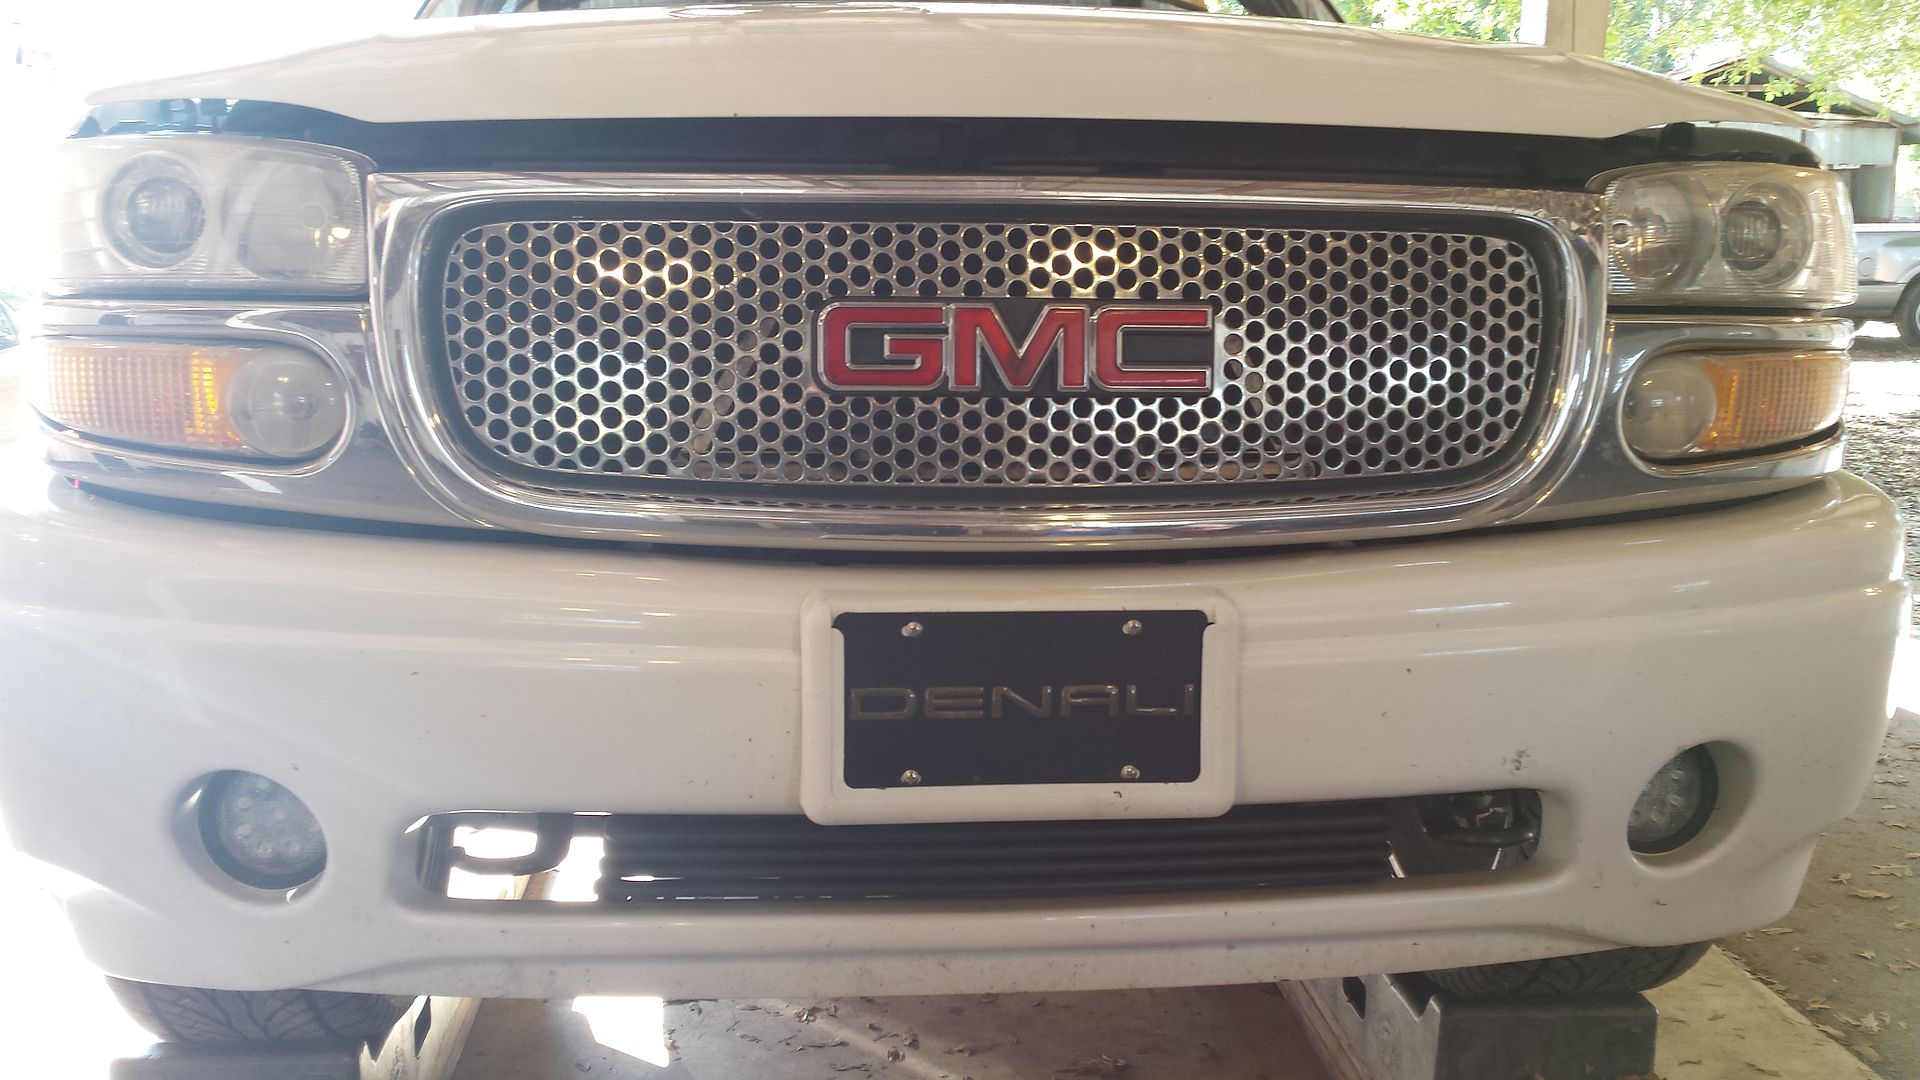
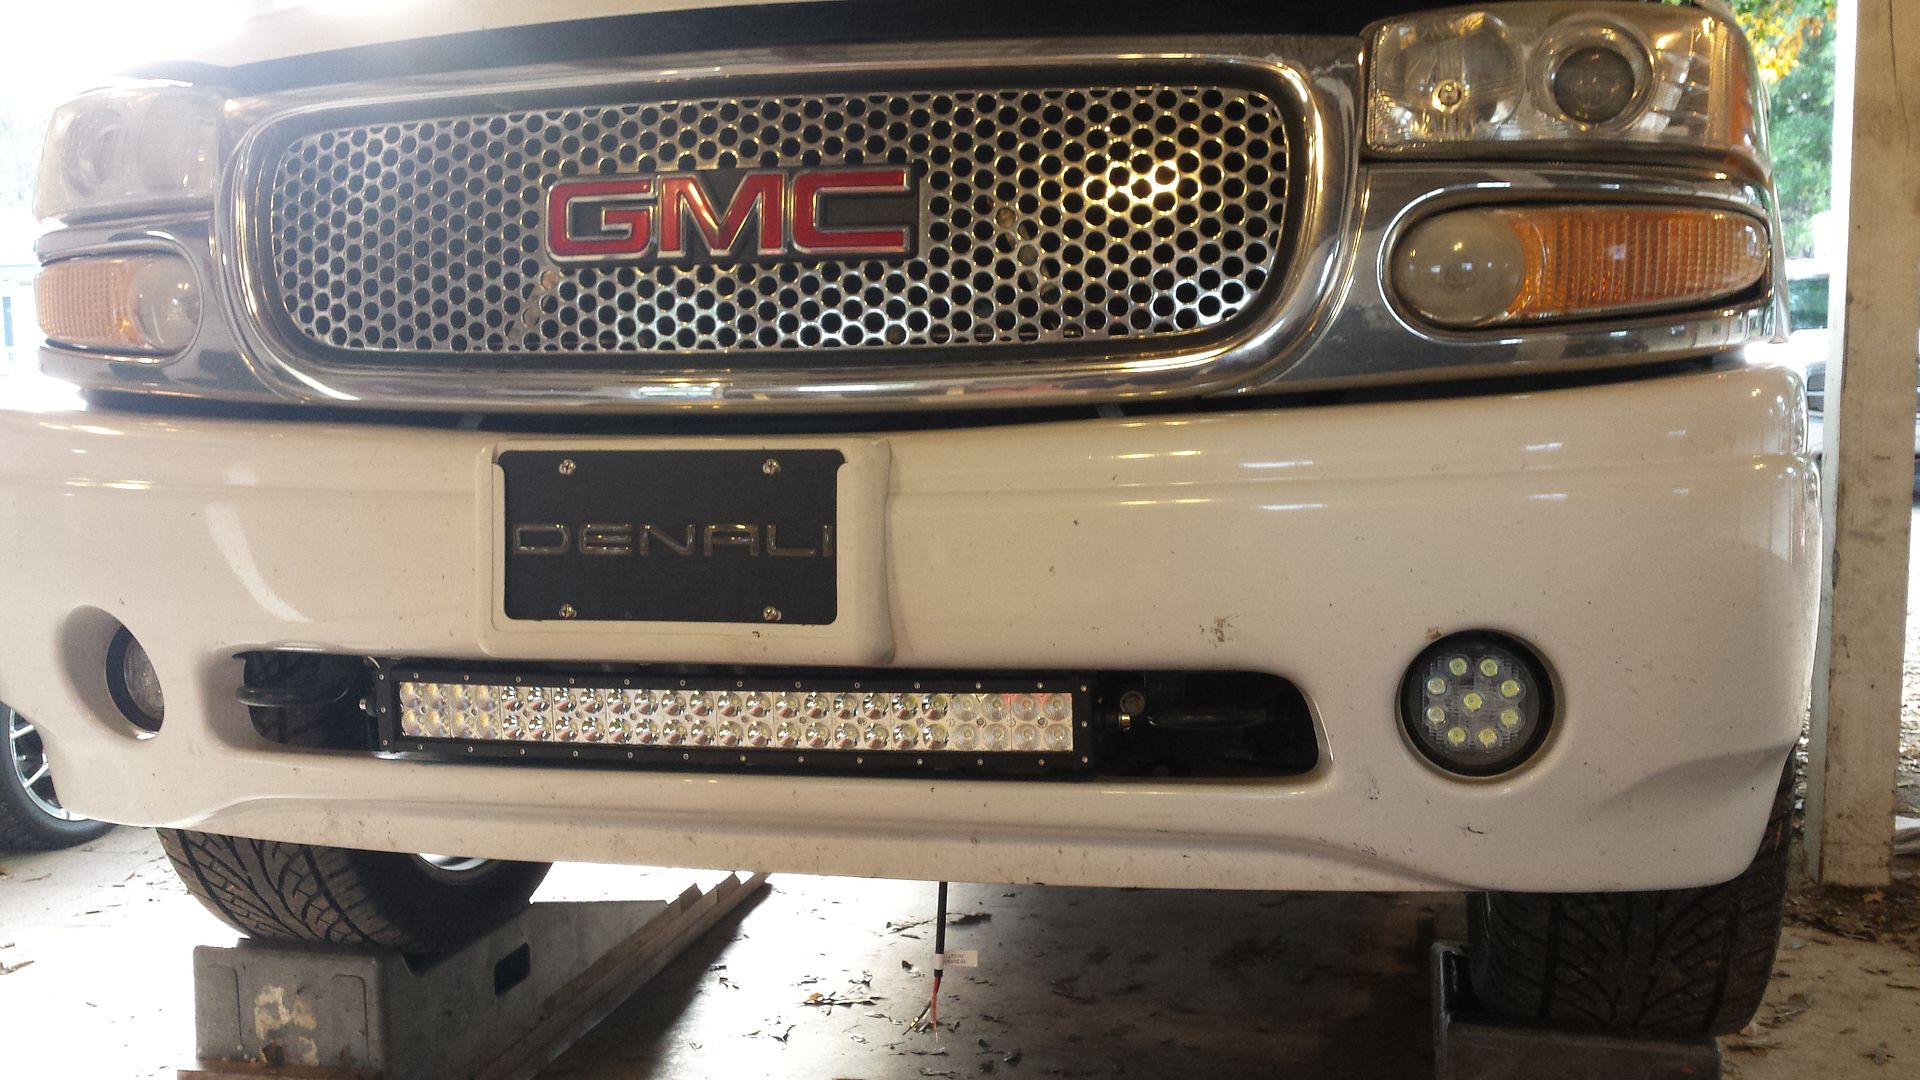
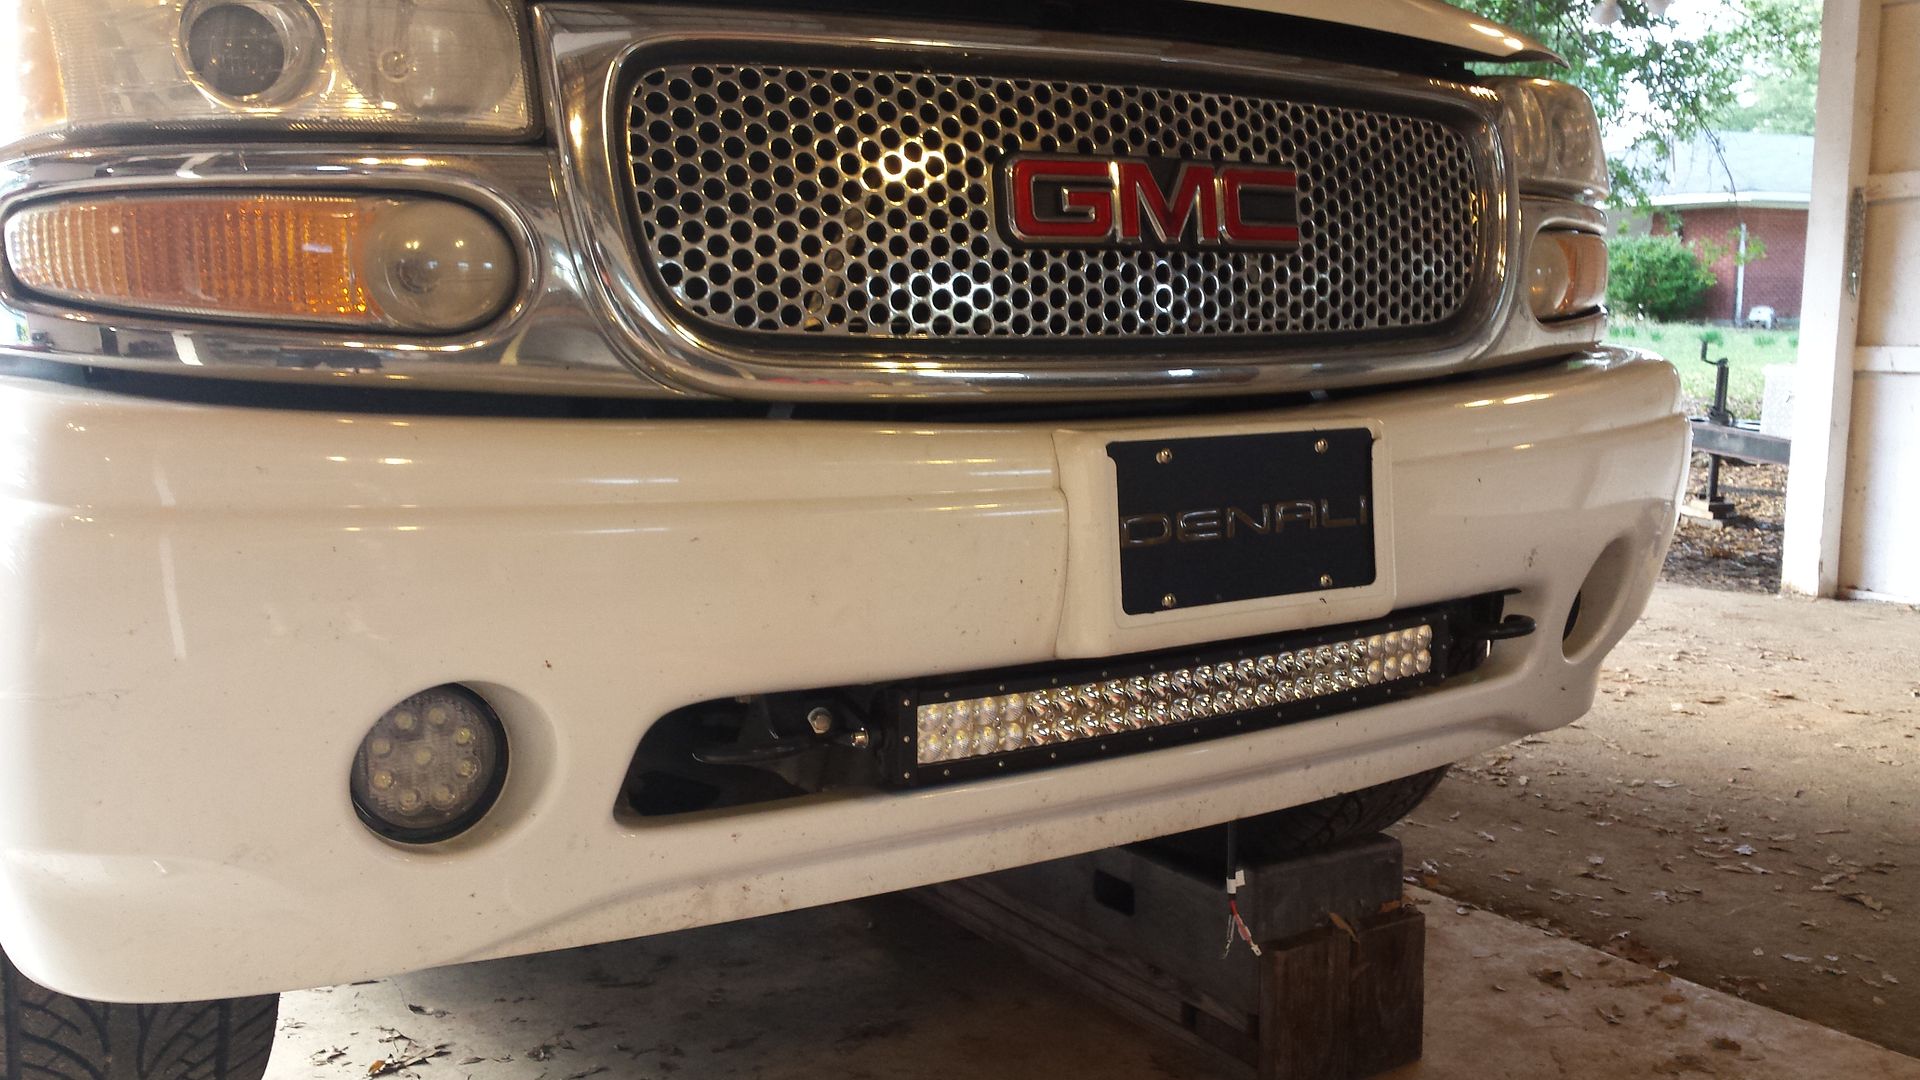
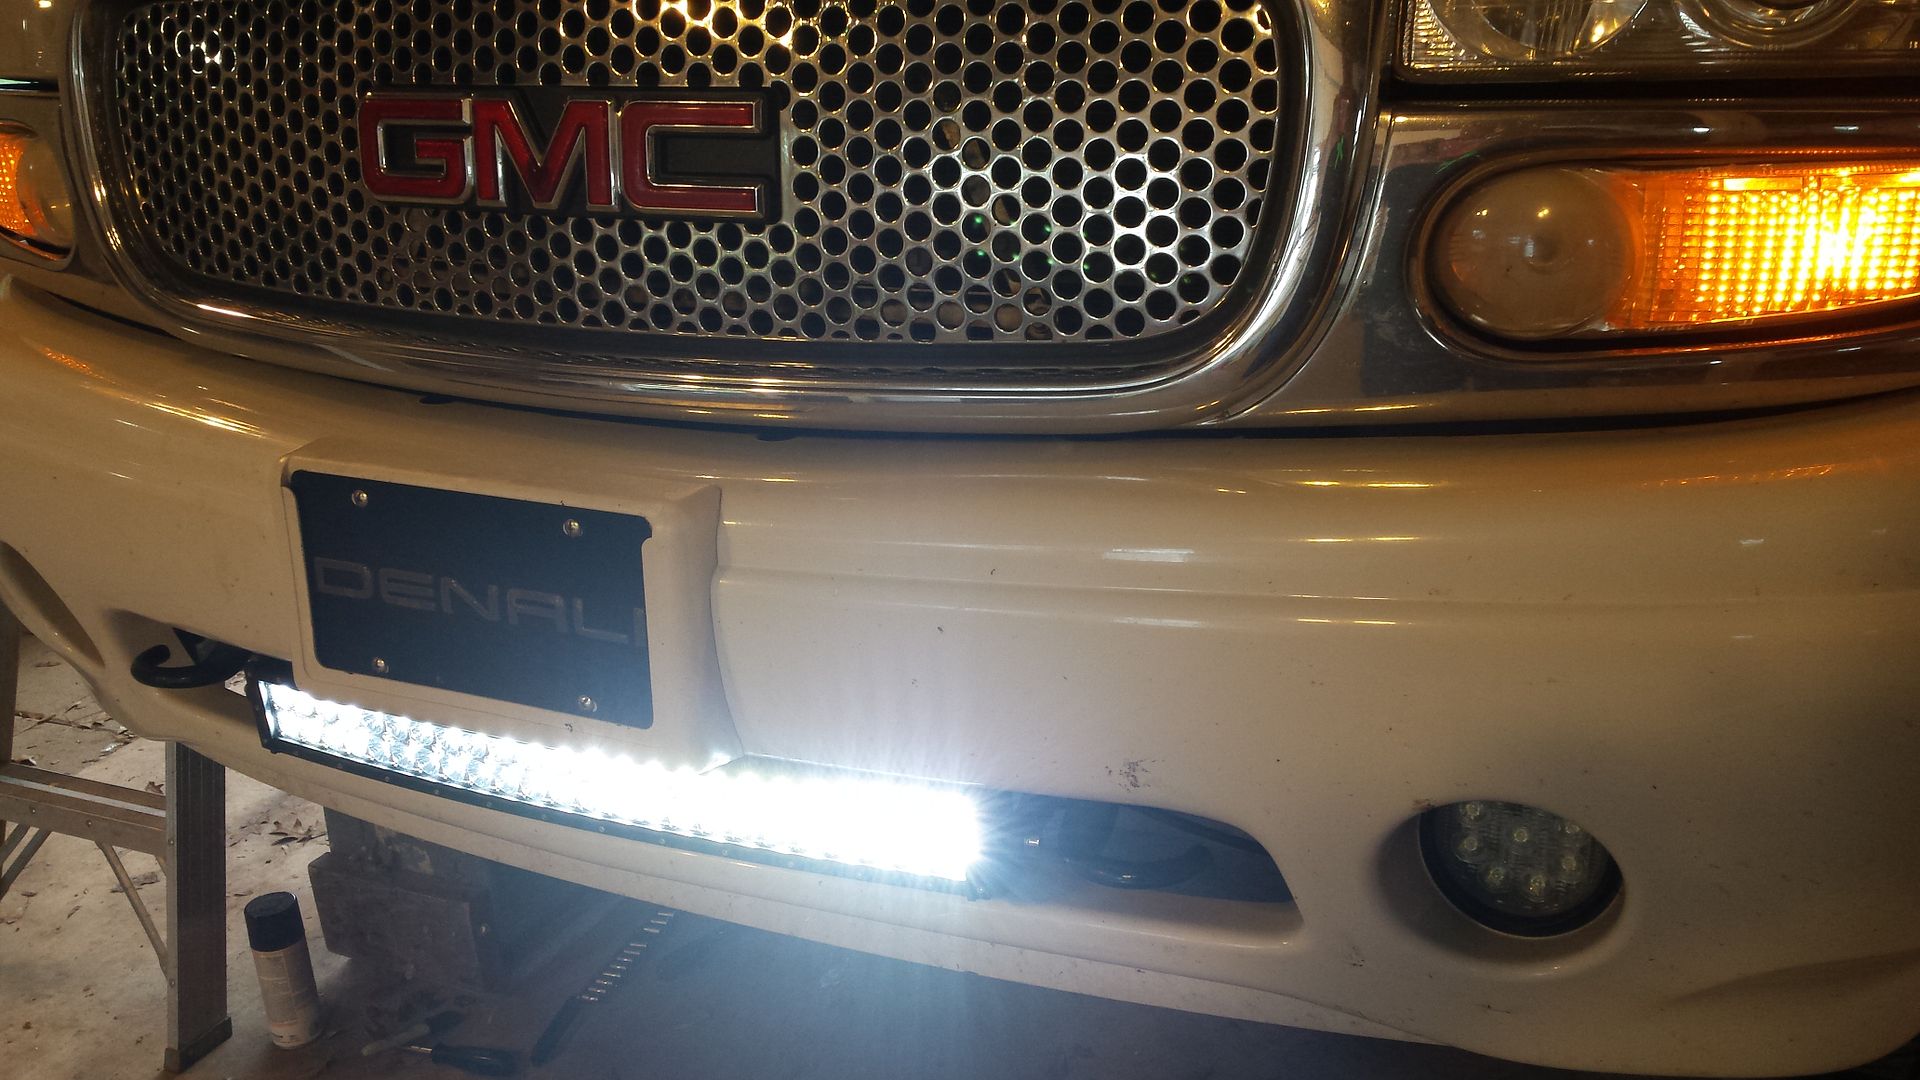
I have some custom mounted LED fogs which I have another thread on (you can see them in the pictures). I like them so much i decided to add a lightbar but I didnt want it to be very noticeable. I selected the location of the lower grill and decided to do a non-welded installation so anyone at home with simple hand tools could copy.
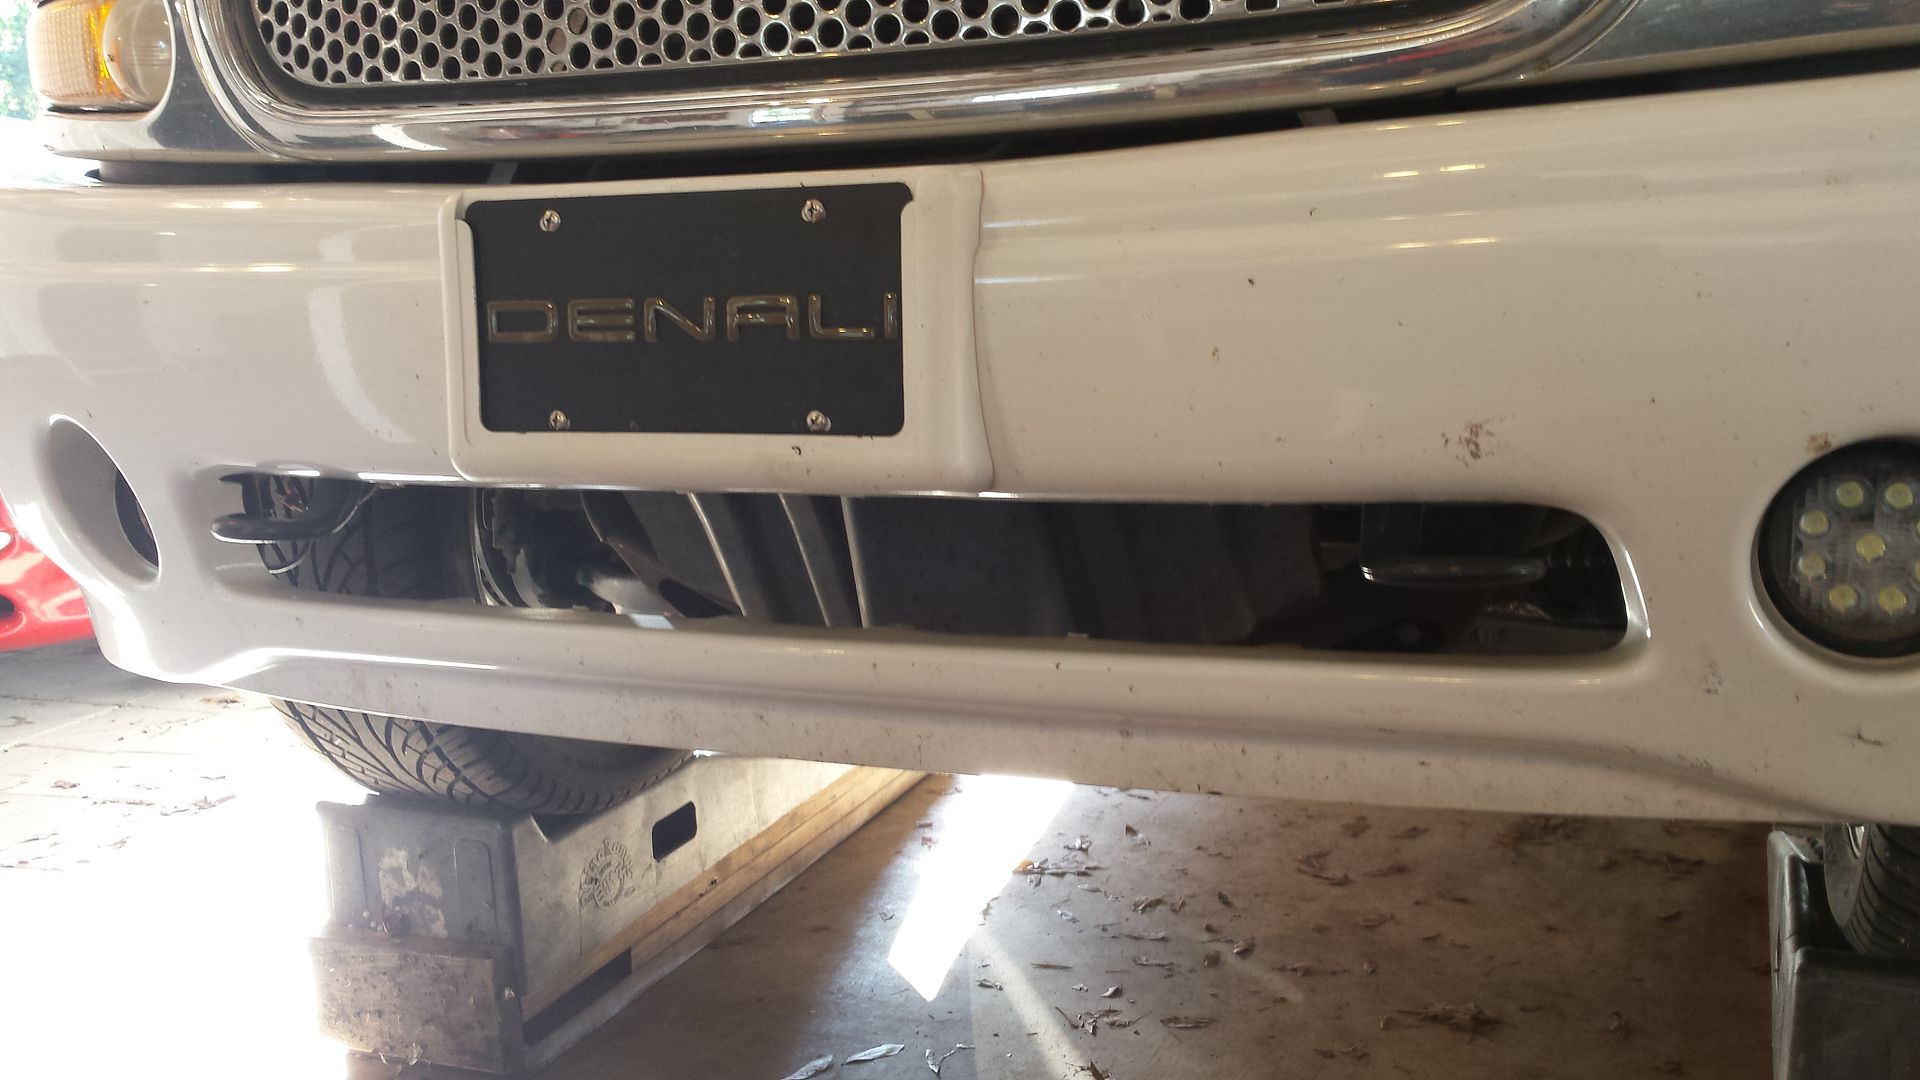
Here’s the grill area in question, the lower plastic piece between the tow hooks.

Youll want to slide under the truck and remove the pushpins that hold it in.

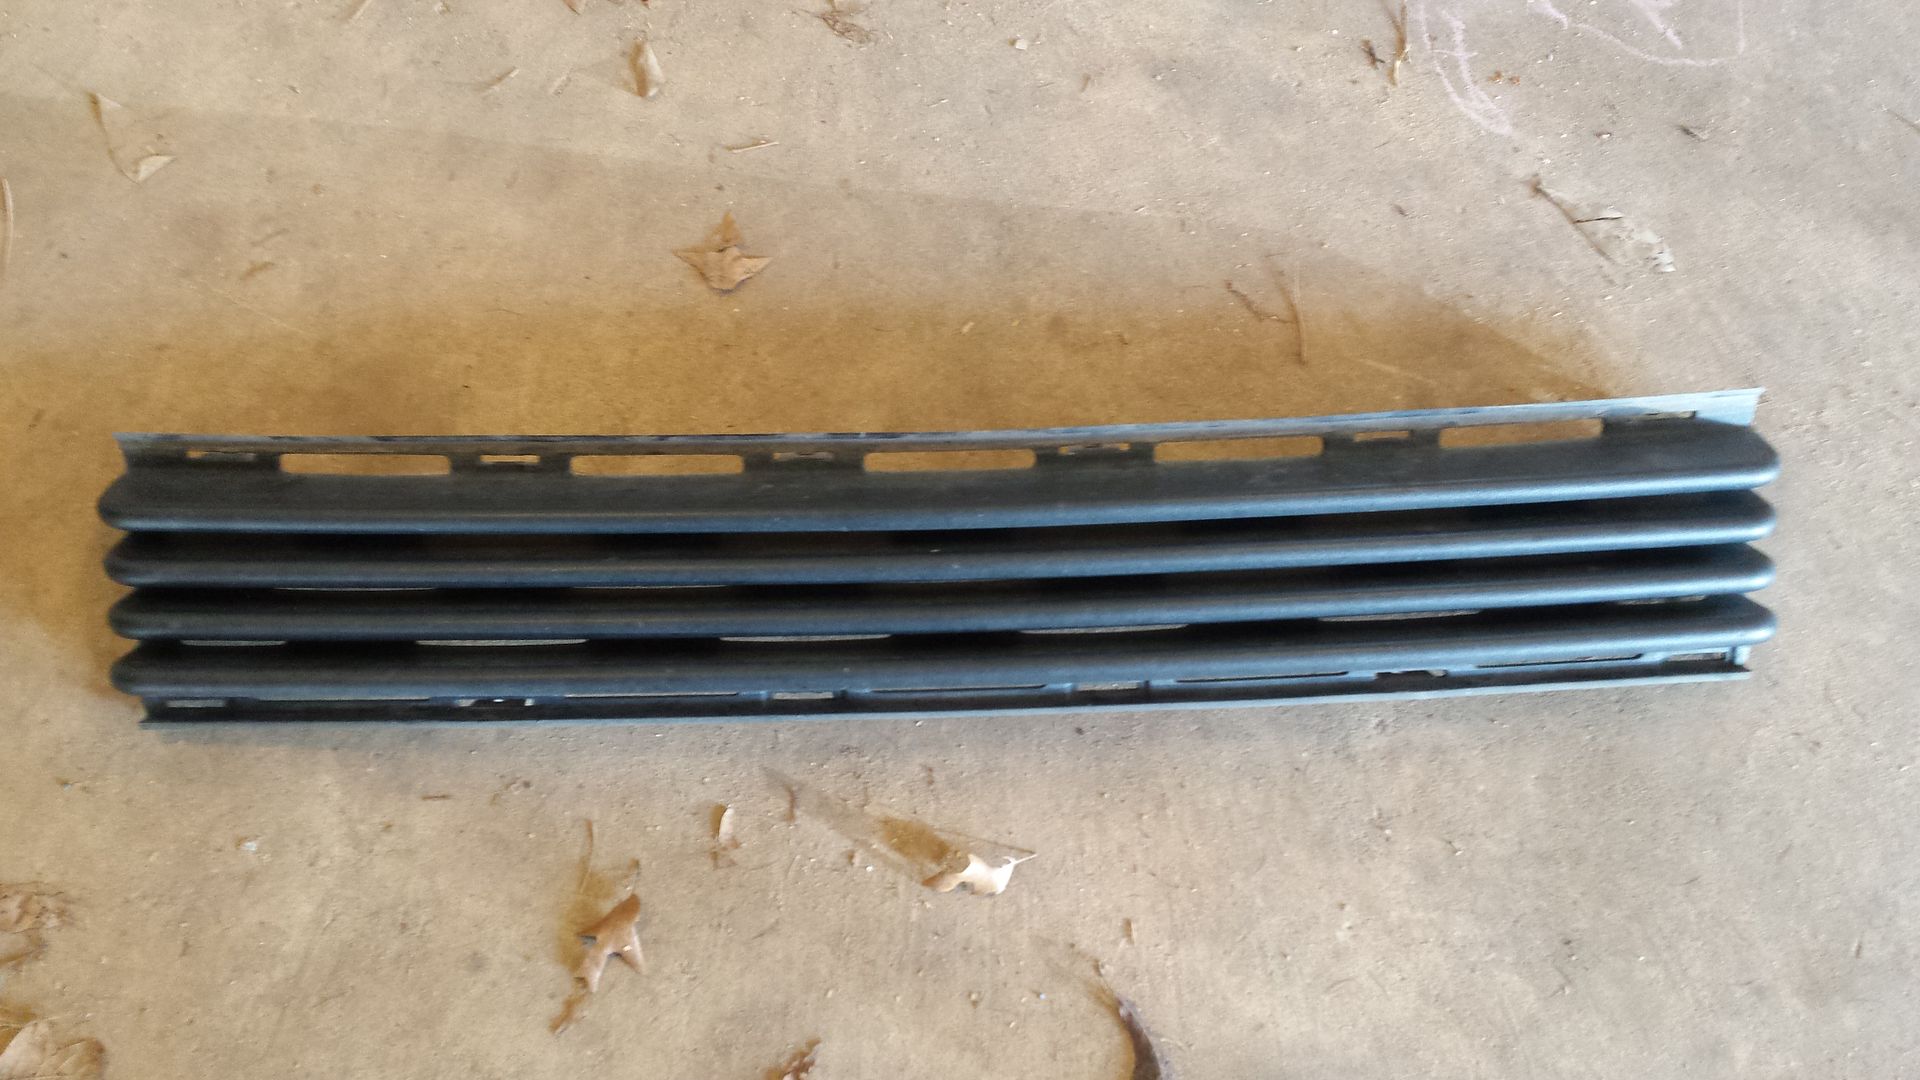
Here it is on the ground

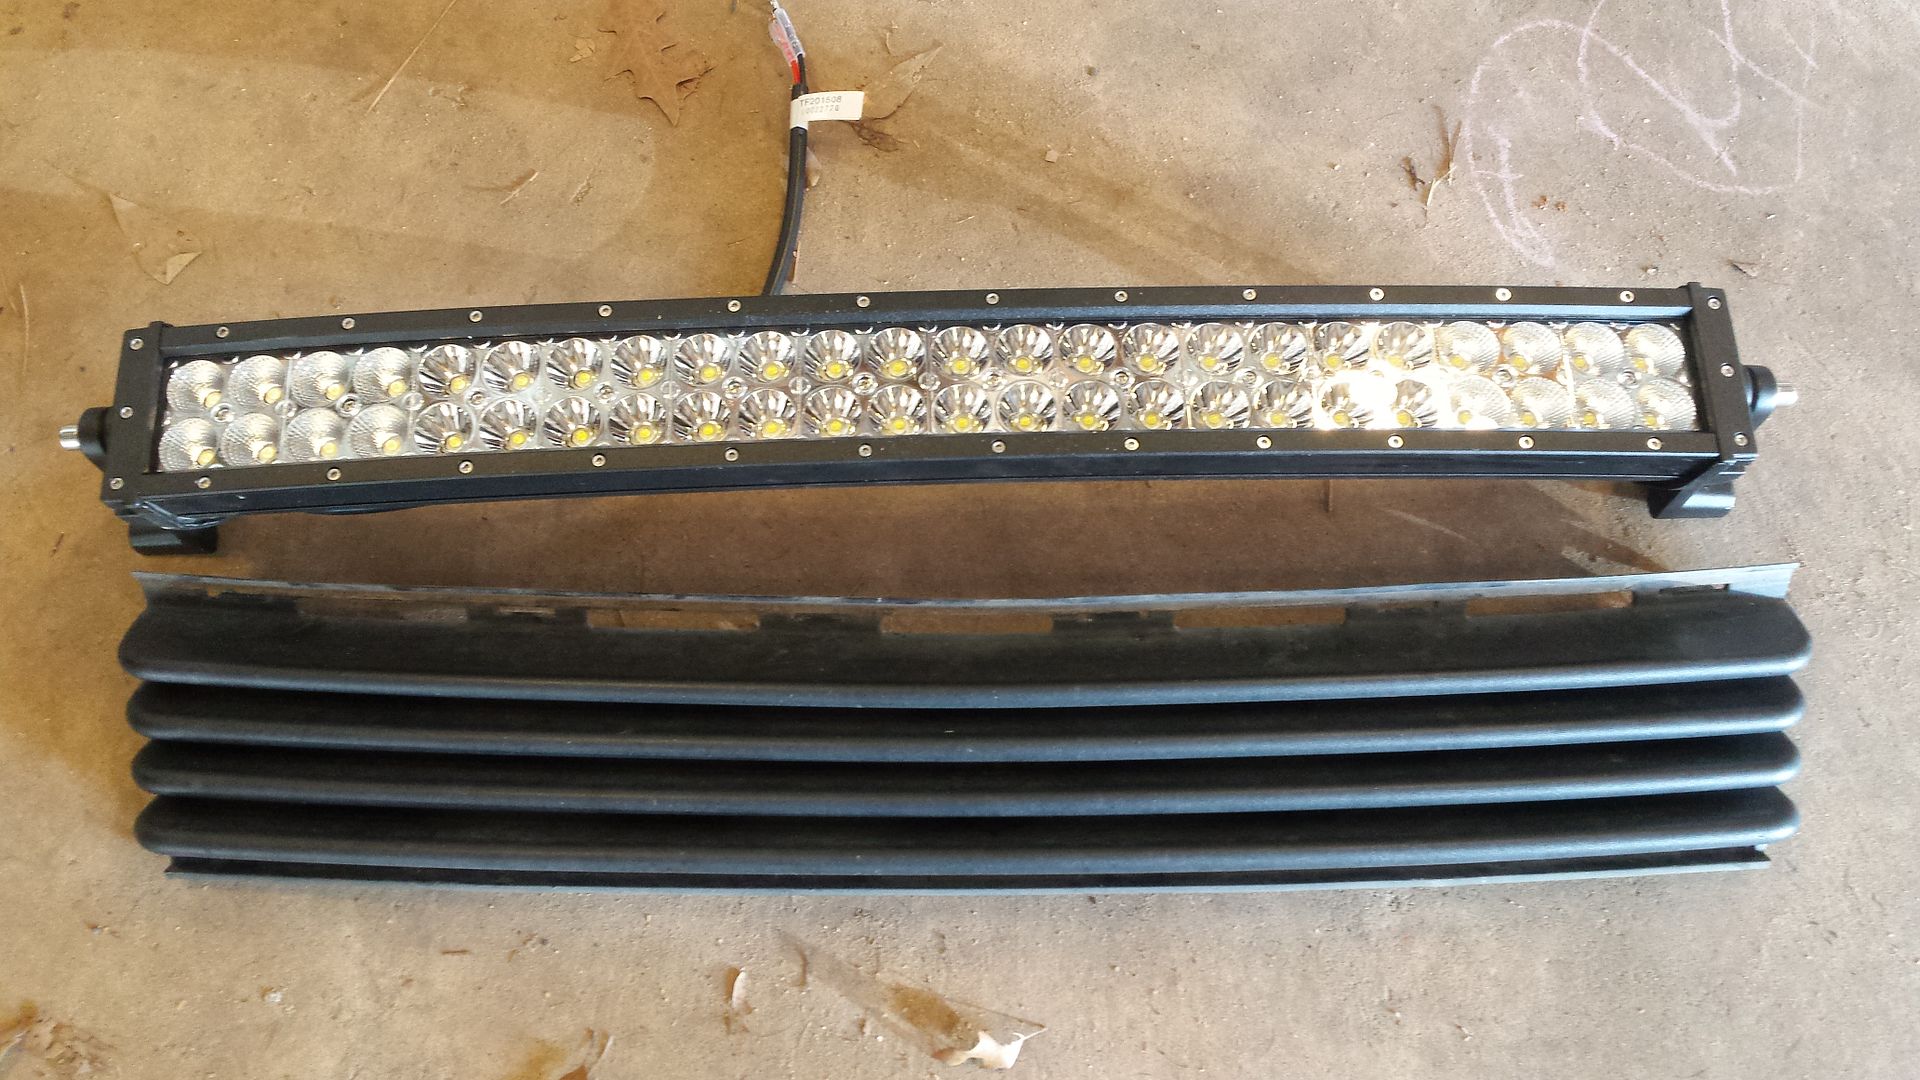
Here is what we are gonna replace it with, a 26" curved bar. Notice they are almost identical in size.

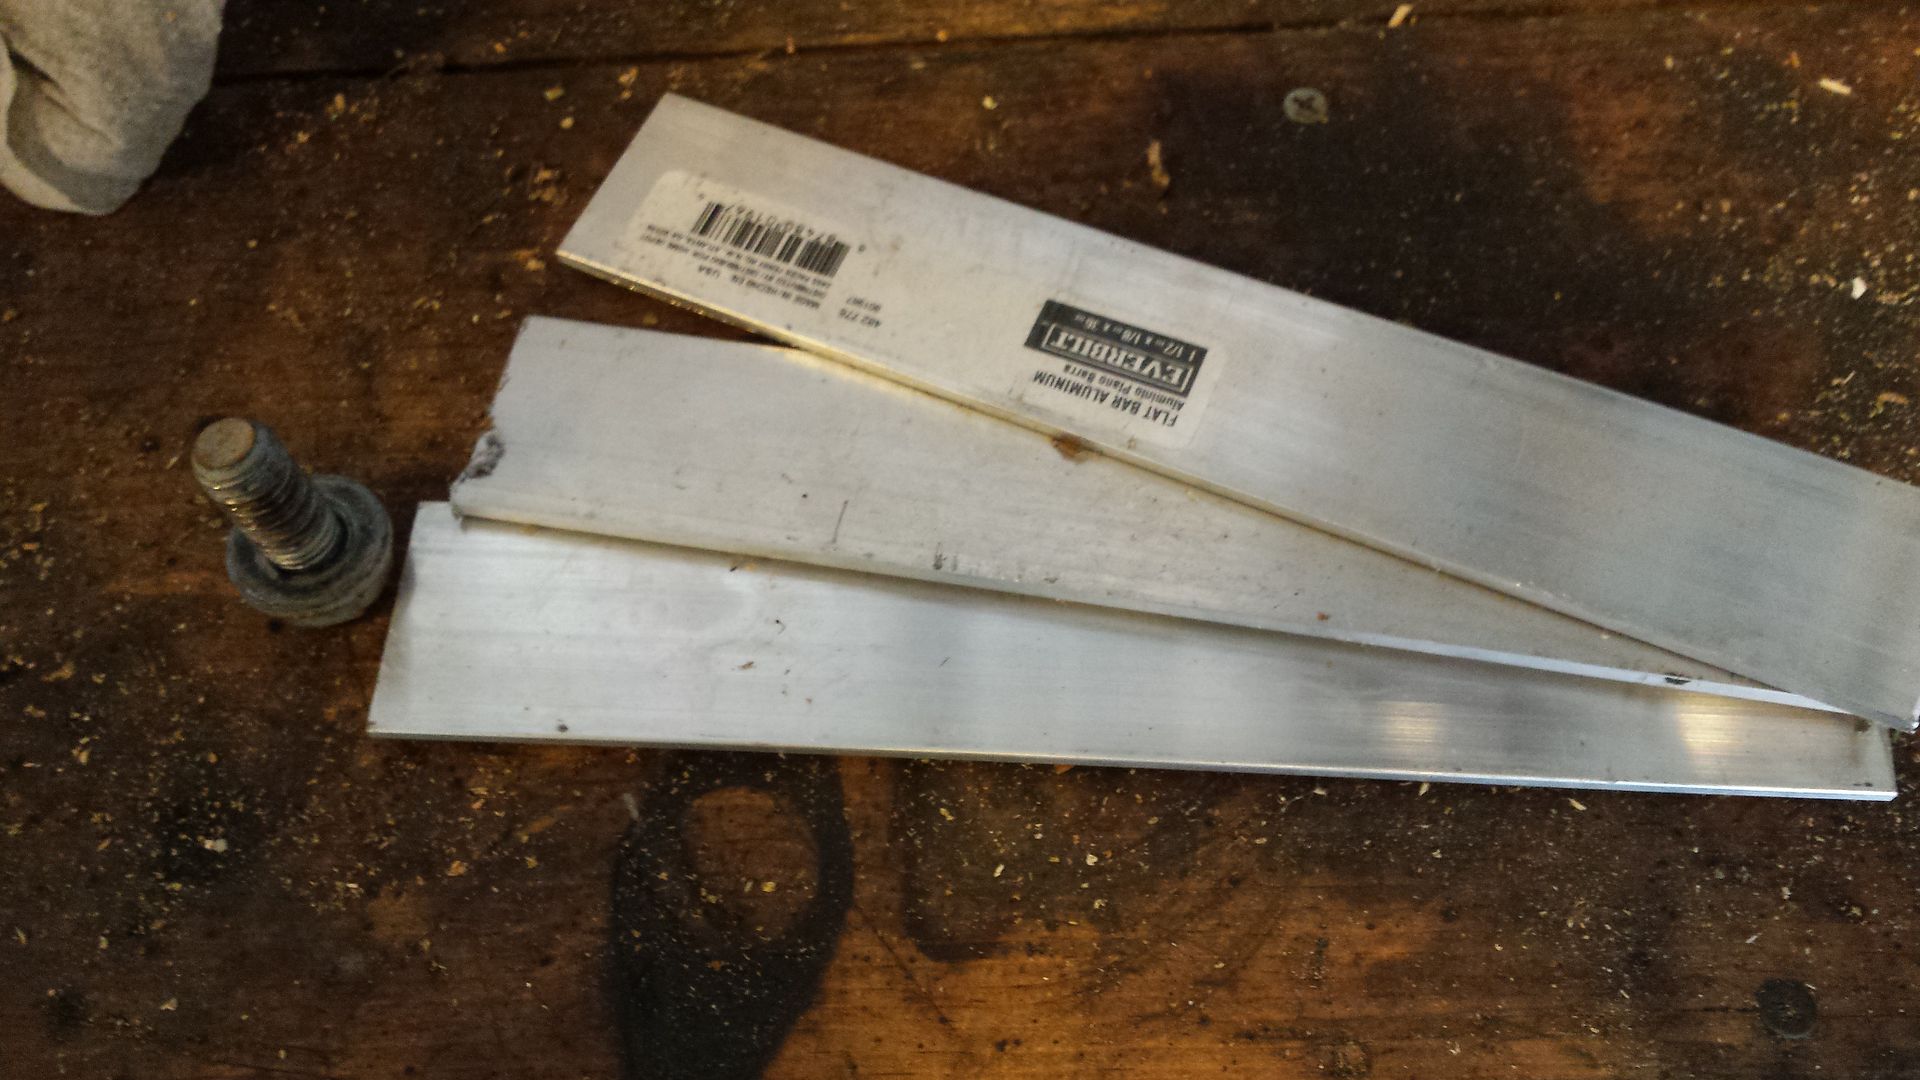
To install you will need some flat bar. I chose aluminum but steel would be ok also. You can buy this from Home depot for about $10 per piece. We will only need two small pieces.

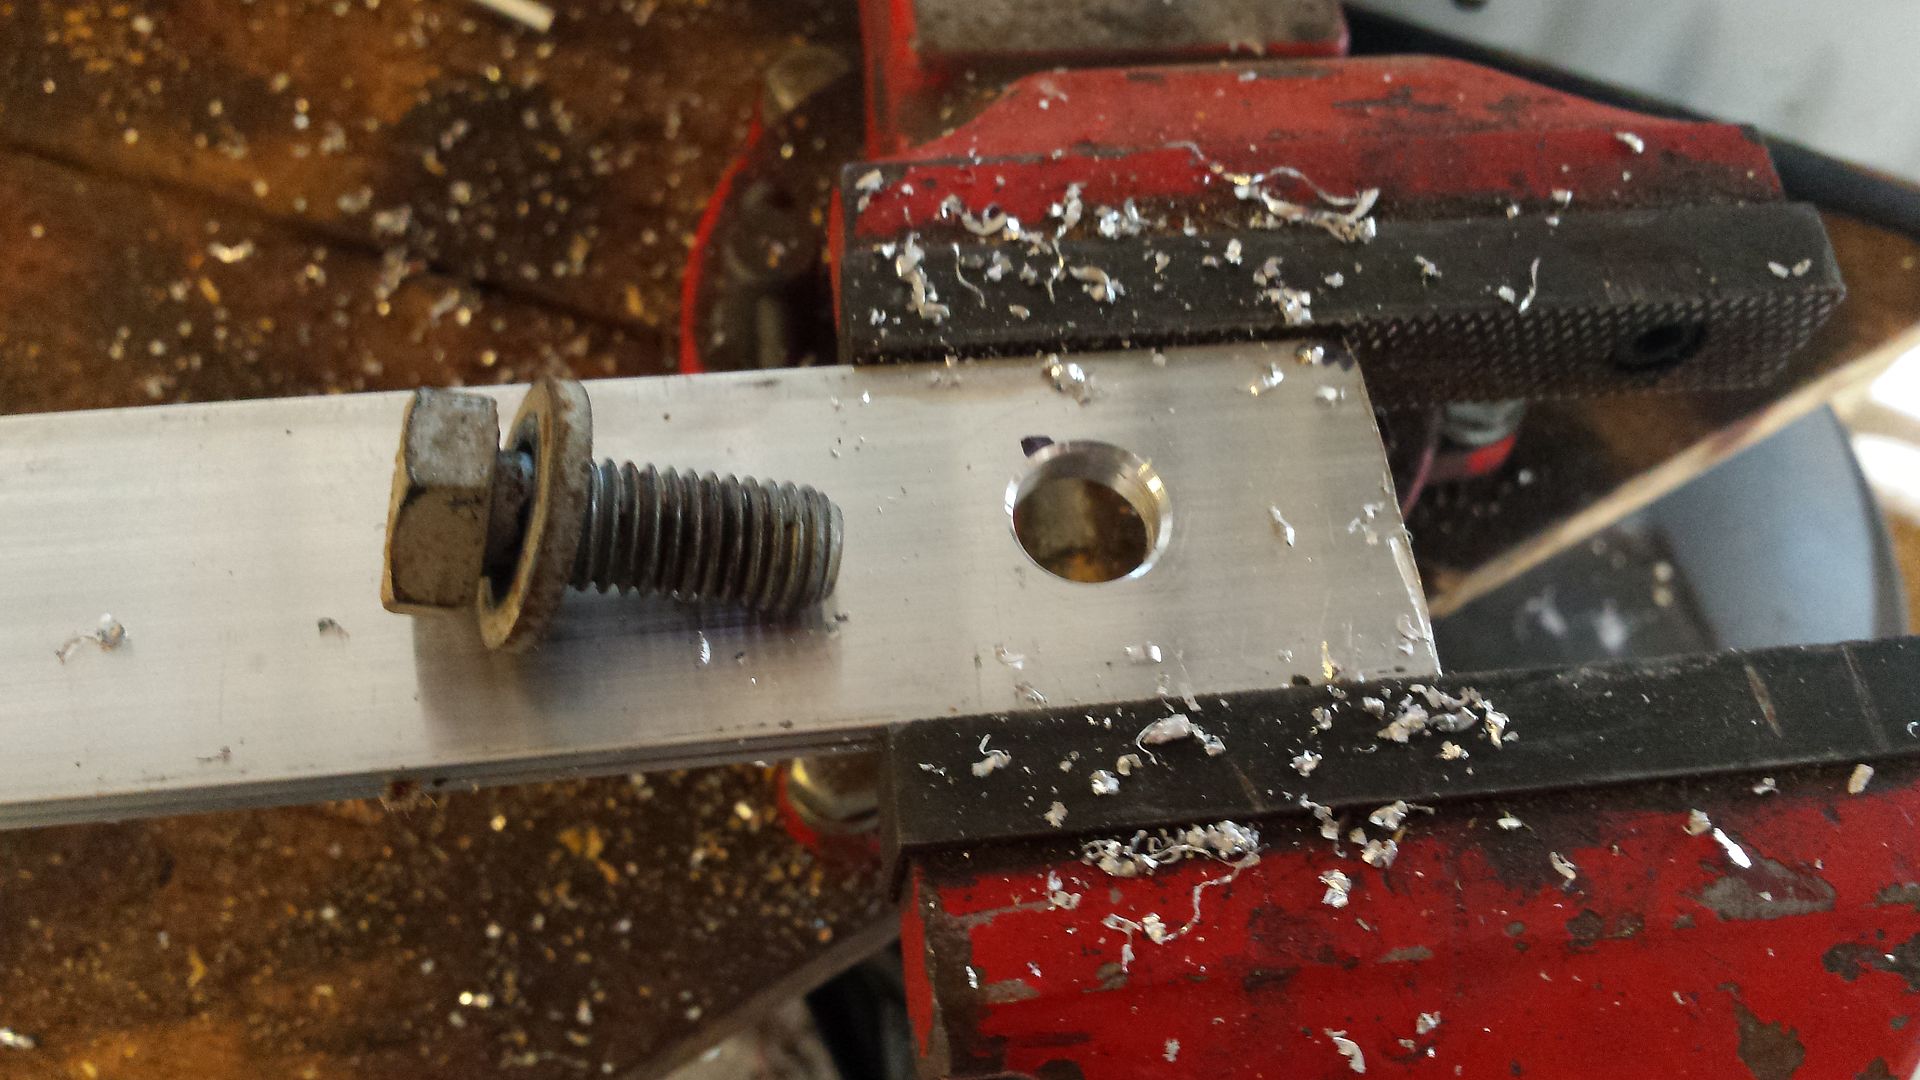
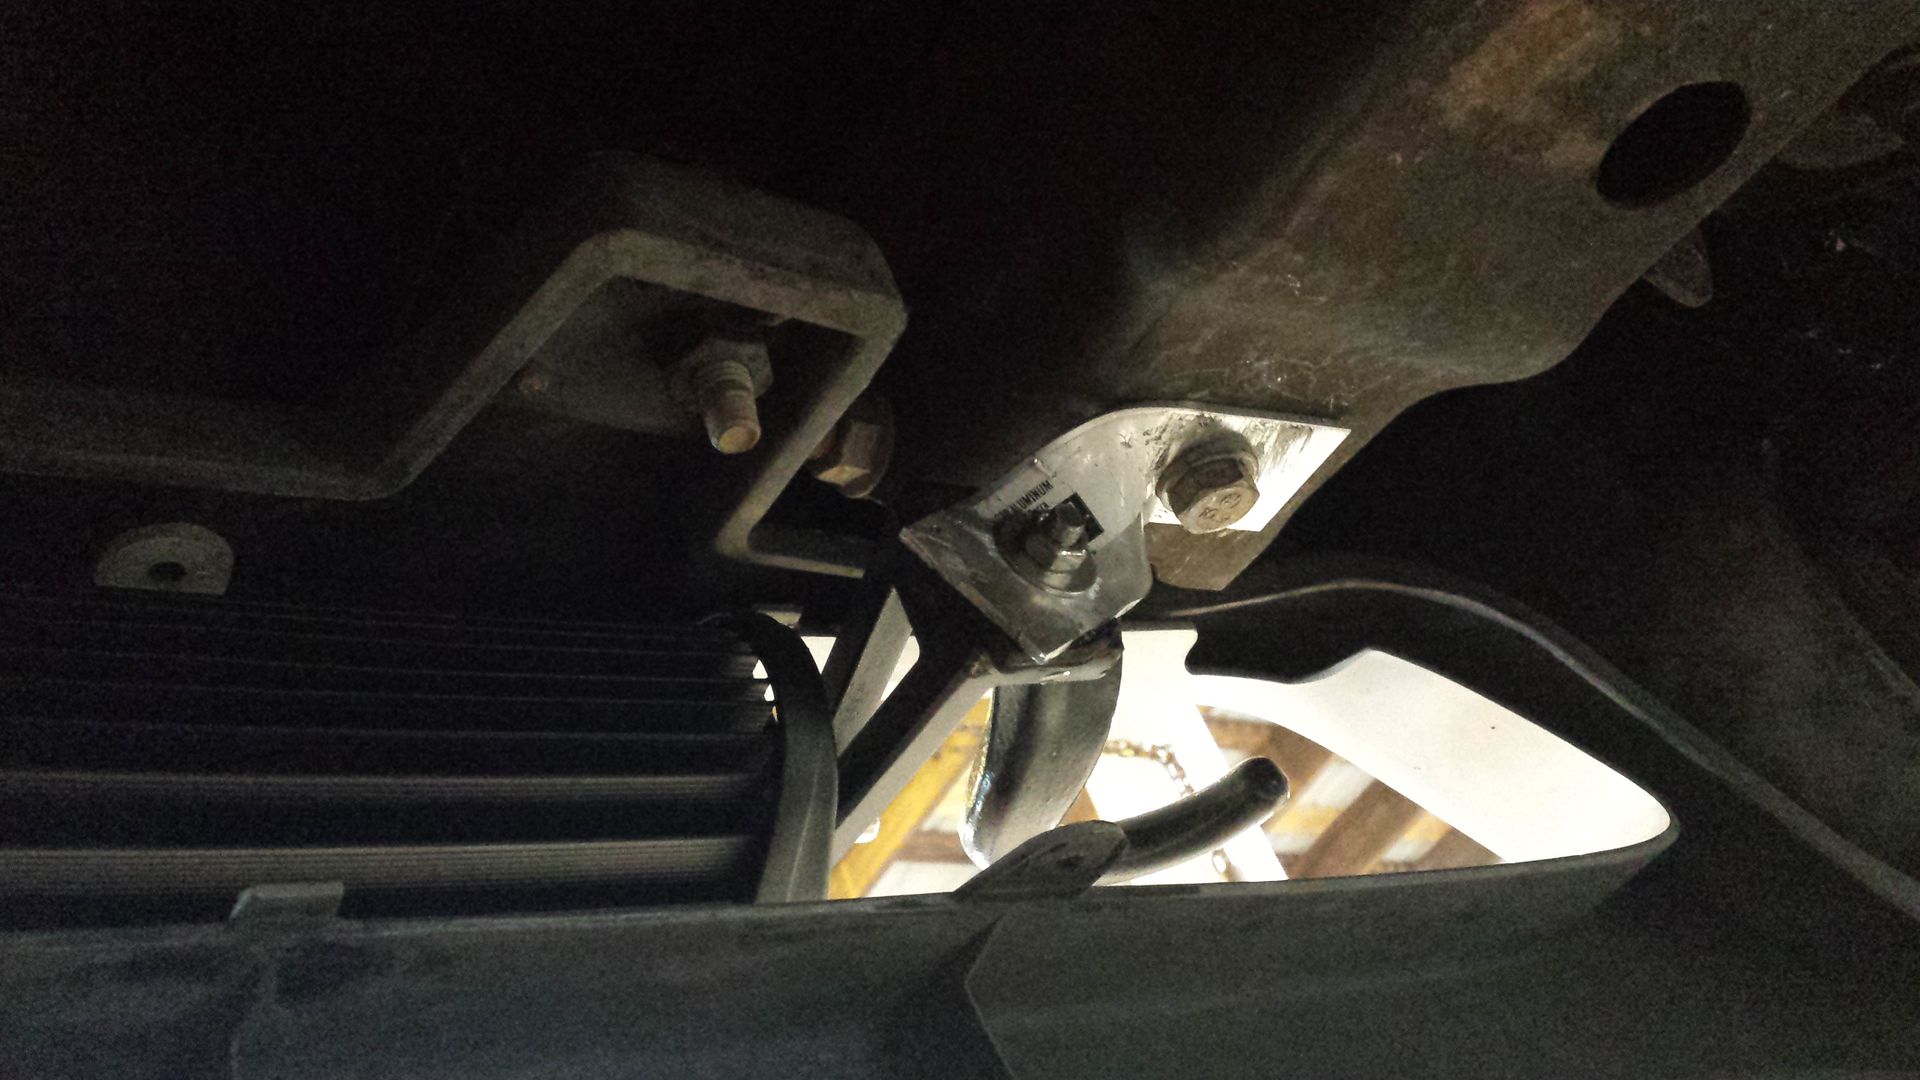
For simplicity sake I chose a bolt that holds the tow hook to attach our bracket too. No reason to reinvent the wheel when the bolt is very close to the location of the lightbar. We will need to drill a mounting hole.

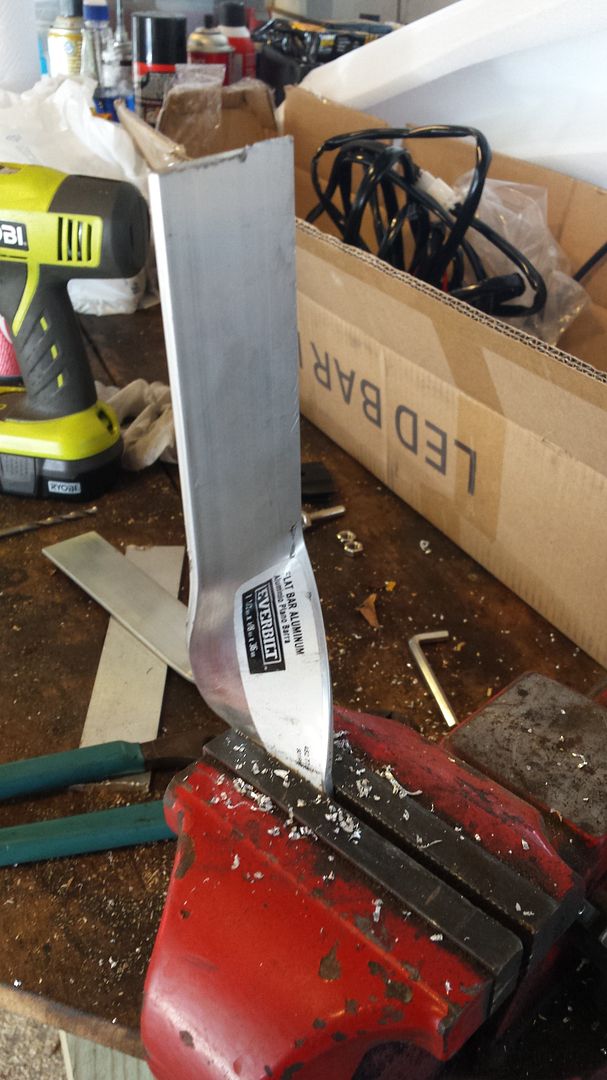
Based on location and angle the brackets need a 90 degree bend or so. Clamp it and just twist it with a pair of pliers.

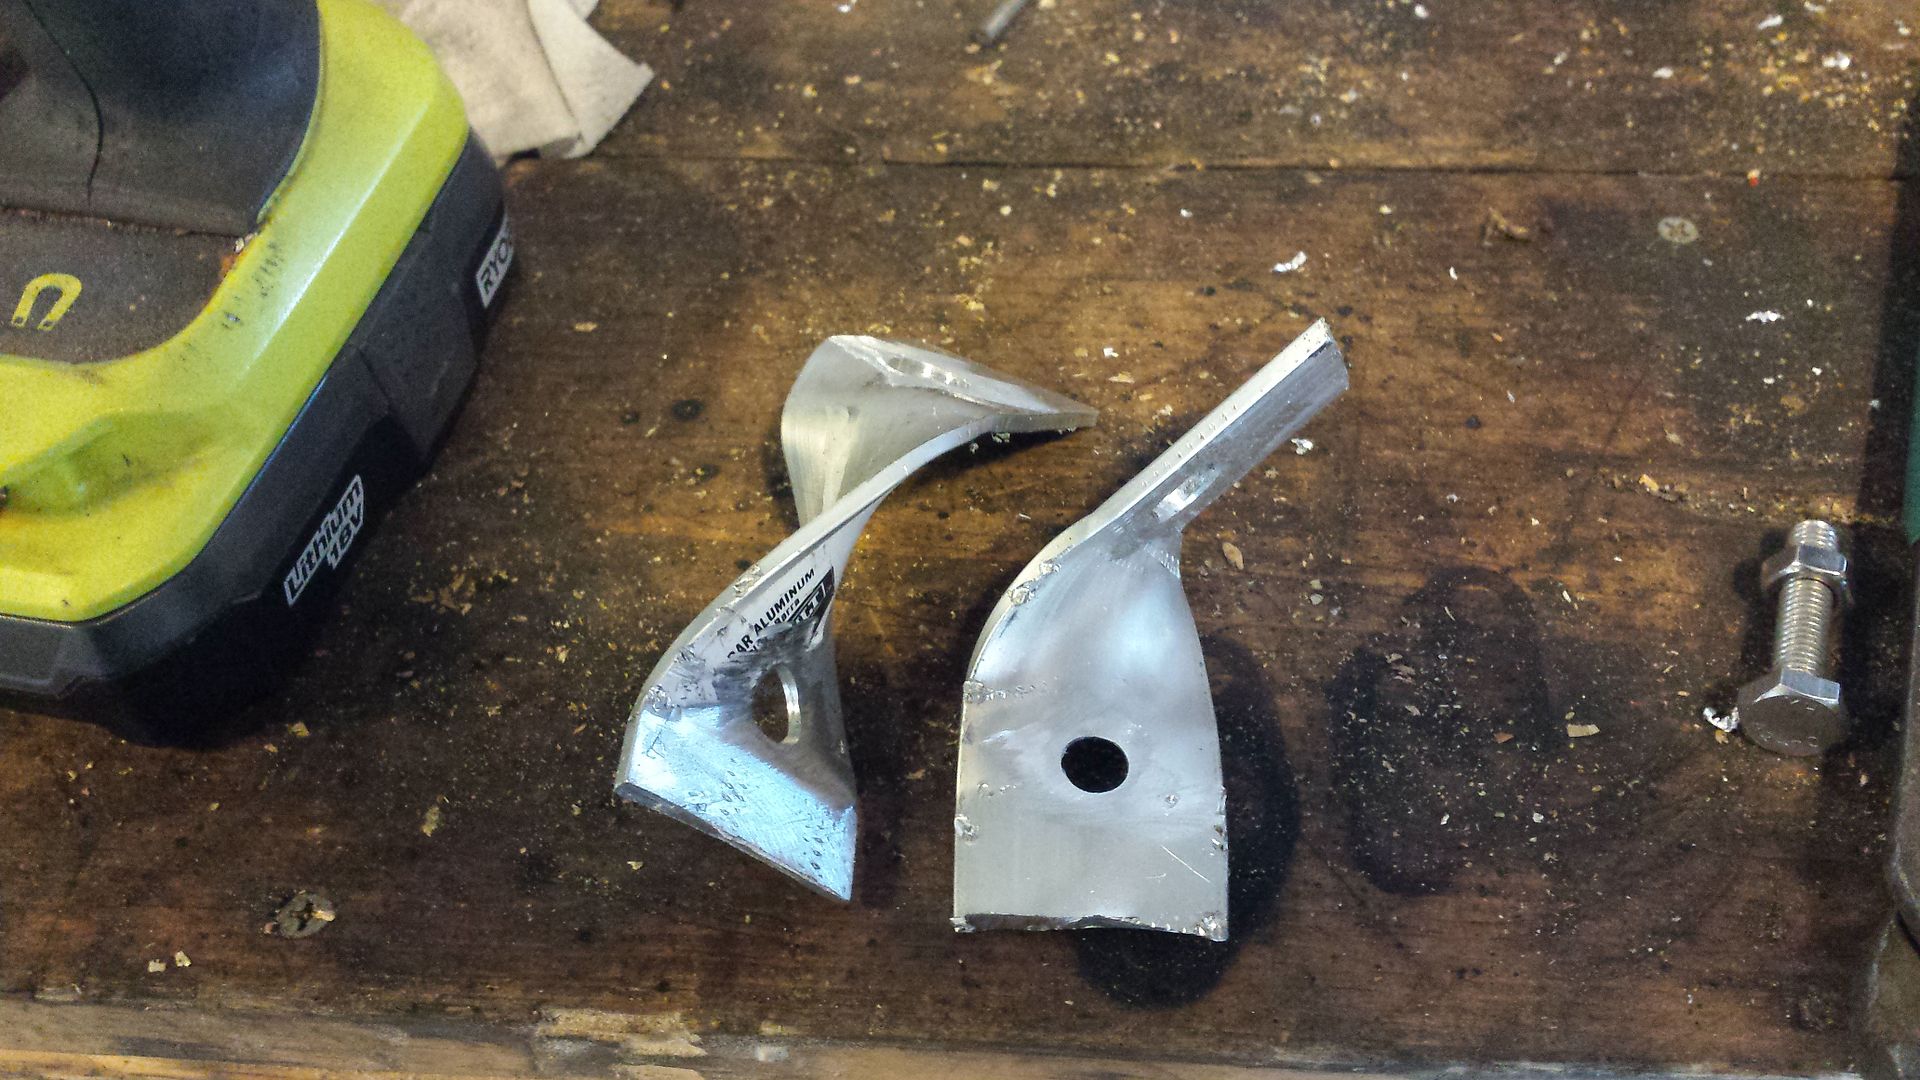
Now they have final bends, cut to size, and a hole drill to mount the light to.

Here is an underside view:

Reattach the stock bolts, your brackets, and your new lightbar


Denali LED Lightbar Installation
I have some custom mounted LED fogs which I have another thread on (you can see them in the pictures). I like them so much i decided to add a lightbar but I didnt want it to be very noticeable. I selected the location of the lower grill and decided to do a non-welded installation so anyone at home with simple hand tools could copy.
Here’s the grill area in question, the lower plastic piece between the tow hooks.
Youll want to slide under the truck and remove the pushpins that hold it in.
Here it is on the ground
Here is what we are gonna replace it with, a 26" curved bar. Notice they are almost identical in size.
To install you will need some flat bar. I chose aluminum but steel would be ok also. You can buy this from Home depot for about $10 per piece. We will only need two small pieces.
For simplicity sake I chose a bolt that holds the tow hook to attach our bracket too. No reason to reinvent the wheel when the bolt is very close to the location of the lightbar. We will need to drill a mounting hole.
Based on location and angle the brackets need a 90 degree bend or so. Clamp it and just twist it with a pair of pliers.
Now they have final bends, cut to size, and a hole drill to mount the light to.
Reattach the stock bolts, your brackets, and your new lightbar
07 Bigbear compression
What are the symptoms of too much compression? My manual says 120psi minimum with a maximum of 145psi. My test came back with 150psi with two different gauges. I do have a 1mm over piston. The atv currently smokes under full throttle.
Thanks
Sent from my iPhone using Tapatalk
Stator to regulator direct wire do wires matter?
So we are putting a motor in a renegade. It didn’t have the higher output stater so the plugs are different. How does one tell what wire to what one or does it matter. They are all solid yellow
Oil change question
When doing an oil change on the 570, do you pour the oil on through the dips tick hole, or through the top of the motor where the cap is? The top of the motor just seems like a tricky spot to get to.
Engine swap do I need to change power steering stator for non power steering?
So I’m swapping a 2011 motor that had power steering into a 09 that didn’t. The stator plug is different since it doesn’t have the power steering. Do I need to change the stator over or can I just change out the plug
Engine swap do I need to change power steering stator for non power steering?
So I’m swapping a 2011 motor that had power steering into a 09 that didn’t. The stator plug is different since it doesn’t have the power steering. Do I need to change the stator over or can I just change out the plug