
I’ve been looking at the battery powered heated jackets as I hate the cold. That being said, I still ride, fish, and work outside all winter long. Wondering who here has one and how do you like it, any brands better than other, and pro’s con’s of each. Thanks.
Category Archives: Around The Garage
Trickle charger vs battery tender?
I just got my wheeler ready for storage today and hooked the maintainer up to top off the battery for the month, well it did and when I took the reading I was alarmed, it said 13.7 volts, my reading are normally 12.8-13 max this was to high, I’m thinking about getting a battery tender, I have my mind made up battery tender coming very soon. Just wanted to get your thoughts on this, I ride from spring until about this time so a dead battery isn’t an issue.
DB on ATV
Saw this video and just had to share it. LiveLeak.com – Trespasser Runs Over Property Owner With ATV If I was caught mistakenly riding on someone’s property I would definitely act a LITTLE different then this DB.
my posts show up on another website
Is it weird my posts here show up on Home – CZ Chains I typed my username in Google messing around and all my posts show up on their website in order. I dont really care I guess but thought it was odd.
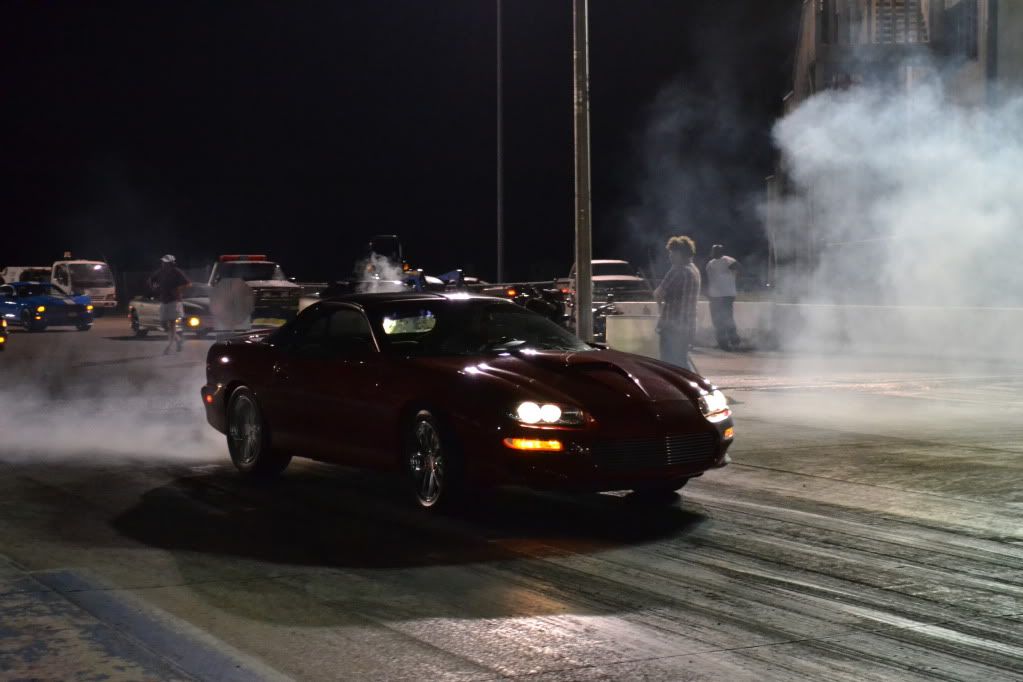
SS Camaro – Track trips, build pics etc.
These events happen over about a 2-3 year period, all condensed down for easy viewing.
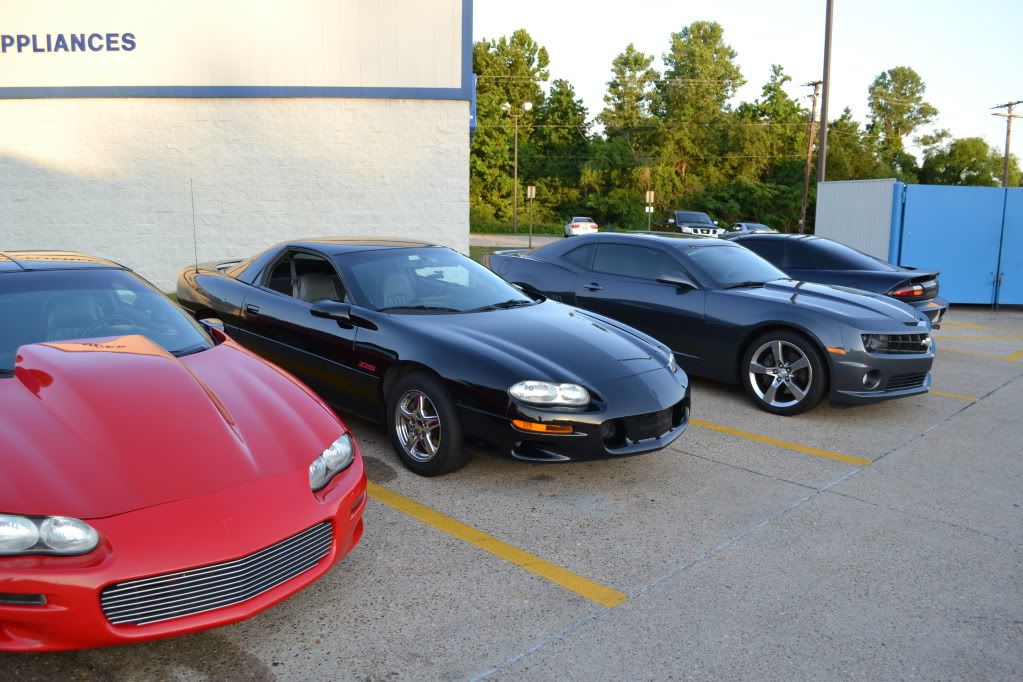
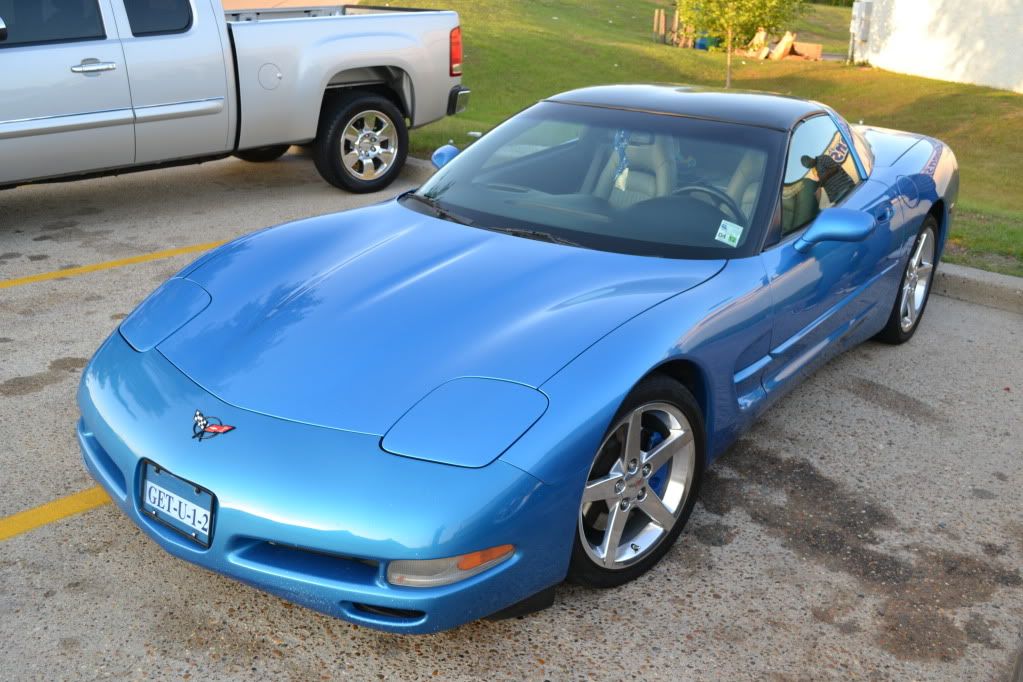
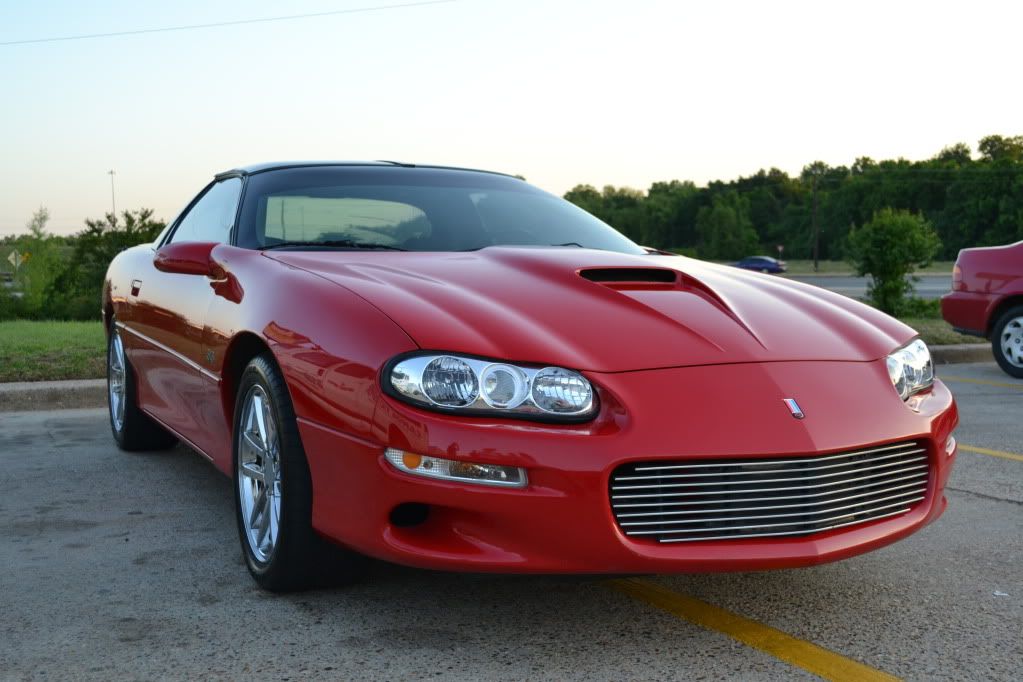
Trip 1: Had a small meet up right before the track:

—————————————————————————-
—————————————————————————-
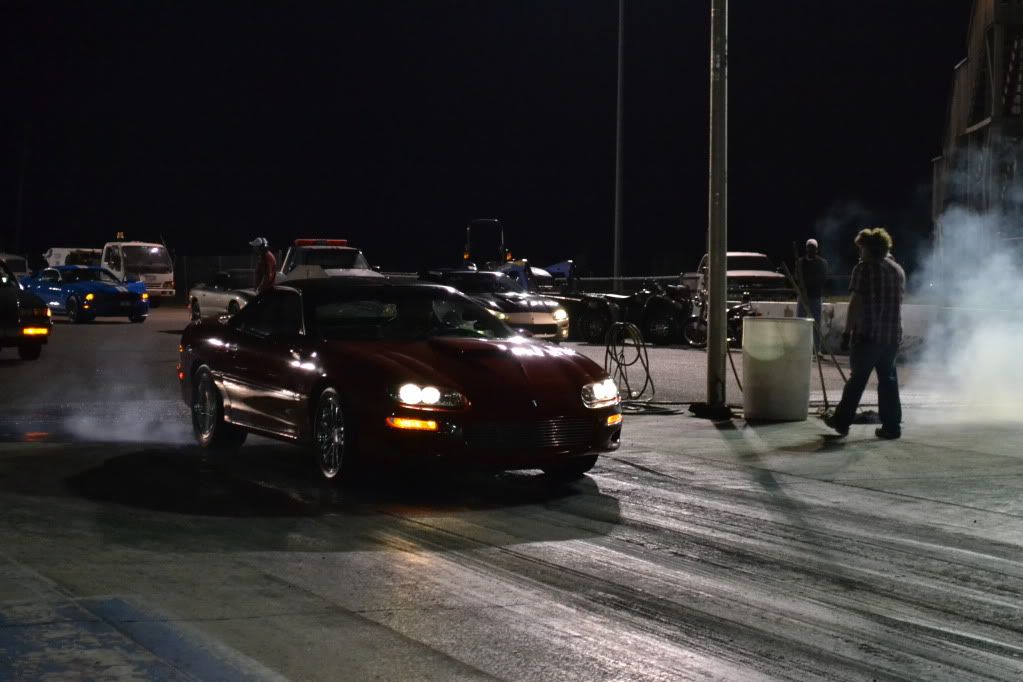
Track was pretty full and we started late, so i only got 2 runs. First run:
Far lane: 98 Z28, built M6, 4.10s, VR reverse split cam, stock heads, full exhaust, bolt ons, 315 Nitto 555Rs on the back.
Near lane: Very close to the same except 3.73s, Cam Motion cam, and ET Streets on factory wheels.
Time slip:
Left……..Right
.468…….105 Reaction
1.94…….1.65 60ft
7.98…….7.54 8th E.T.
90.4…….90.2 8th MPH
12.26…..11.85 1/4 E.T.
115.9…..114.1 1/4 MPH
Here’s some pics from this race:
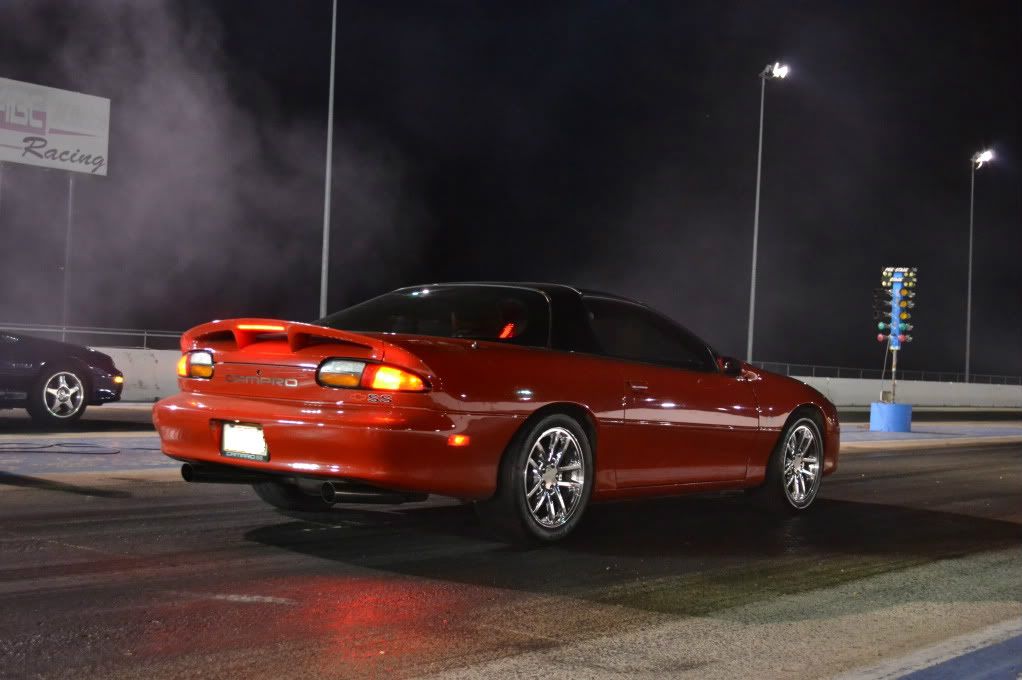
2nd race:
Far Lane: Z28, 6.0 LQ4, built M6, 12 bolt with 4.56, Pat G cam, TFS 215 heads, bolt ons, Mufflex exhaust, 28 inch ET Streets
Near lane: Same as near lane above
Time slip:
Left…….Right
.569…….117
2.15…….1.71
8.37…….7.63
89.5…….90.0
12.63….11.95
117.5….113.8
——————————————————————————–
SS Camaro – Track trips, build pics etc.
These events happen over about a 2-3 year period, all condensed down for easy viewing.
Trip 1: Had a small meet up right before the track:
—————————————————————————-
—————————————————————————-
Track was pretty full and we started late, so i only got 2 runs. First run:
Far lane: 98 Z28, built M6, 4.10s, VR reverse split cam, stock heads, full exhaust, bolt ons, 315 Nitto 555Rs on the back.
Near lane: Very close to the same except 3.73s, Cam Motion cam, and ET Streets on factory wheels.
Time slip:
Left……..Right
.468…….105 Reaction
1.94…….1.65 60ft
7.98…….7.54 8th E.T.
90.4…….90.2 8th MPH
12.26…..11.85 1/4 E.T.
115.9…..114.1 1/4 MPH
Here’s some pics from this race:
2nd race:
Far Lane: Z28, 6.0 LQ4, built M6, 12 bolt with 4.56, Pat G cam, TFS 215 heads, bolt ons, Mufflex exhaust, 28 inch ET Streets
Near lane: Same as near lane above
Time slip:
Left…….Right
.569…….117
2.15…….1.71
8.37…….7.63
89.5…….90.0
12.63….11.95
117.5….113.8
——————————————————————————–
Compression??
What should the compression be on my TRX420FM ?
I’m getting 80 psi dry.
I’m getting 80 psi dry.
trail cam pic’s
OK so last few weeks I have been getting hammered with local bears
had 16 different one’s visiting me in my back yard since June.
or thats how many I could tell apart, so maybe more, but 16 for sure
I run a lot of trail cam’s
and have this one about 700 yrds behind my house on a local gun clubs lands
had 16 different one’s visiting me in my back yard since June.
or thats how many I could tell apart, so maybe more, but 16 for sure
I run a lot of trail cam’s
and have this one about 700 yrds behind my house on a local gun clubs lands
seems like the bears like to play in front of my cam
there is NO bait or scents there, its a random tree I picked out ona game trail
BUt every week I get a ton of bear pic’s
Cam is one day off on date, a day fast too??
keep forgetting to correct when I check cam , dam memory! LOL
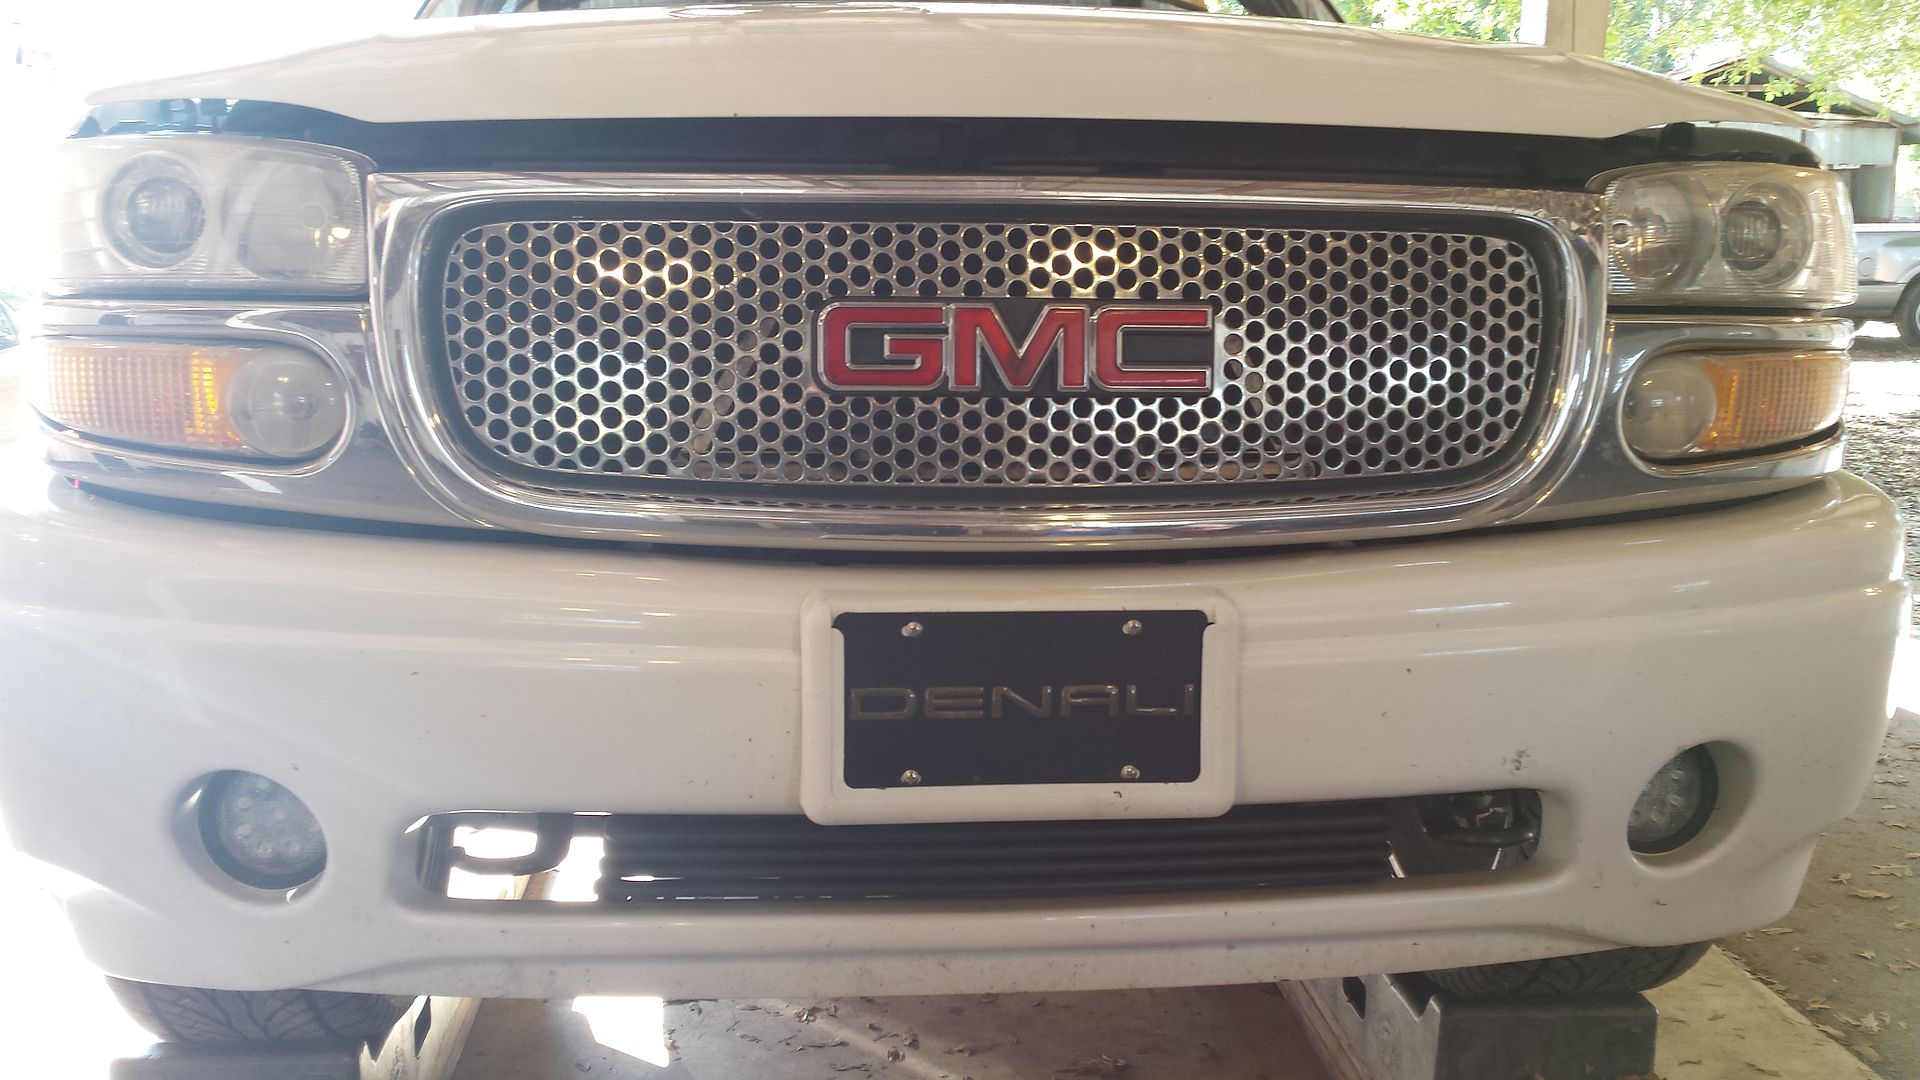
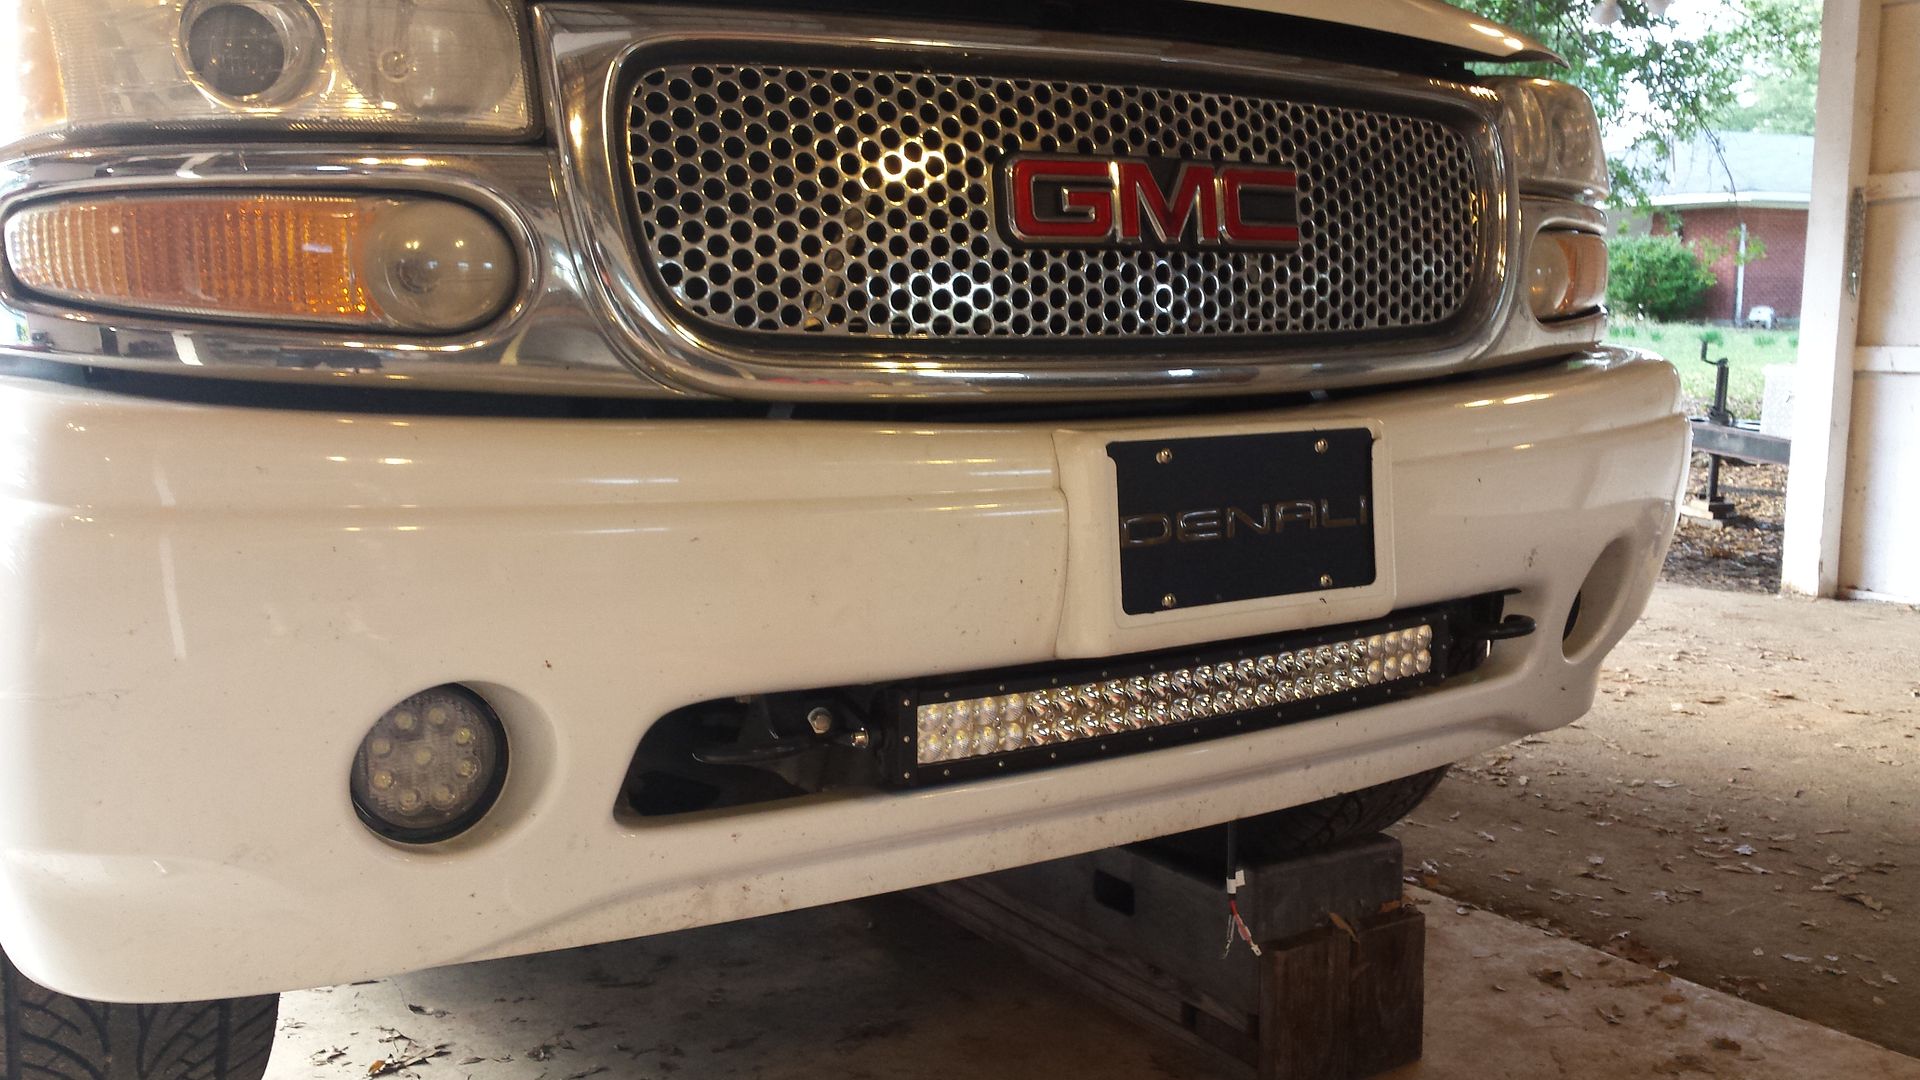
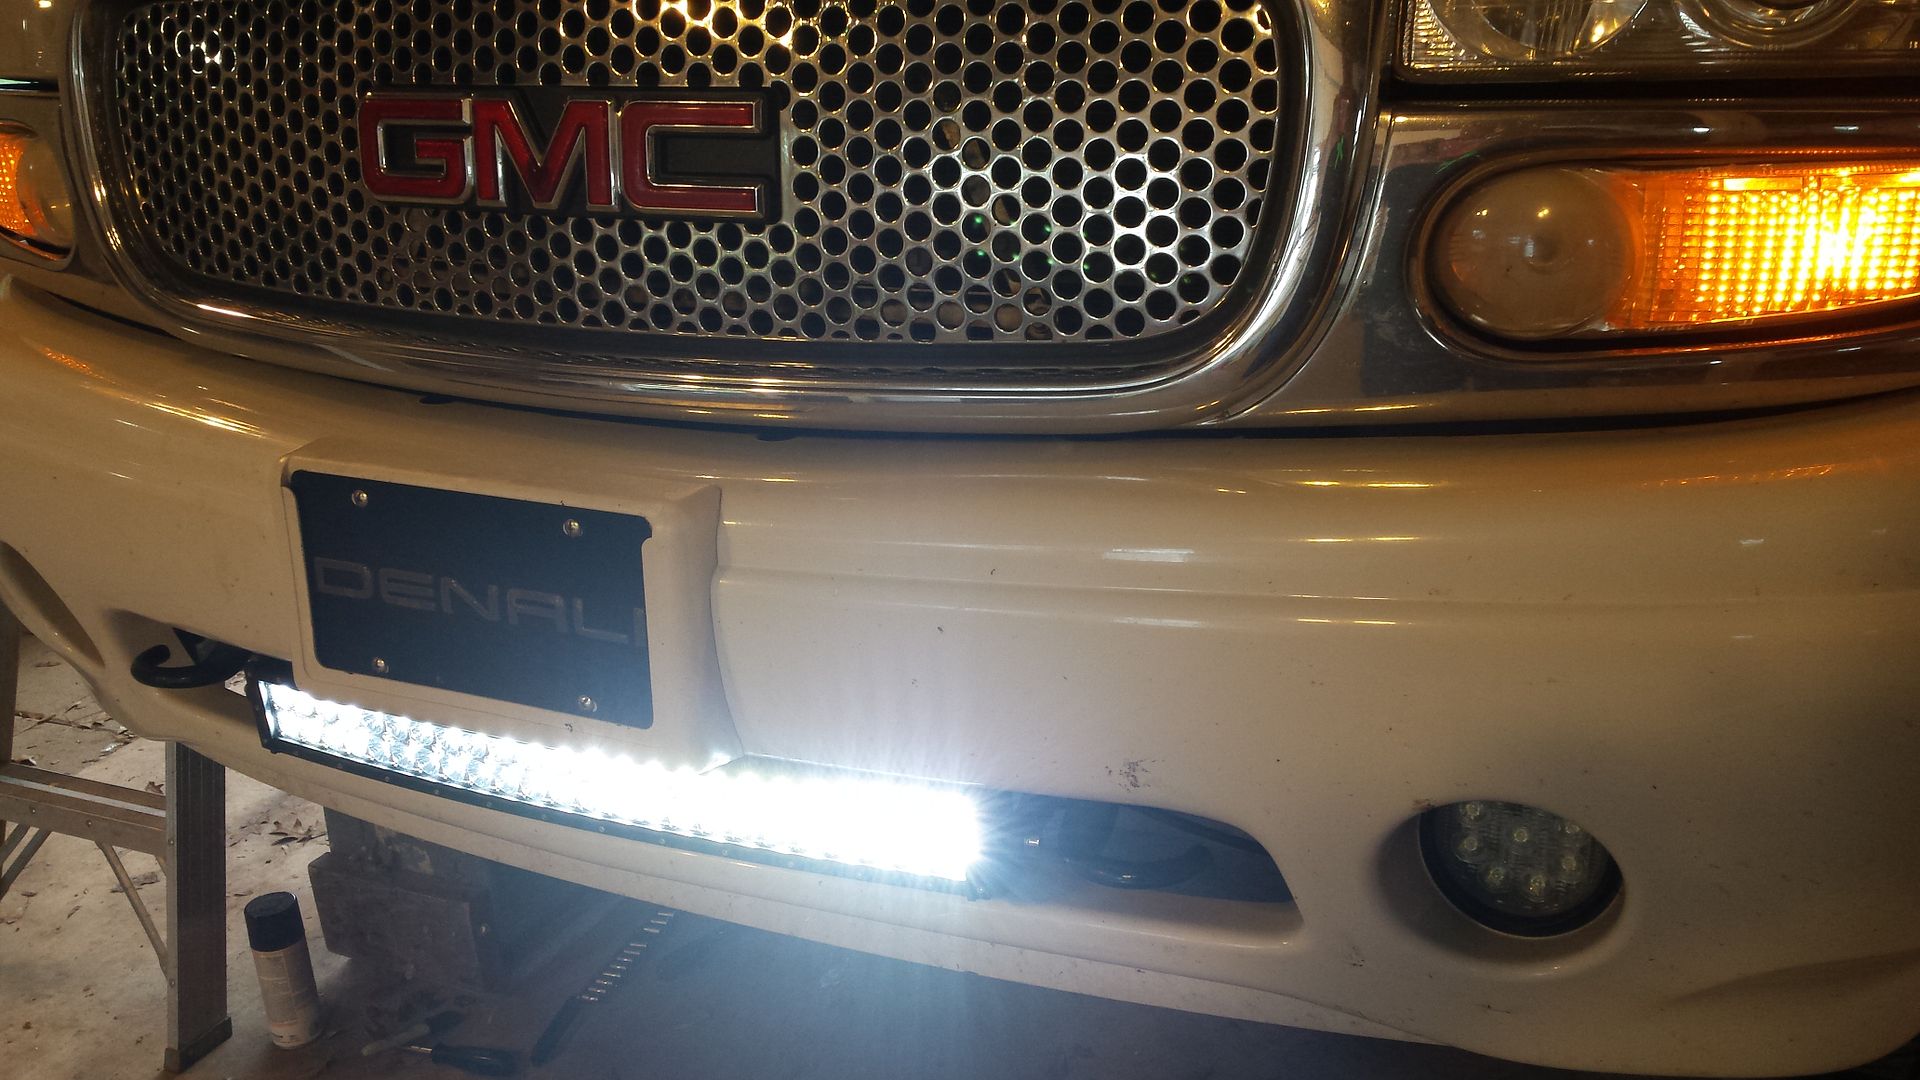
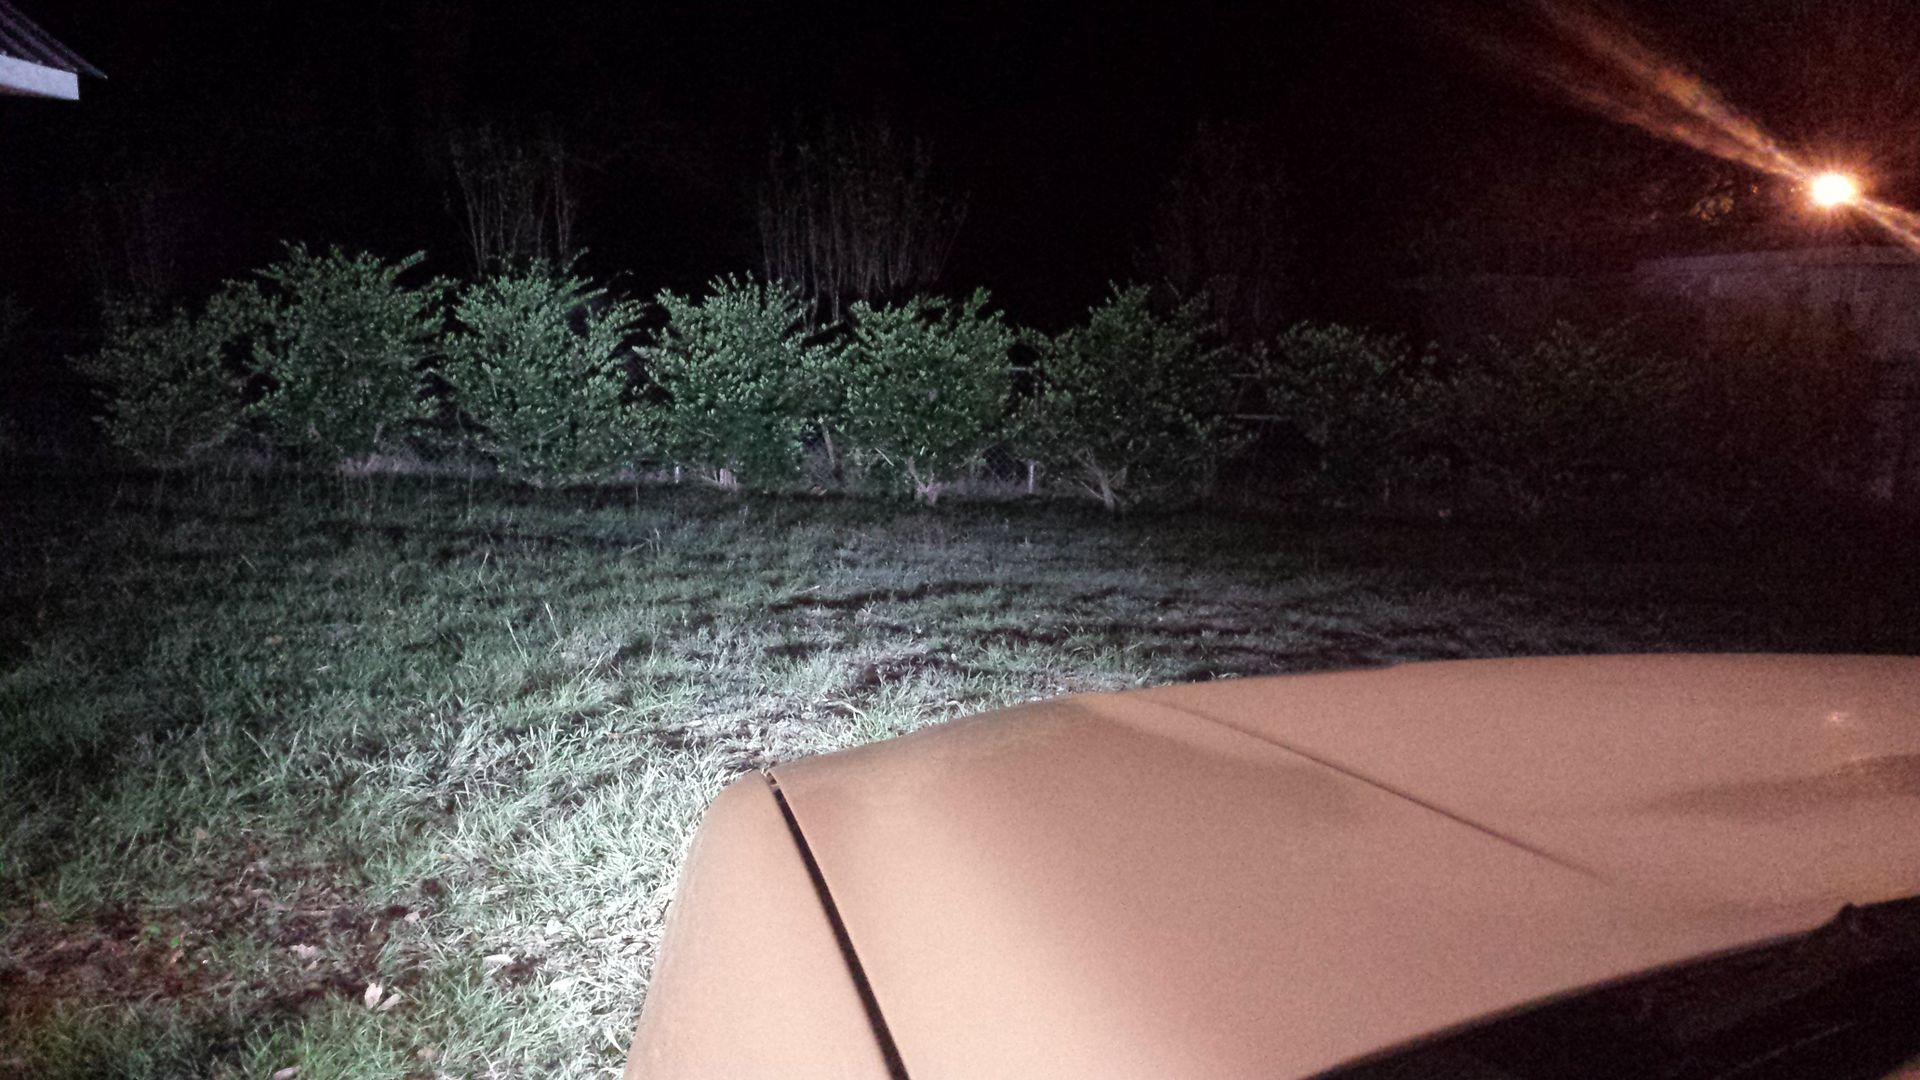
Denali LED Lightbar Installation
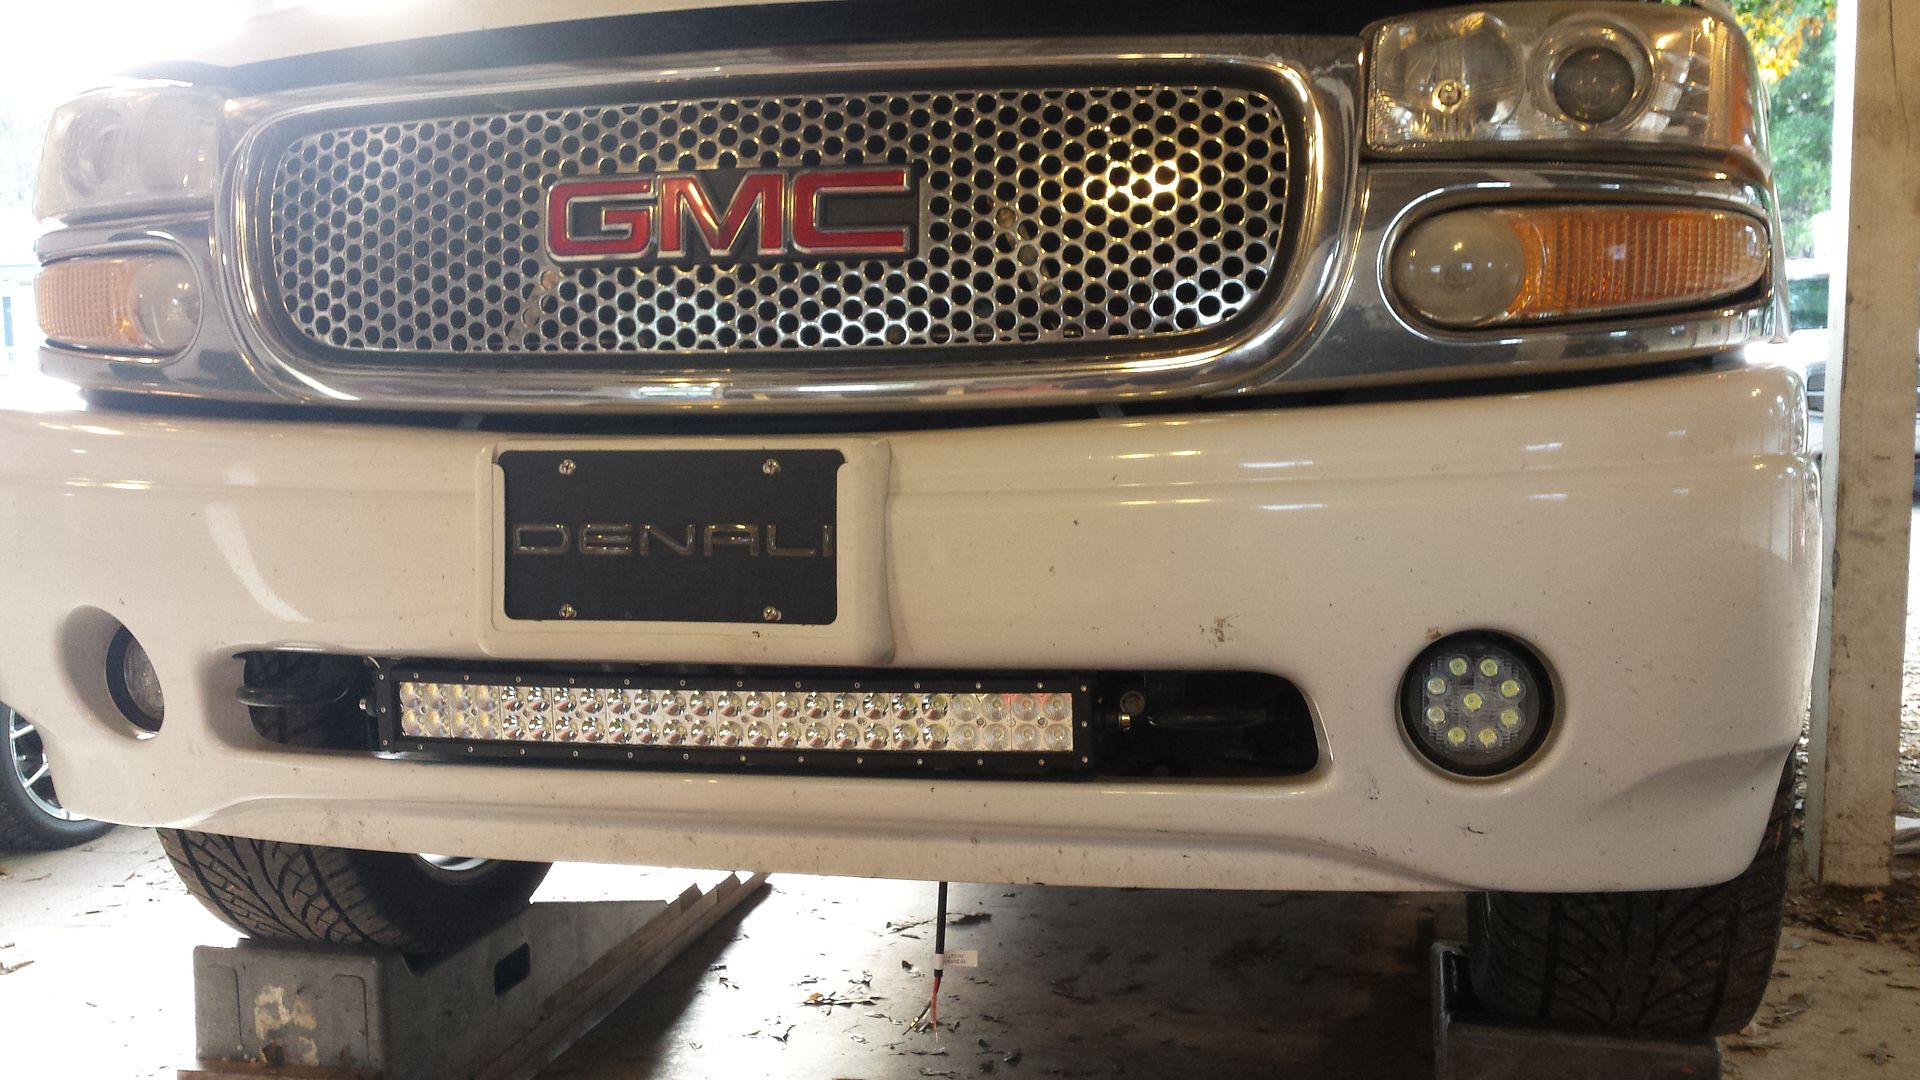
I have some custom mounted LED fogs which I have another thread on (you can see them in the pictures). I like them so much i decided to add a lightbar but I didnt want it to be very noticeable. I selected the location of the lower grill and decided to do a non-welded installation so anyone at home with simple hand tools could copy.
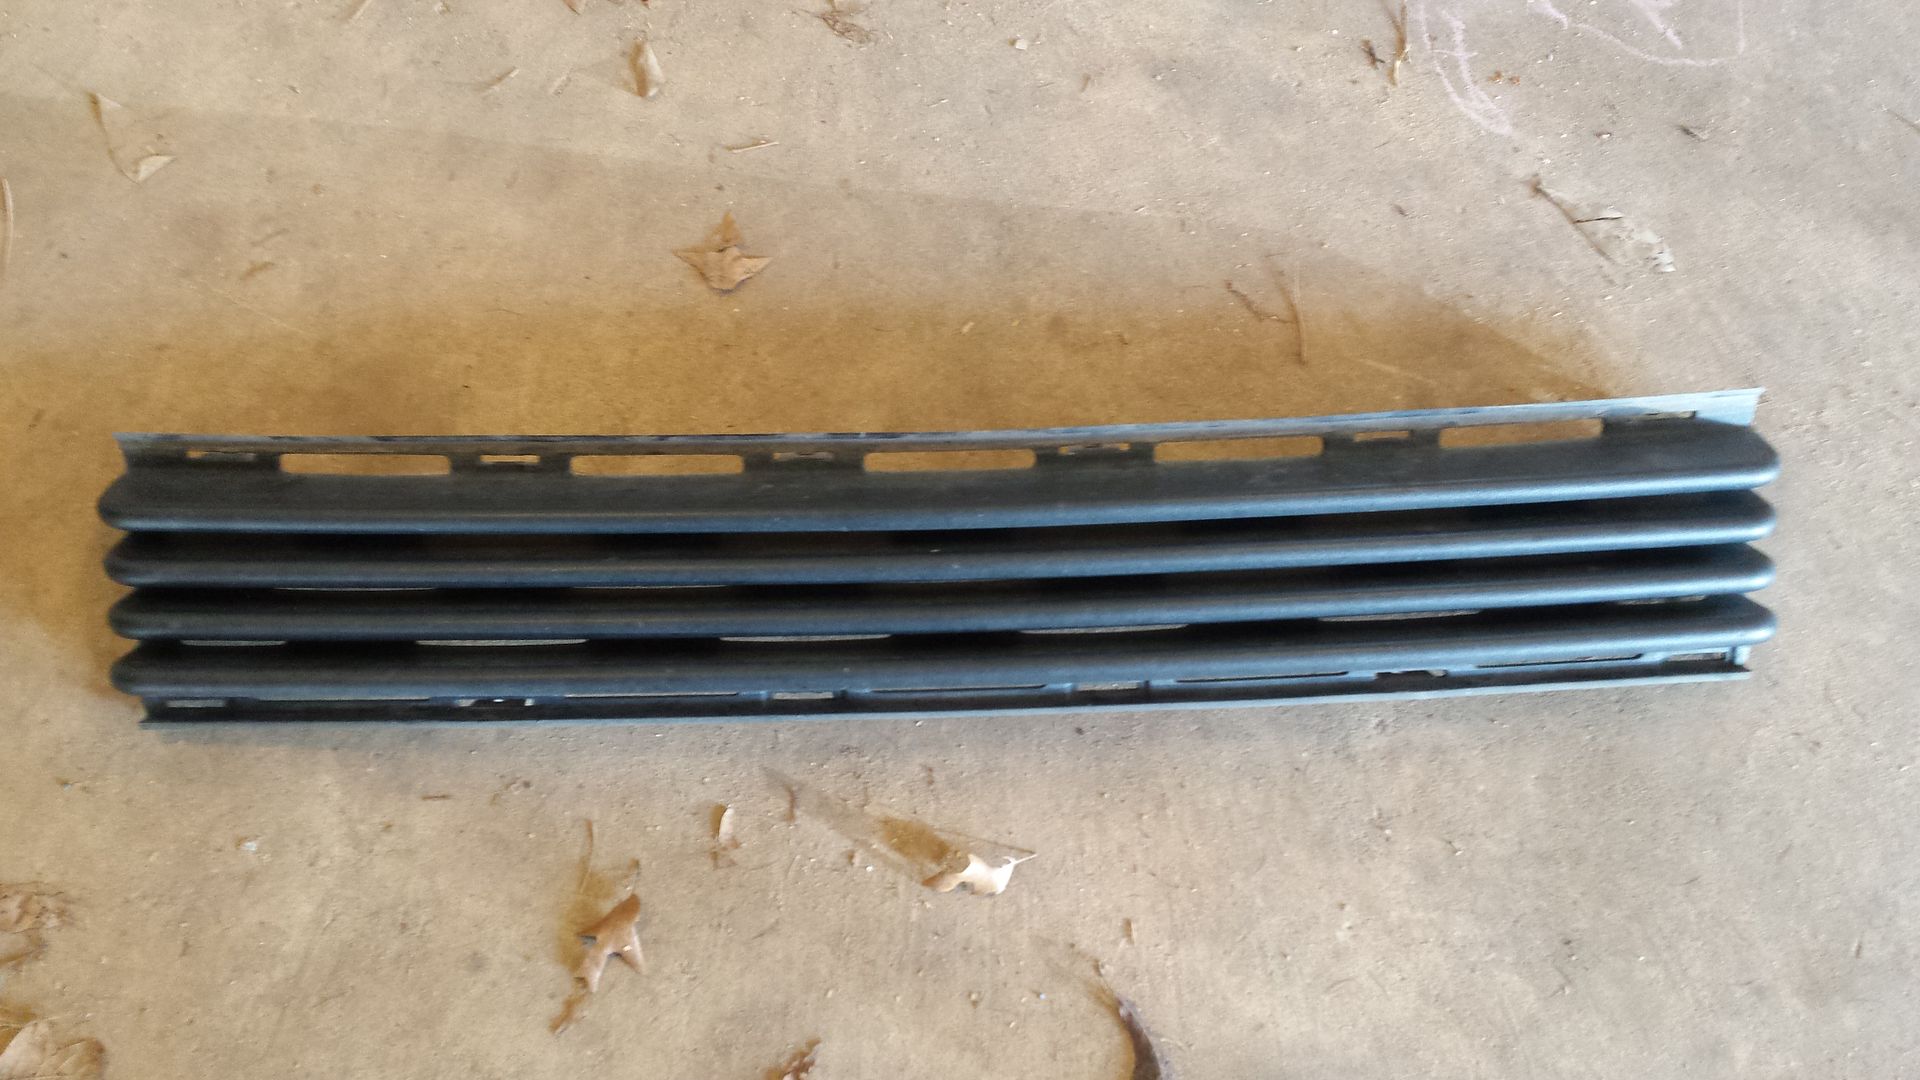
Here’s the grill area in question, the lower plastic piece between the tow hooks.
Youll want to slide under the truck and remove the pushpins that hold it in.
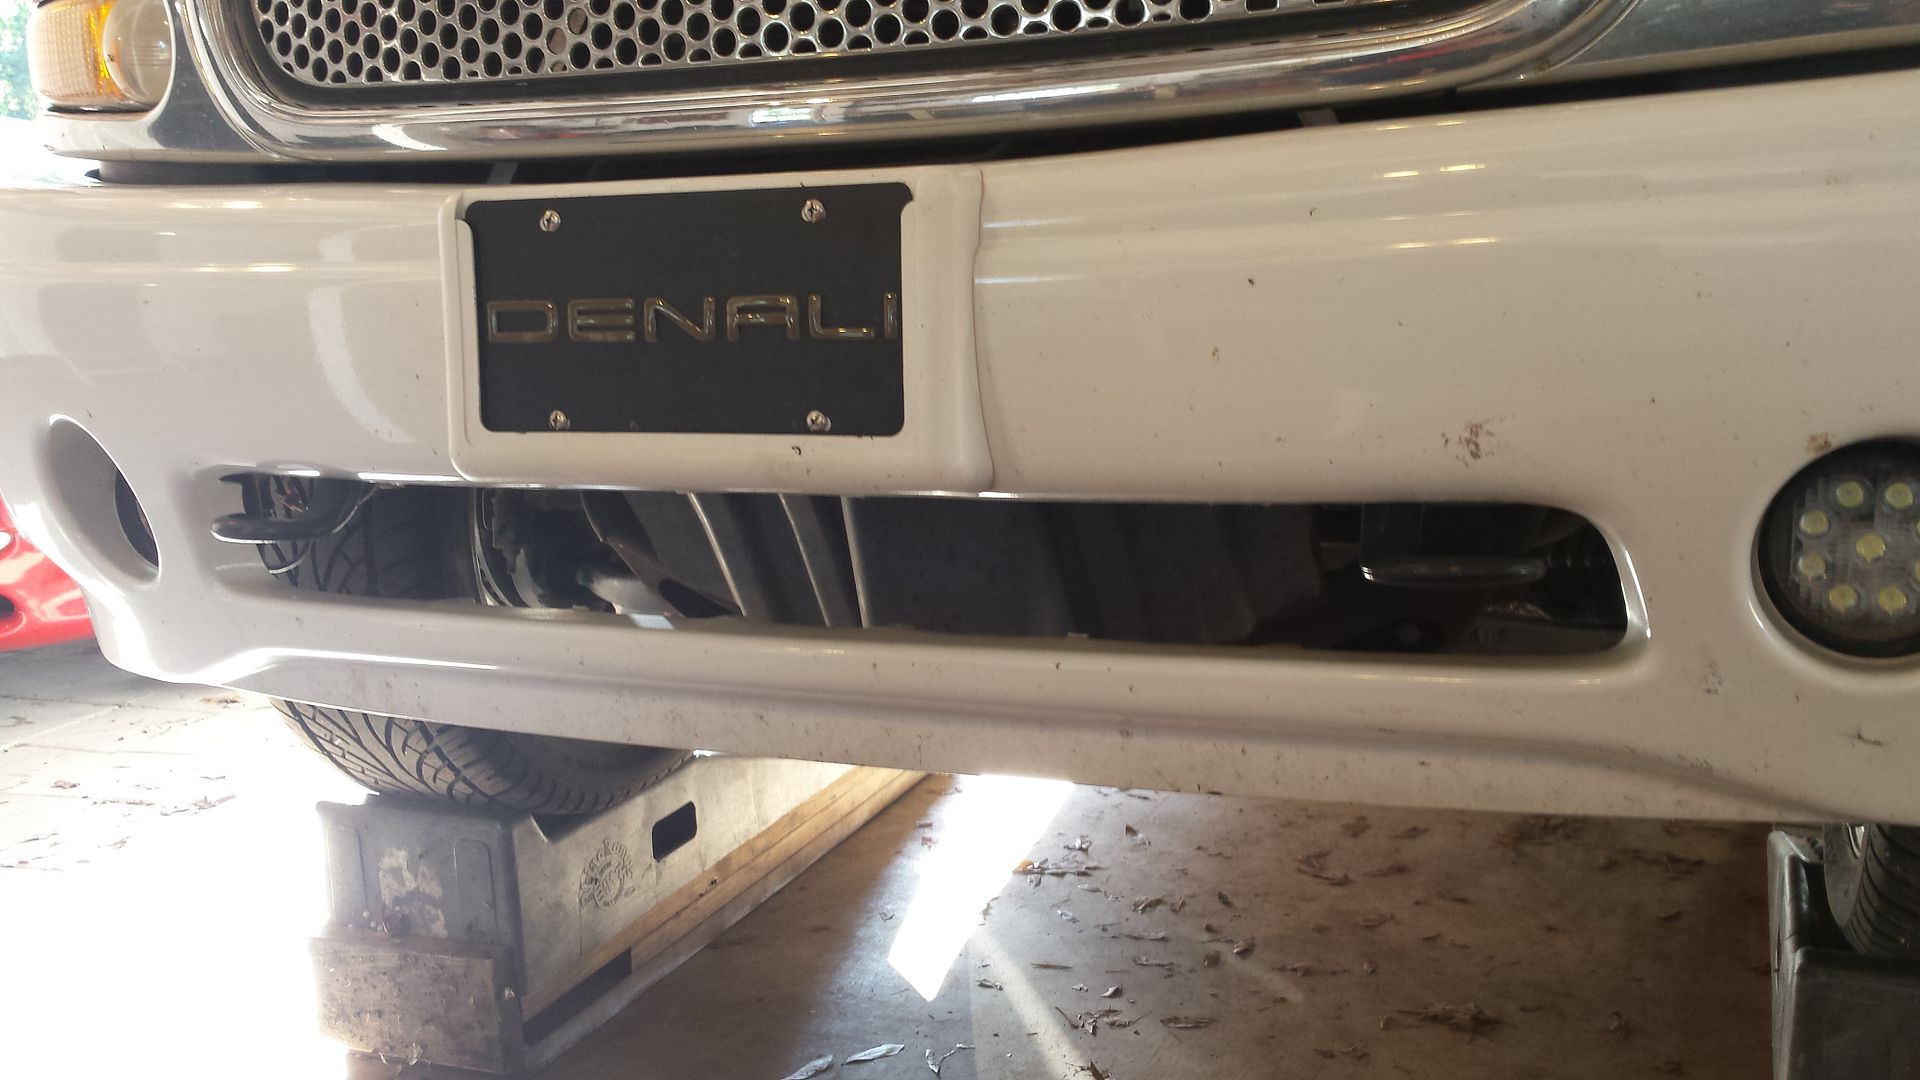
Here it is on the ground
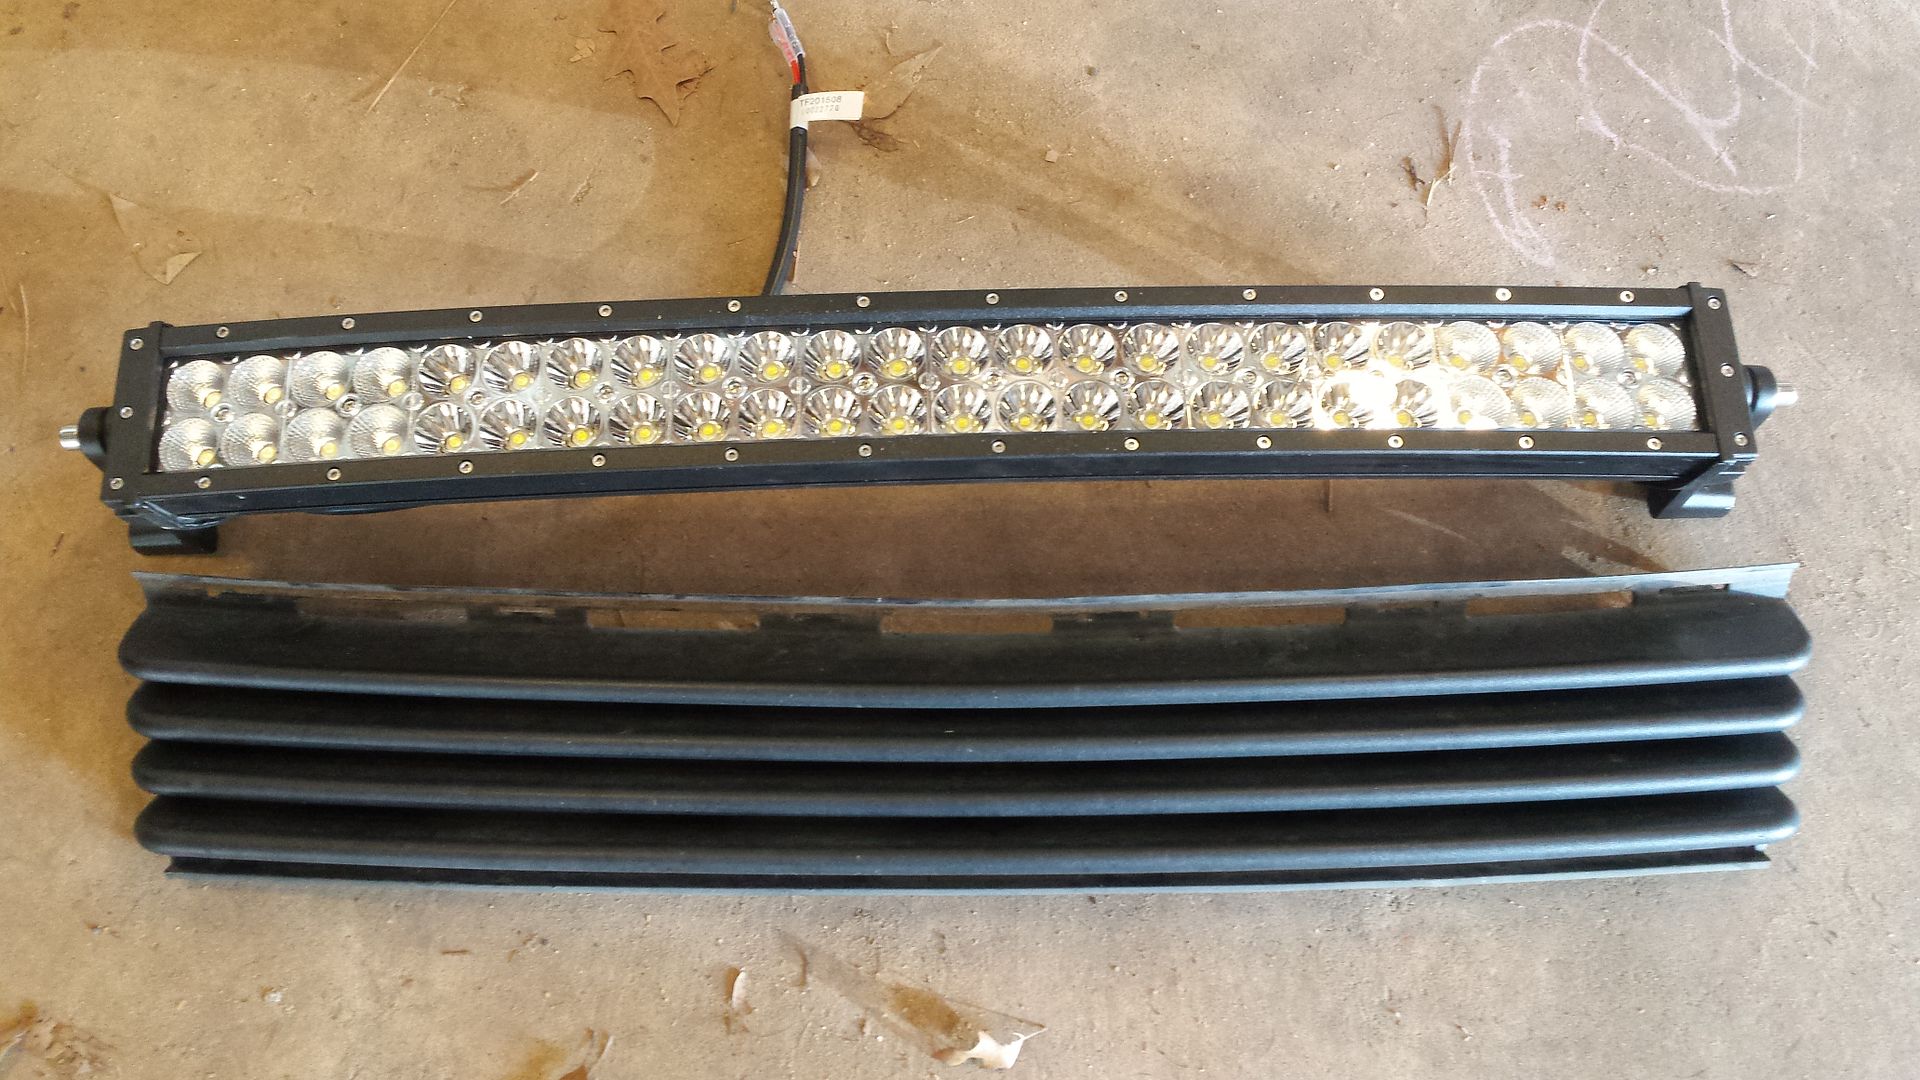
Here is what we are gonna replace it with, a 26" curved bar. Notice they are almost identical in size.
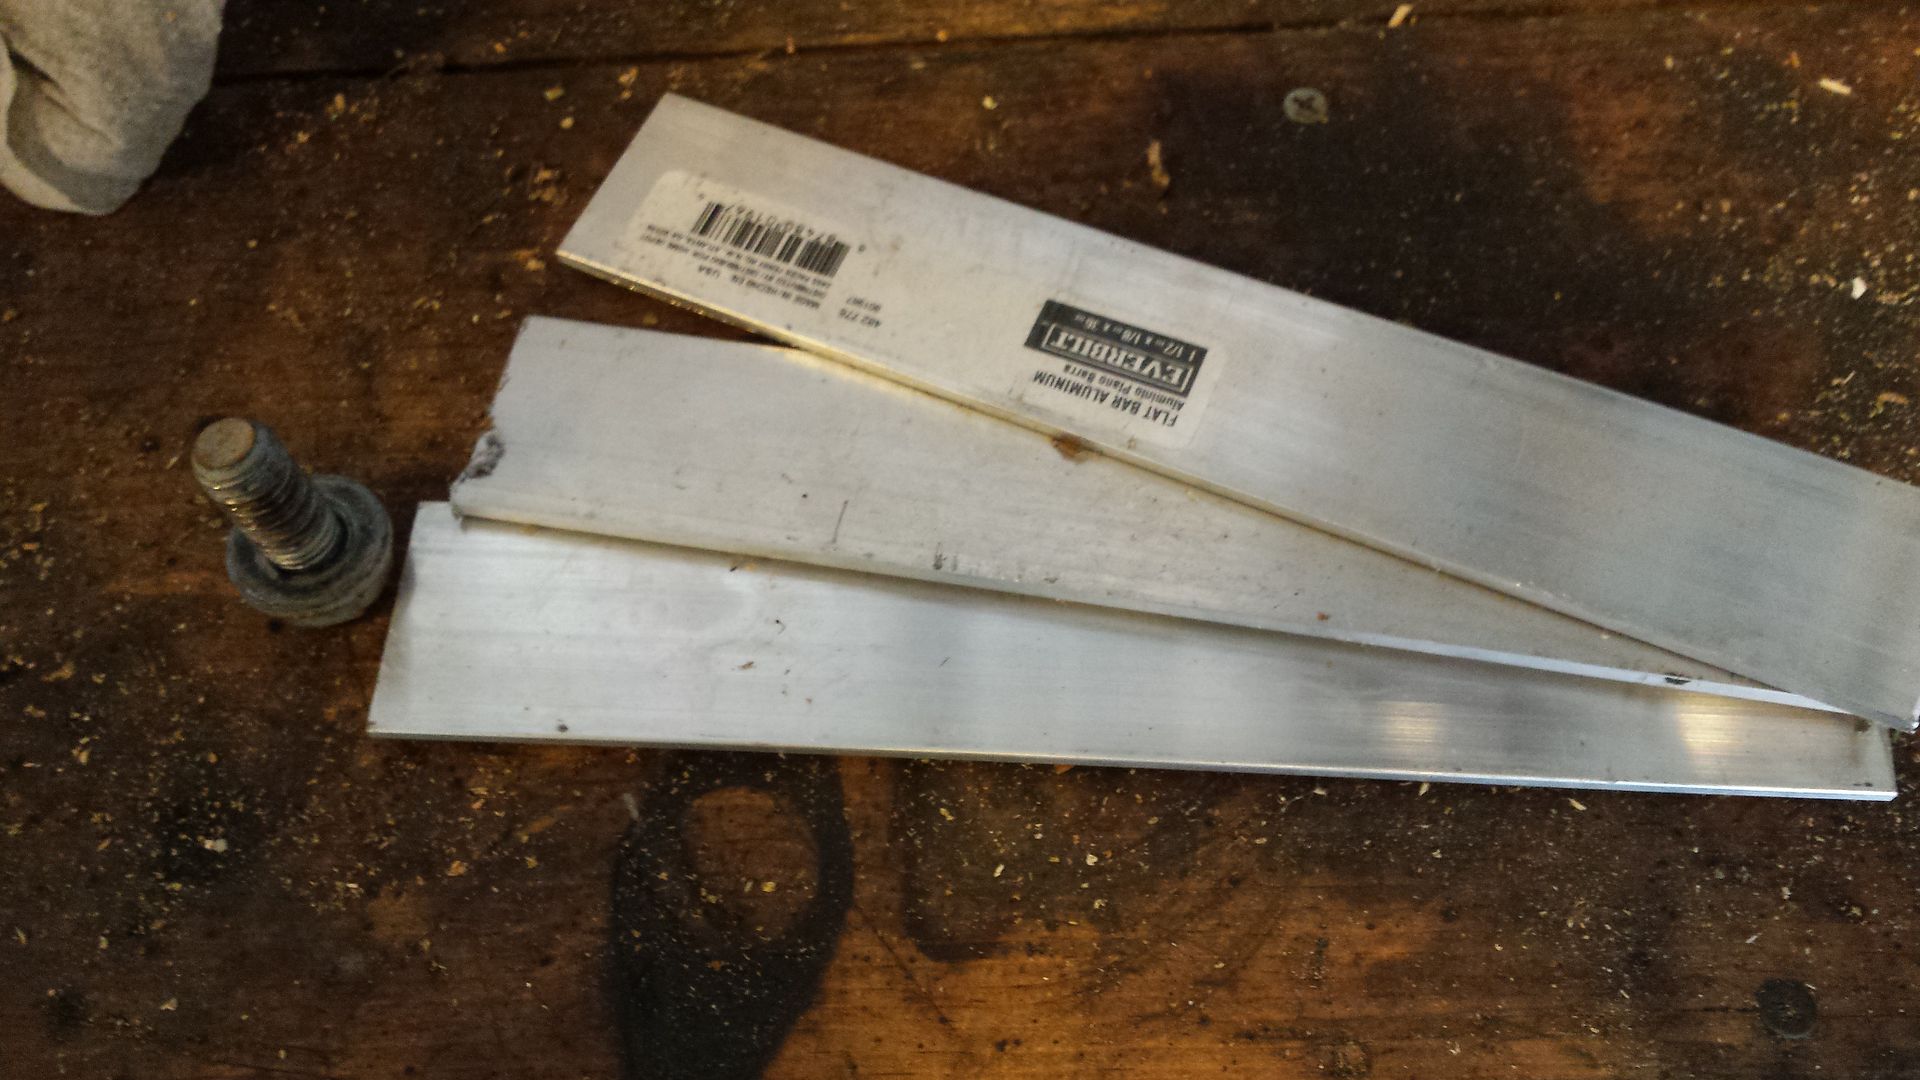
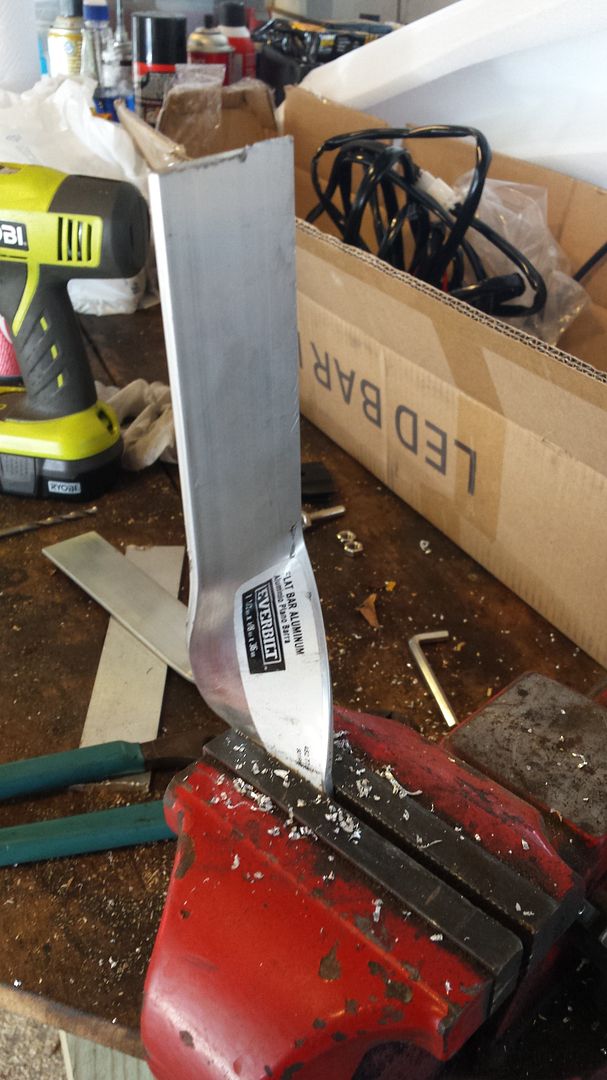
To install you will need some flat bar. I chose aluminum but steel would be ok also. You can buy this from Home depot for about $10 per piece. We will only need two small pieces.
For simplicity sake I chose a bolt that holds the tow hook to attach our bracket too. No reason to reinvent the wheel when the bolt is very close to the location of the lightbar. We will need to drill a mounting hole.
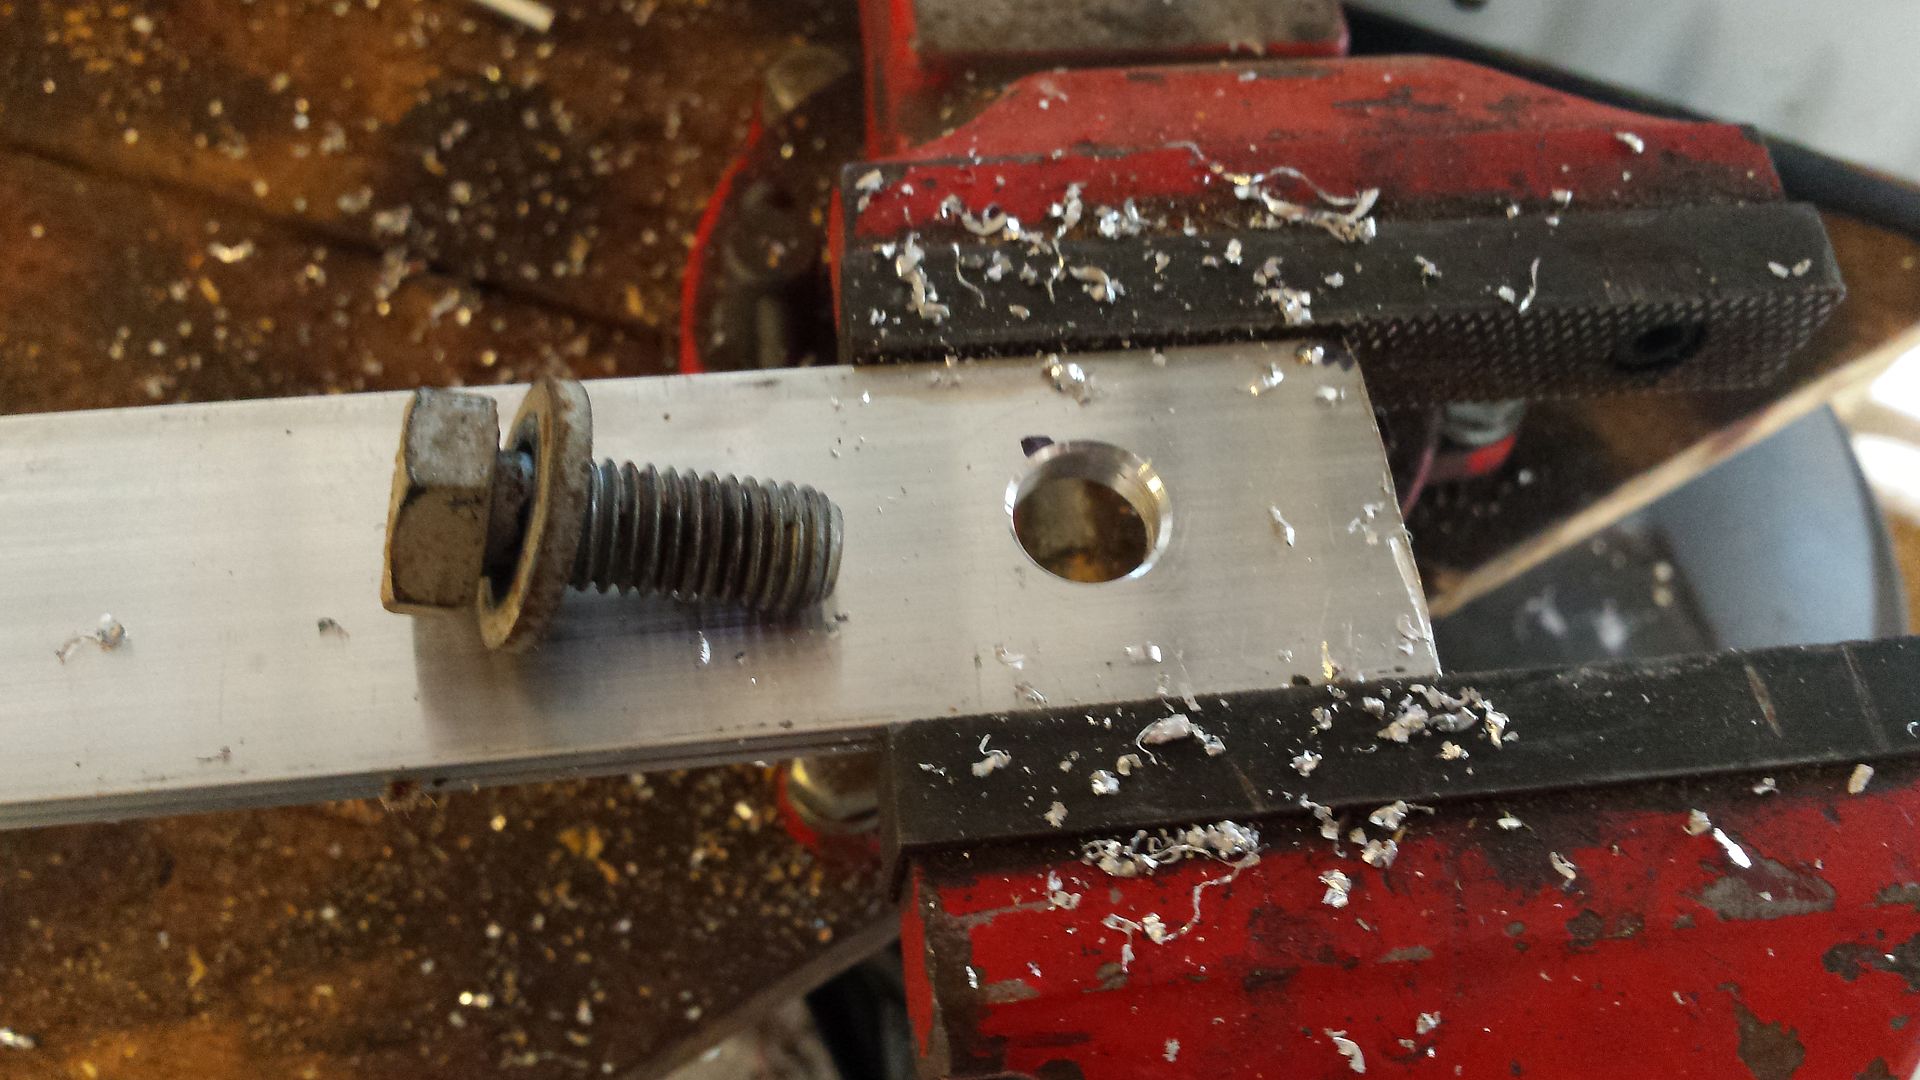
Based on location and angle the brackets need a 90 degree bend or so. Clamp it and just twist it with a pair of pliers.
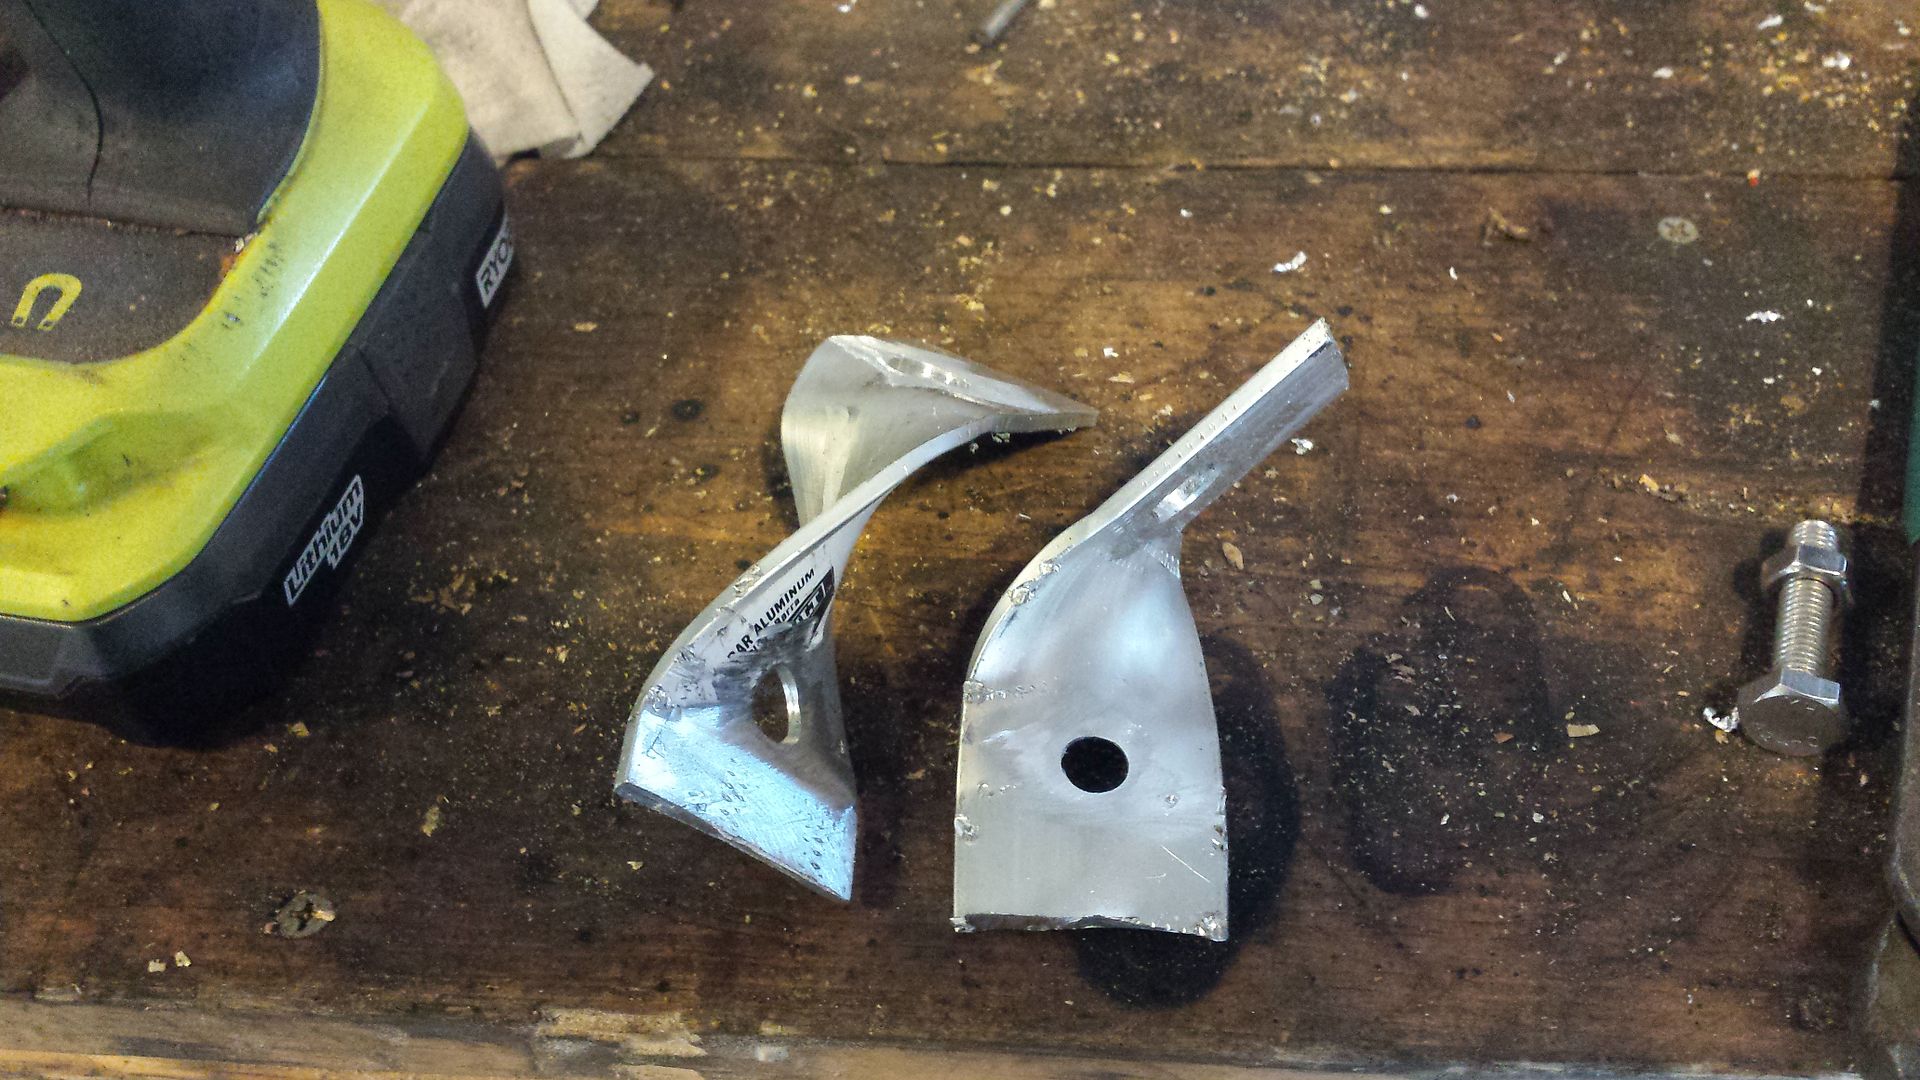
Now they have final bends, cut to size, and a hole drill to mount the light to.
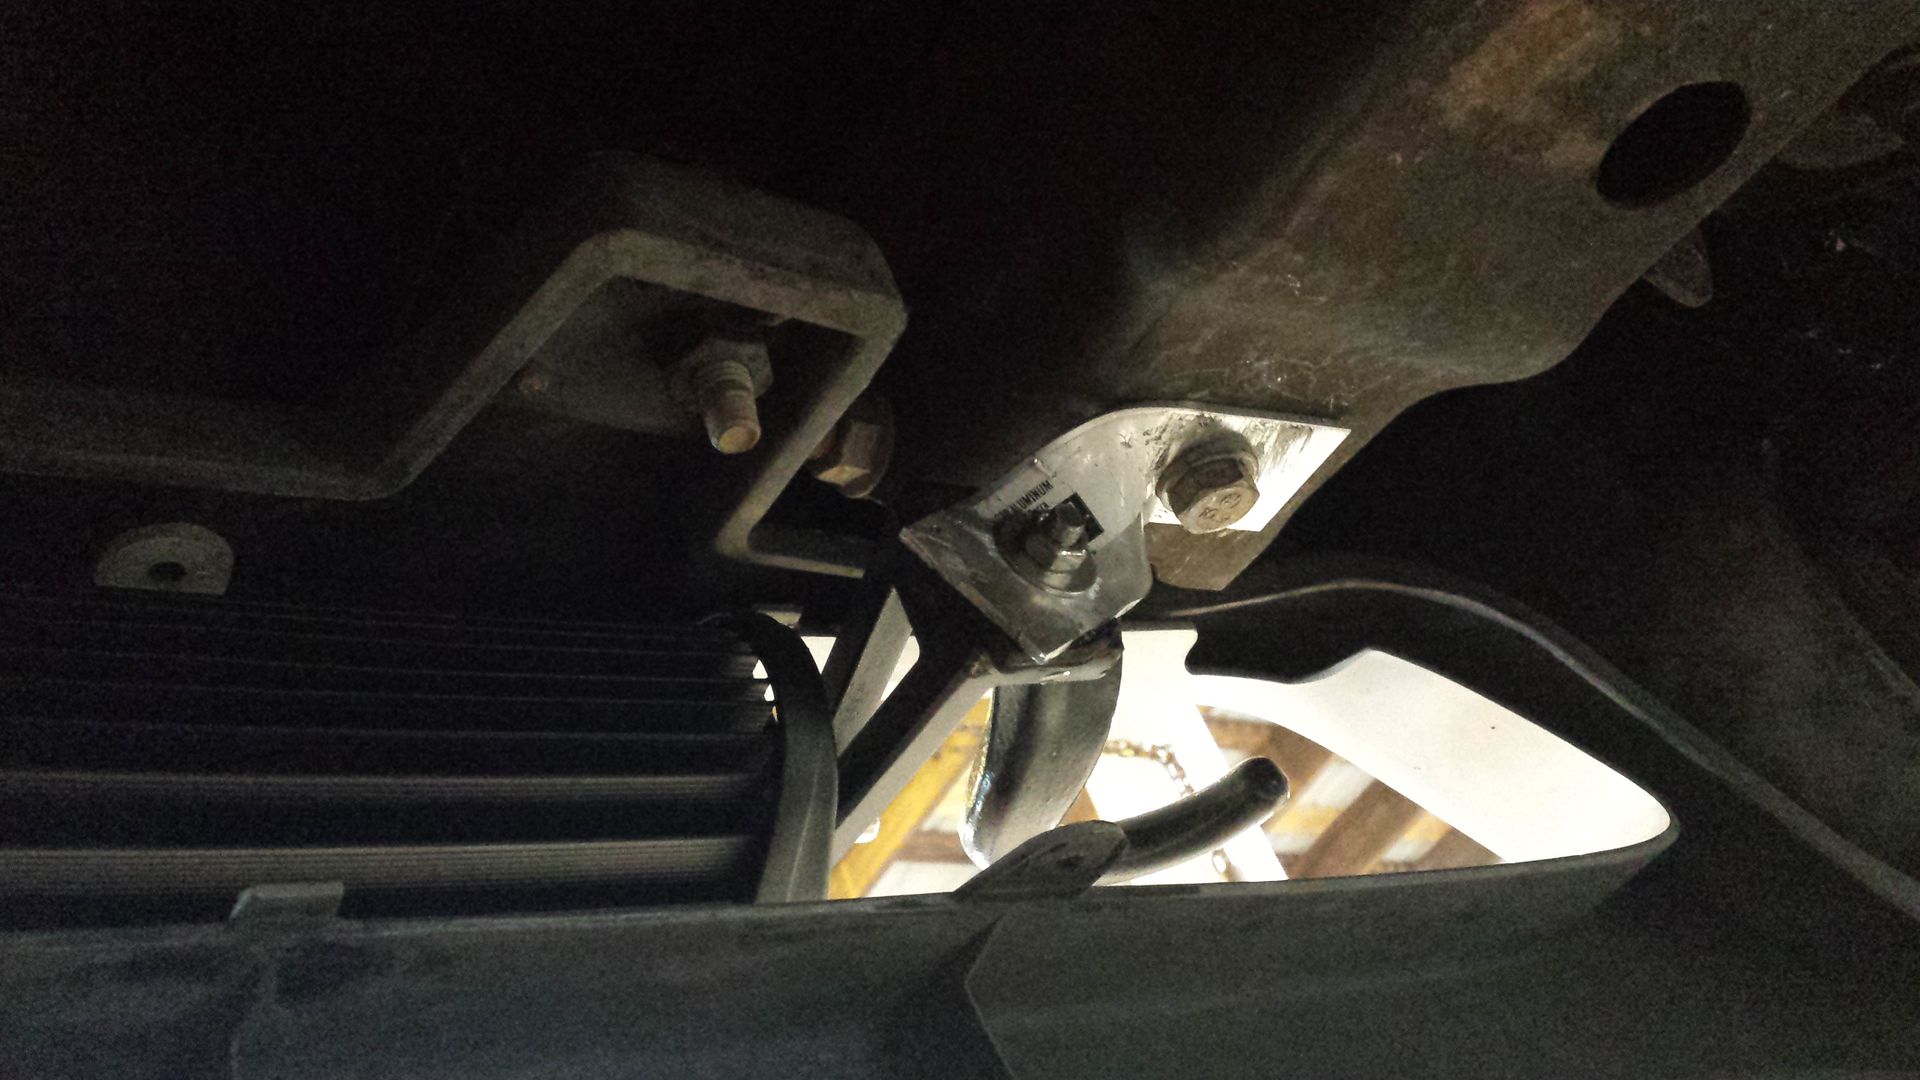
Reattach the stock bolts, your brackets, and your new lightbar