1986 Honda 350 Rourtrax starter engaugement?

1986 Honda Fourtrax starter noise when key is turned off with engine idling, sounds like starter Bendix gear engaging briefly right when engine dies??????

Sounds like starter bendix briefly engages as the engine dies when key is turned off and engine at idle???

Has a brief noise that sounds same as when starter bendix engages when cranking when the key is turned off and the engine dies. (Only has this sound for last second of engine dying when at idle???:huh:

I’m almost certain it’s the starter Bendix engaging, but might be wrong again.

Is this normal on these rigs or why?????:huh:

Sportsman 700 clutch questions

2005 sportsman 700 efi

Can I run non ebs drive clutch with ebs secondary?
It had ebs but now the drive clutch is a standard non-ebs clutch and Now the secondary spins at idle. Which non ebs polaris belt # do i need or should my ebs belt work? Fyi the secondary is still the one that came with the atv new ,(ebs) and before i converted to the non ebs clutch everything was fine. The ebs clutch was all cracked so i put on a non ebs.

2006 Kodiak 400 help please

Newb alert!
Thanks for reading.
New member, my name is Don. I live in Columbia, SC.
I recently purchased a nice, clean, 2006 Kodiak 400 4×4.
I am having a problem with the engine losing power, cutting off and failing to re-start.
a little more info- The engine starts right up and runs as good as I would expect from a carb (I’ve had several honda atvs, carbs and FI). The problem can occur cold, warm or hot. Sometimes it will run all day w/o issue. When it dies it goes from running great then seems to completely lose spark or fuel abruptly, dies and will not re-start. If you try to crank it the starter spins over as normal (kill switch kills starter not just spark fwiw). If you wait a while it starts at the first touch of the button and runs great. Thatmay take 10min to overnight.
I realize I am likely losing spark or fuel. I have also wondered if debris in the carb or on a filter could be starving the engine for fuel.
Any help for a starting point would be appreciated. I am reasonable mechanically inclined. This machine is in good shape and I really like it when it runs well.

I will take any help I can get. If you know of a reasonable mechanic not too far away I’m not too proud to pay someone else to fix it.

Thanks!

2005 Rancher Leaking left Rear Axle

My first introduction into owning an ATV isn’t going well so far. The left rear wheel has a leak so it seems I need to replace the oil seals. One out near the wheel (91252-HA0-004) and one near the differential (91255-HA0-681). It also appears the previous owner just rigged things back together rather than fix them properly. I Had a terrible time trying to remove one of the lug nuts. After finally getting it off, I realized why. The threads were almost complete gone on the stud (see picture 1). I thought, no problem, I’ll just replace the stud. No luck. It seems the previous owner welded it to the hub (see picture 2). I finally managed to get the stud back by using a die to clean the threads. I can now run a lug nut down it. I do need to buy a lug nut to replace the one that was torque’d down to tight. The next obstacle was the axle nut. It did not have a cotter pin which should have been my first clue that something was amiss. Using a 30mm socket, I could not break it loose. Even after soaking with PB Blaster and getting my son to stand on the rear brake, I could not budge it. I finally got the propane torch out and heated and then gently banged on it with a hammer. After repeating this several times, it finally broke free. I figured the next struggle would be getting the hub off the axle, but to my surprise it tapped off pretty easy. It was about time for some good fortune. The threads on the axle shaft are a little rough (see picture 3). I’d like to clean them up with a die. According to the parts list, it’s 20mm. Does anyone know the pitch? I’ve seen dies with a 2.5 pitch, but not sure if this is correct. So, to put it all back together, I plan on purchasing the following:

2 previously mentioned seals
new axle nut (90304-HM7-A10)
a couple of lug nuts (90314-HM5-A10)

Am I missing anything? Everthing else seems in good shape (knock on wood). The swingarm parts diagram shows an oring where the left shaft housing assembly mounts to the differential. Should I replace this oring? Also, for the outer bearing and seal, do I pack this with grease. Thanks for the help.

Again, if anyone knows the pitch of the axle shaft, that information would be much appreciated.

Attached Thumbnails

Click image for larger version

Name:	lug_nut_stud.jpg
Views:	N/A
Size:	1.66 MB
ID:	58921
 

Click image for larger version

Name:	welded_stud.jpg
Views:	N/A
Size:	2.00 MB
ID:	58929
 

Click image for larger version

Name:	axle_shaft.jpg
Views:	N/A
Size:	532.6 KB
ID:	58937
 

How to- Strap for atv snowplow instead of rope or cable

Figured as often as this comes up, plus fact I had to hook plow up today for possible 2-4" of this white crap tonight/tomorrow I’d make a thread.

Atv snowplows are not nice, as most of us know, to steel cable on our winches. All of that weight working back and forth on the same 8" of cable begins to break the cable down/apart, it starts to fray, and eventually breaks the cable. So then you need some clamps and 1/4" ratchet to repair and get going again.

The new synthetic rope, while man’s gift to those of us who use the winch alot for riding, really isn’t upto par for atv snowplow lifting. Heat kills these ropes, and with all the weight of the plow, or weight of plow filled with snow in a bank, all that lifting pressure on the rope sliding over the hawse opening or roller places alot of friction on that contact point, which turns to heat, which breaks down the rope and eventually breaks it. Nice thing is a simple pocket knife gets you on your way again when it breaks, but breaking winch line while plowing is no fun, and even less fun if plowing either steel or rope breaks it down, but doesn’t snap until your stuck and trying to recover your atv or your buddy…adds insult to injury so to speak.

Alot of us know using a 2" strap is the best scenerio, wide distribution of weight across the strap and so long as the hawse or the roller are in great shape, it will last for seasons without issue.

That being said, this is how to retain you winch use for times your not plowing and decide to drift bust, all because some guys actually unspool the rope/cable off their winch and remove it completely and just install a chunk of strap for plow duties. I don’t like that since mines a worker, but also a toy, so quick change over is my preference.

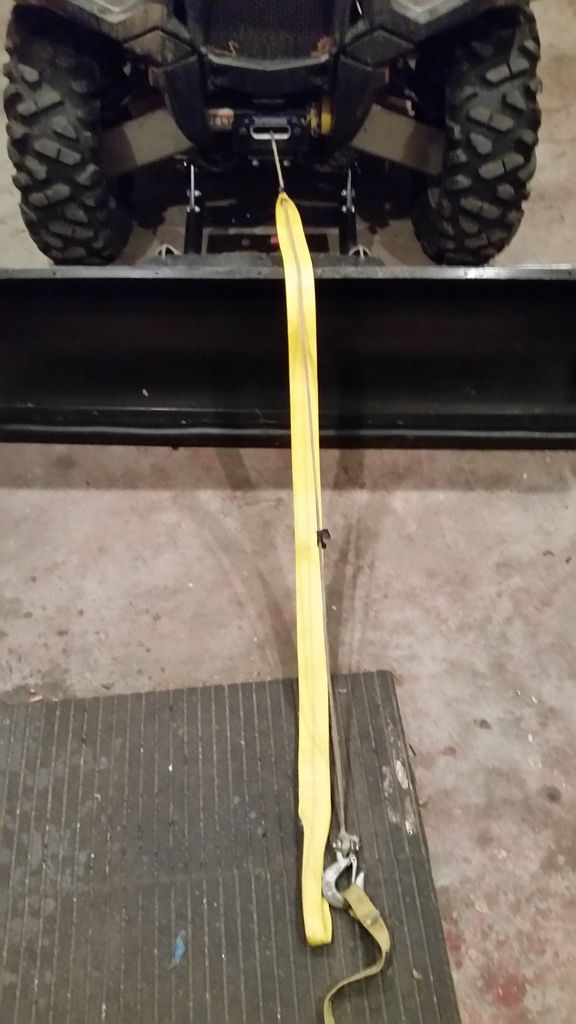
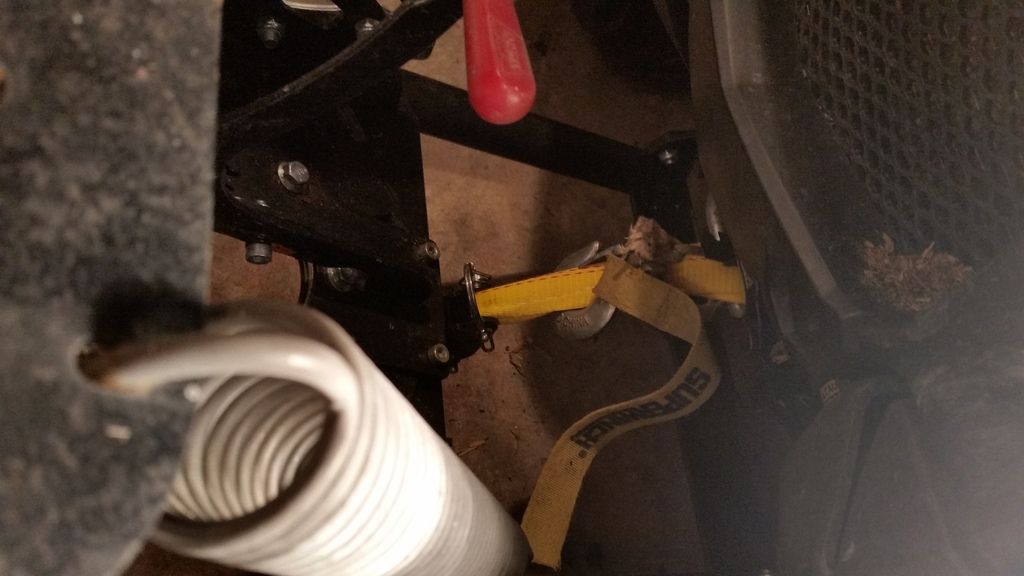
I cut a good 4′ chunk of 2" strap (boat winch trailer strap or in this case, I used a 6’×2" wide lifting sling cut to about 4′. Frees pool your winch and pull out about 5′ of rope, then reengage winch selector from freespool to engaged. Match the end of the strap to the end of the winch hook.

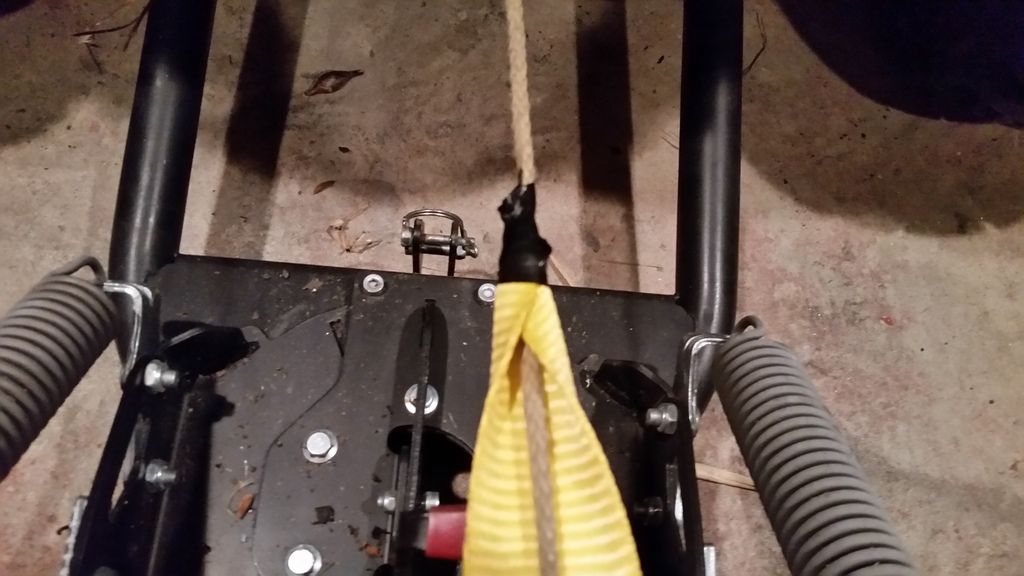
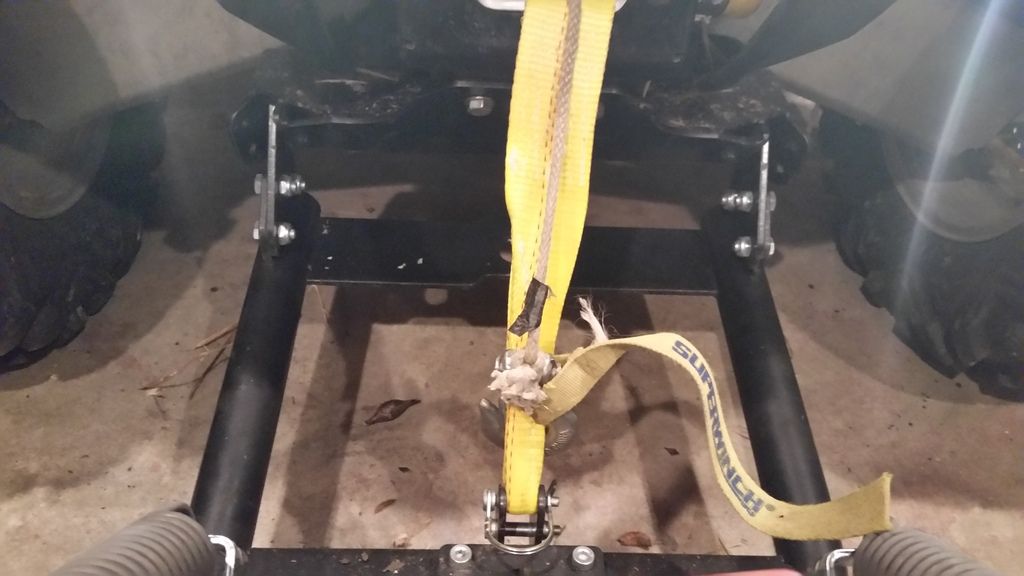
I’ll then grab hook end and strap end, and walk back the strap to keep them approximately the same length to find where I need to attach strap to the winch line. Be sure to put strap under the rope so strap will be in contact with the roller or hawse and not the rope, the rope at this point is just along for the ride. Now I just fold 1 corner of the strap end over the rope, then fold the opposit strap corner over that previously folded strap corner, then I use electrical tape to keep the strap folded onto itself and wrap with tape out onto the winch rope to temporarily tack it into position

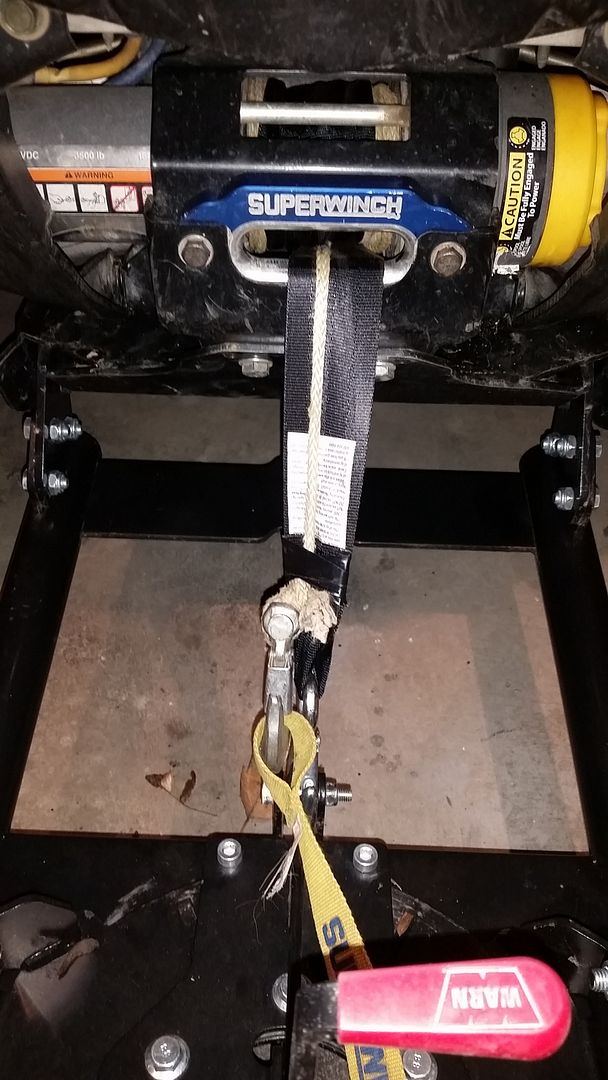
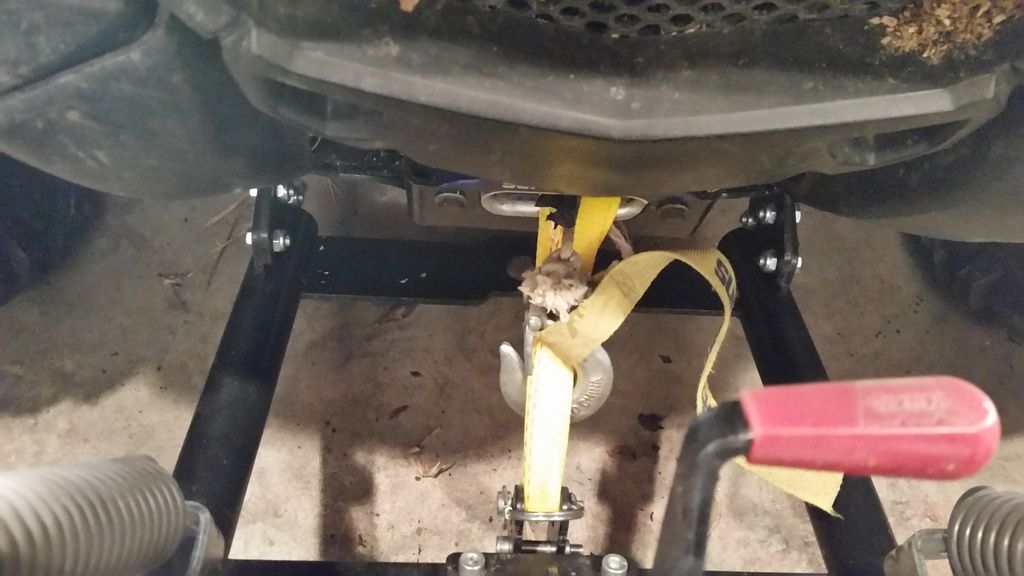
At this point, I’ll lightly hold the strap/rope combo and begin to reel it back onto the winch spool. Once it’s on the spool and has a few wrap it’ll hold itself strongly and you can really put some tension on it for final reeling in of rope/strap.

Last winters setup but couldn’t find my strap, prolly find it tomorrow

Then your free to lift your plow to check your handy work

Now the best part, when your done working and want to have fun in the white stuff but still want to have a winch just in case, unspool rope, remove electrical tape/strap, reel.back in, have fun. Took longer to make this post than it does to do this, take about 5minutes total to strap up or about 1 minure to remove.

Chains designed for your personality!

Visit Us On FacebookVisit Us On TwitterVisit Us On YoutubeVisit Us On LinkedinCheck Our Feed