Installation on a SP 850 with hand guards

I installed the DX Trigger on my SP 850 with Polaris brush guards today. Before I get into the installation and modifications, I have to say the the DX Trigger is one nice piece of engineering. Everything is first class. Fit, materials and finish far above some of the stuff that is for sale today. I had it on and off the handlebars a couple of dozen times and took it apart two or three times to modify the aluminum lever.

I did take my time, made baby steps and took pictures along the way. My goal was to eliminate any interference and to preserve as much of the original trigger and brush guard arm as possible. As long as I had all the tools out and things taken apart, I replaced my Polaris grips with heated grips.

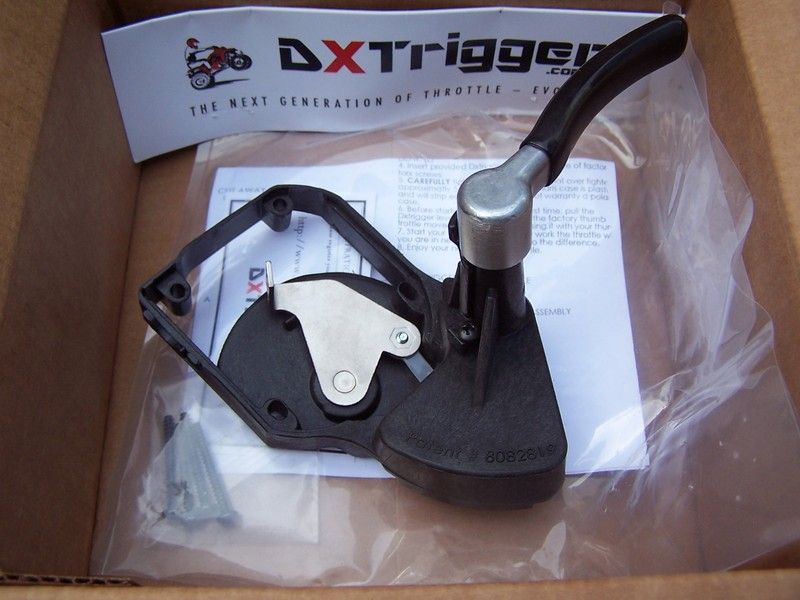
Onto the pictures starting with the trigger in the box. Adequate packing and rapid shipping.
Here’s a shot of area that requires modification. If you do not have brush guards, the installation is complete. Remove the cap, put the trigger in place, install the cap with the longer screws, go test.
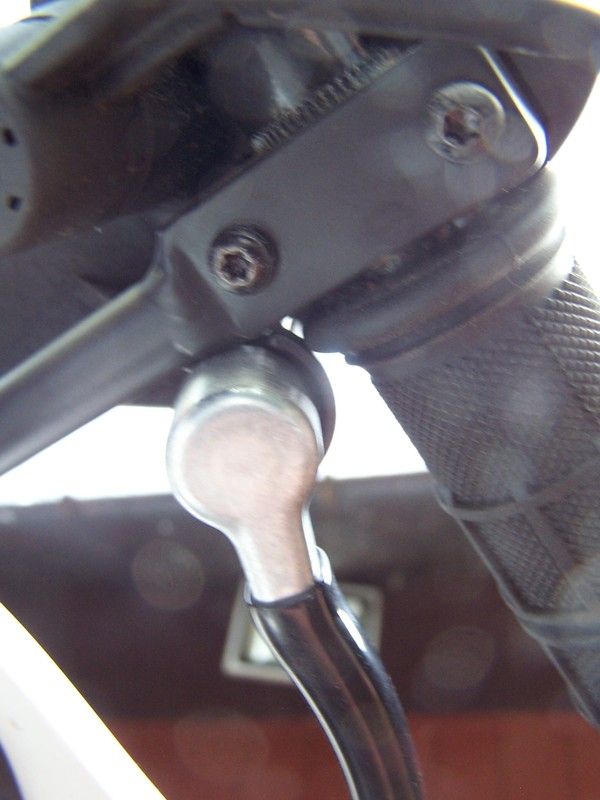
This is a shot of where the lever was rubbing on the guard arm.
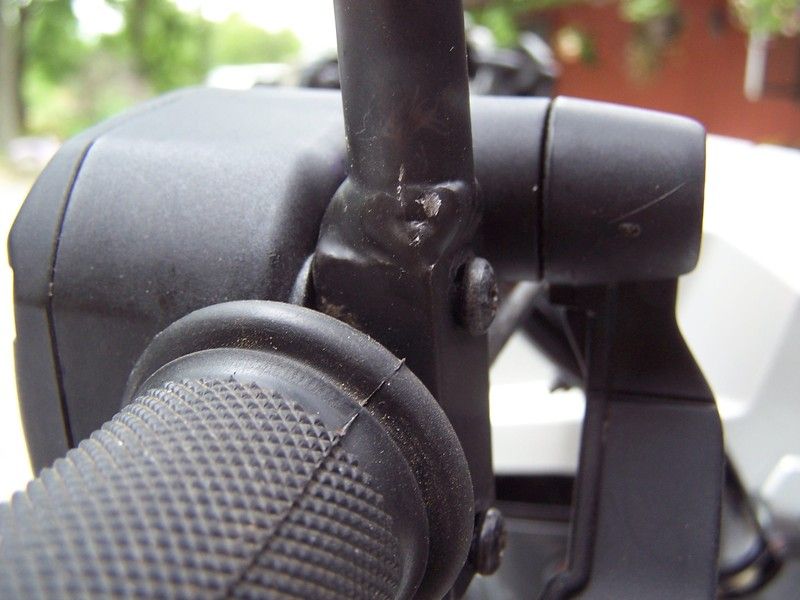
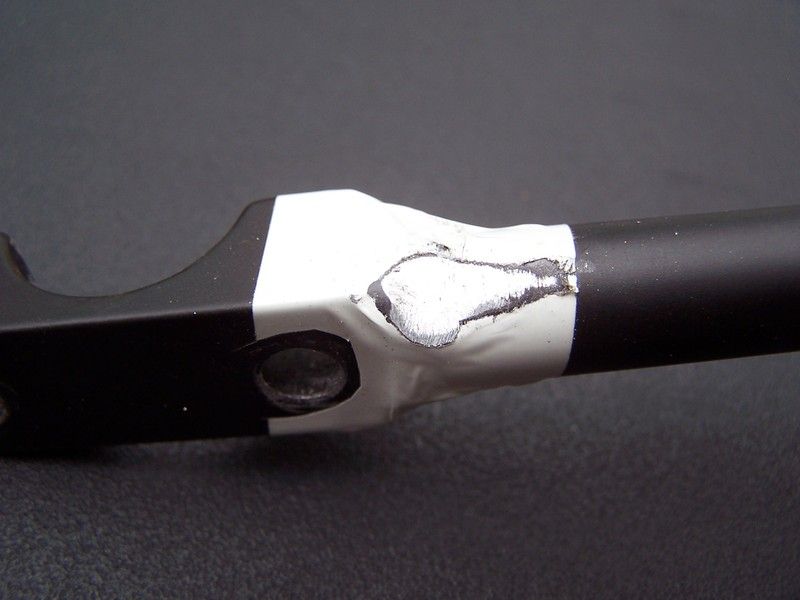
I covered the arm with some thin tape to better identify the area and provide camera contrast.
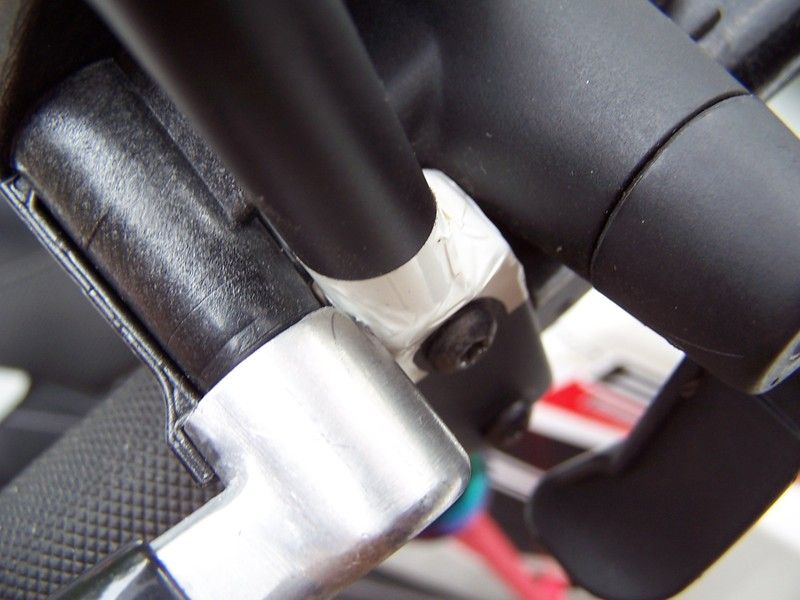
Here’s the area that needs attention
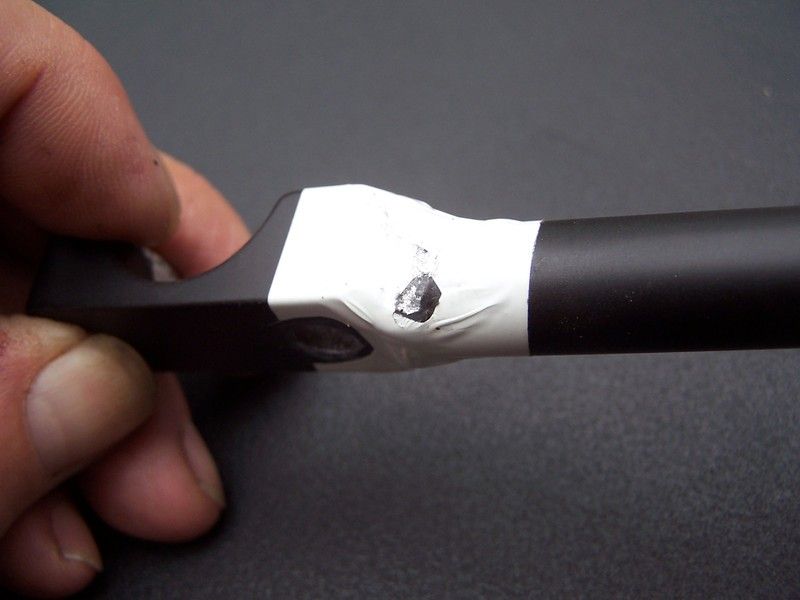
The arm and lever are aluminum. Use a file to remove material. Do not use a grinder.
I also removed some metal from the lever
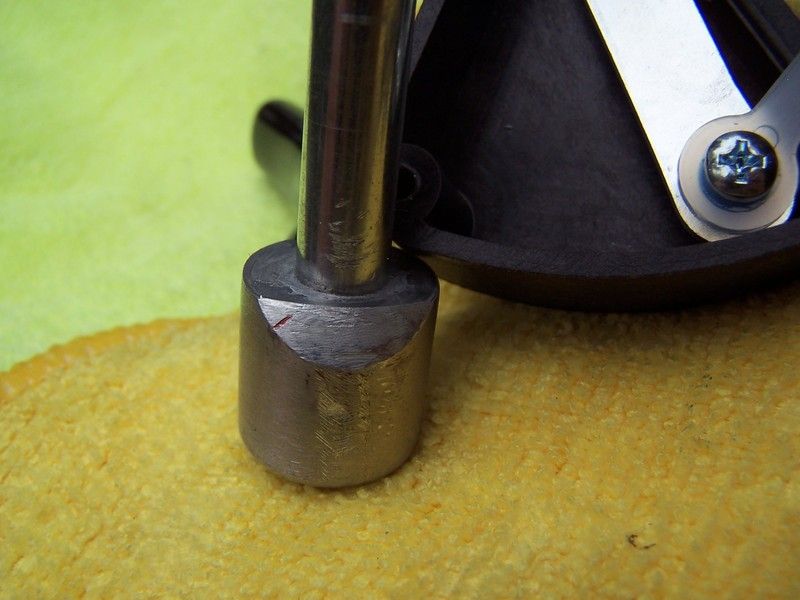
Red marker to see where it’s rubbing
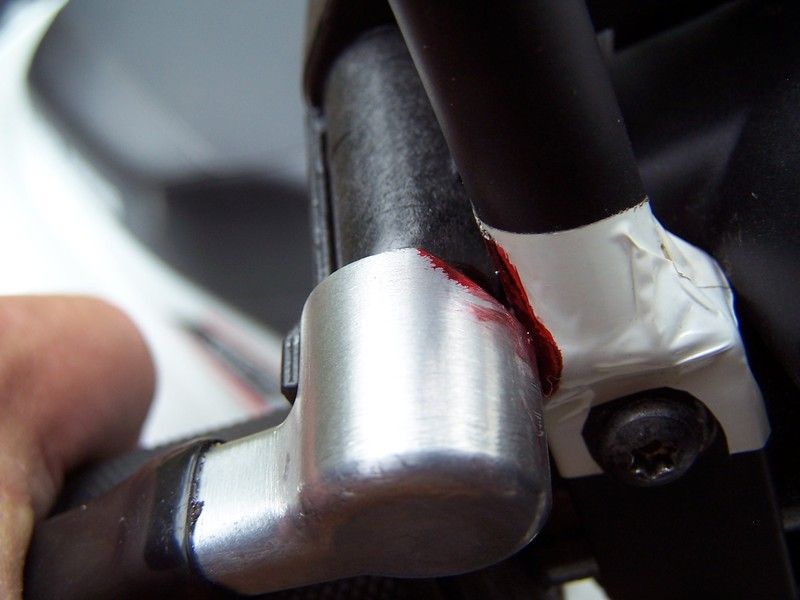
These shots show how much I removed. Millimeter scale
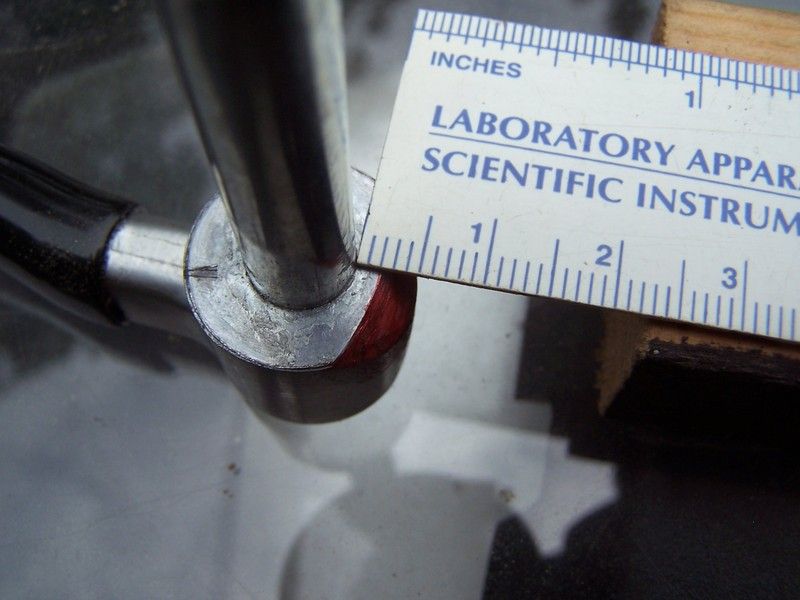
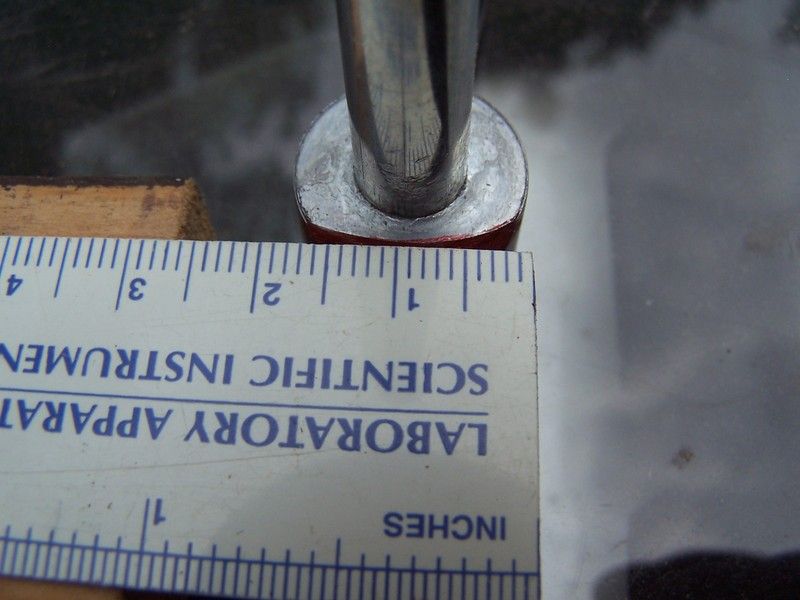
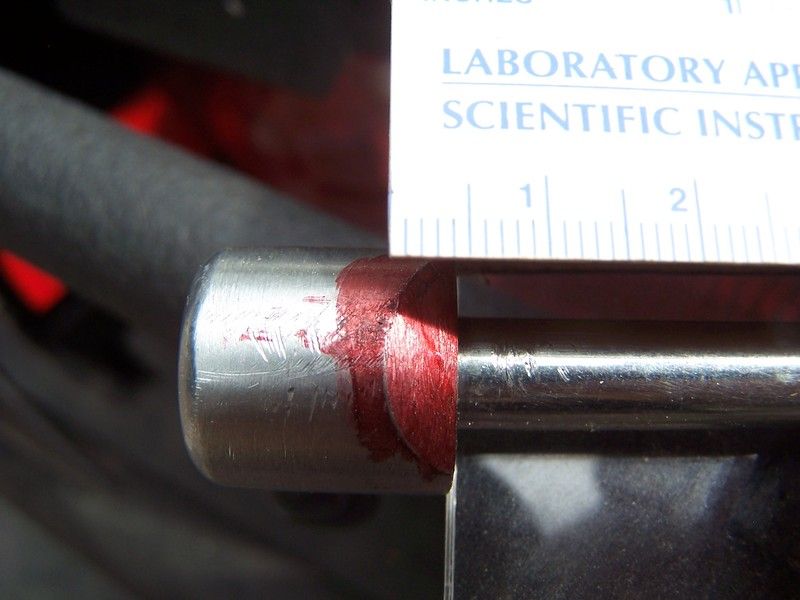
Trimmed a bit off the heated grips. Took a bit more than needed to give me some adjustment and I needed it when I got in the saddle and the throttle was too low.
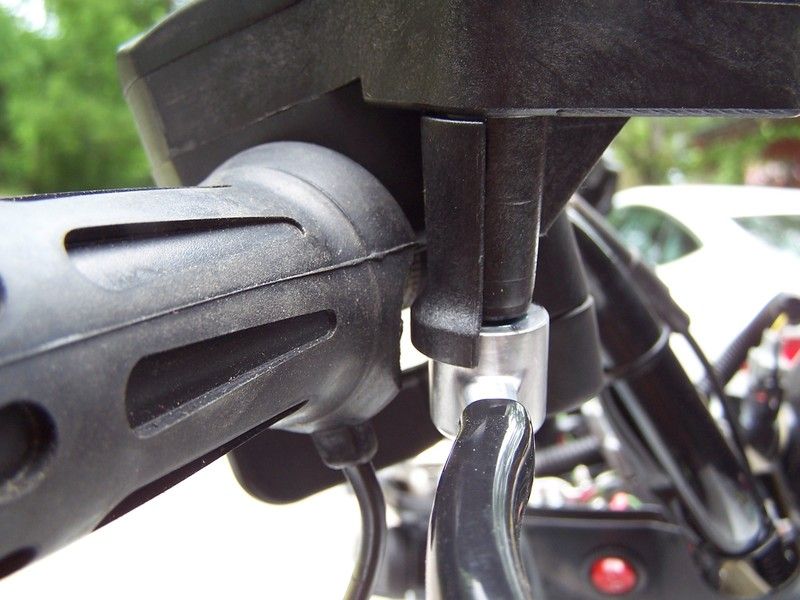
DesignsX10 – feel free to use the shots in this thread.