I had a hard time choosing a mounting plate as most of the ones i found required the front bumper to come off during the install and required the winch to be mounted upside-down and low in the machine. I settled on the Strong Made winch plate because it allowed for mounting the winch right-side up and as high as possible in the frame.
The install requires the removal of the plastic radiator guard and side shield on the left hand side of the atv. This was very easy and required the removal of one screw and three push pins.
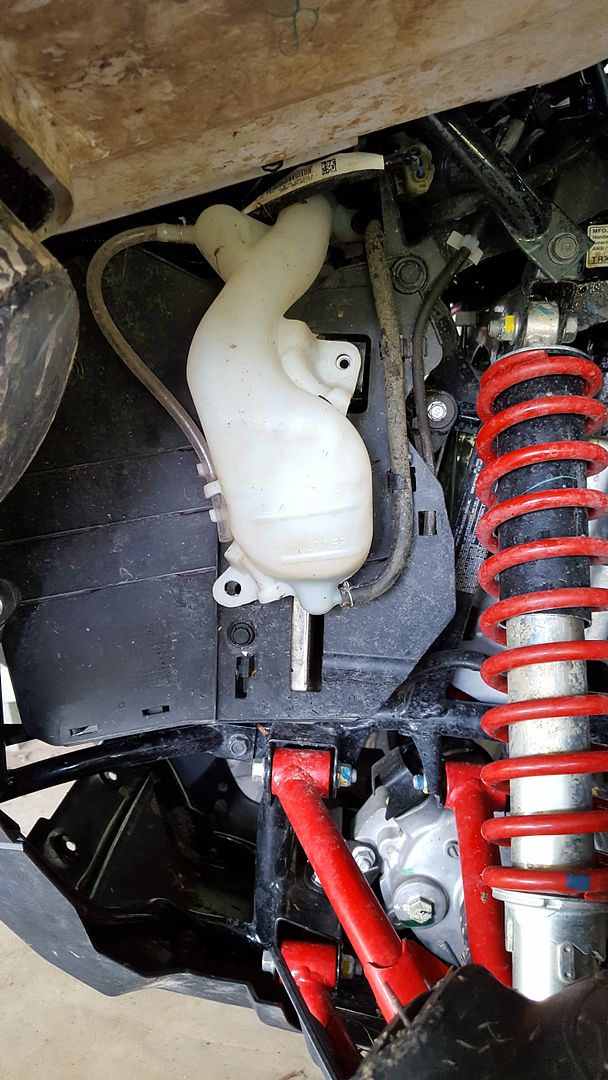
With the guards removed it the Strong Made winch mounting plate simply simply lays into place. The kit comes with two U-bolts and two screws to replace the ones that are required to be removed to install the plate.
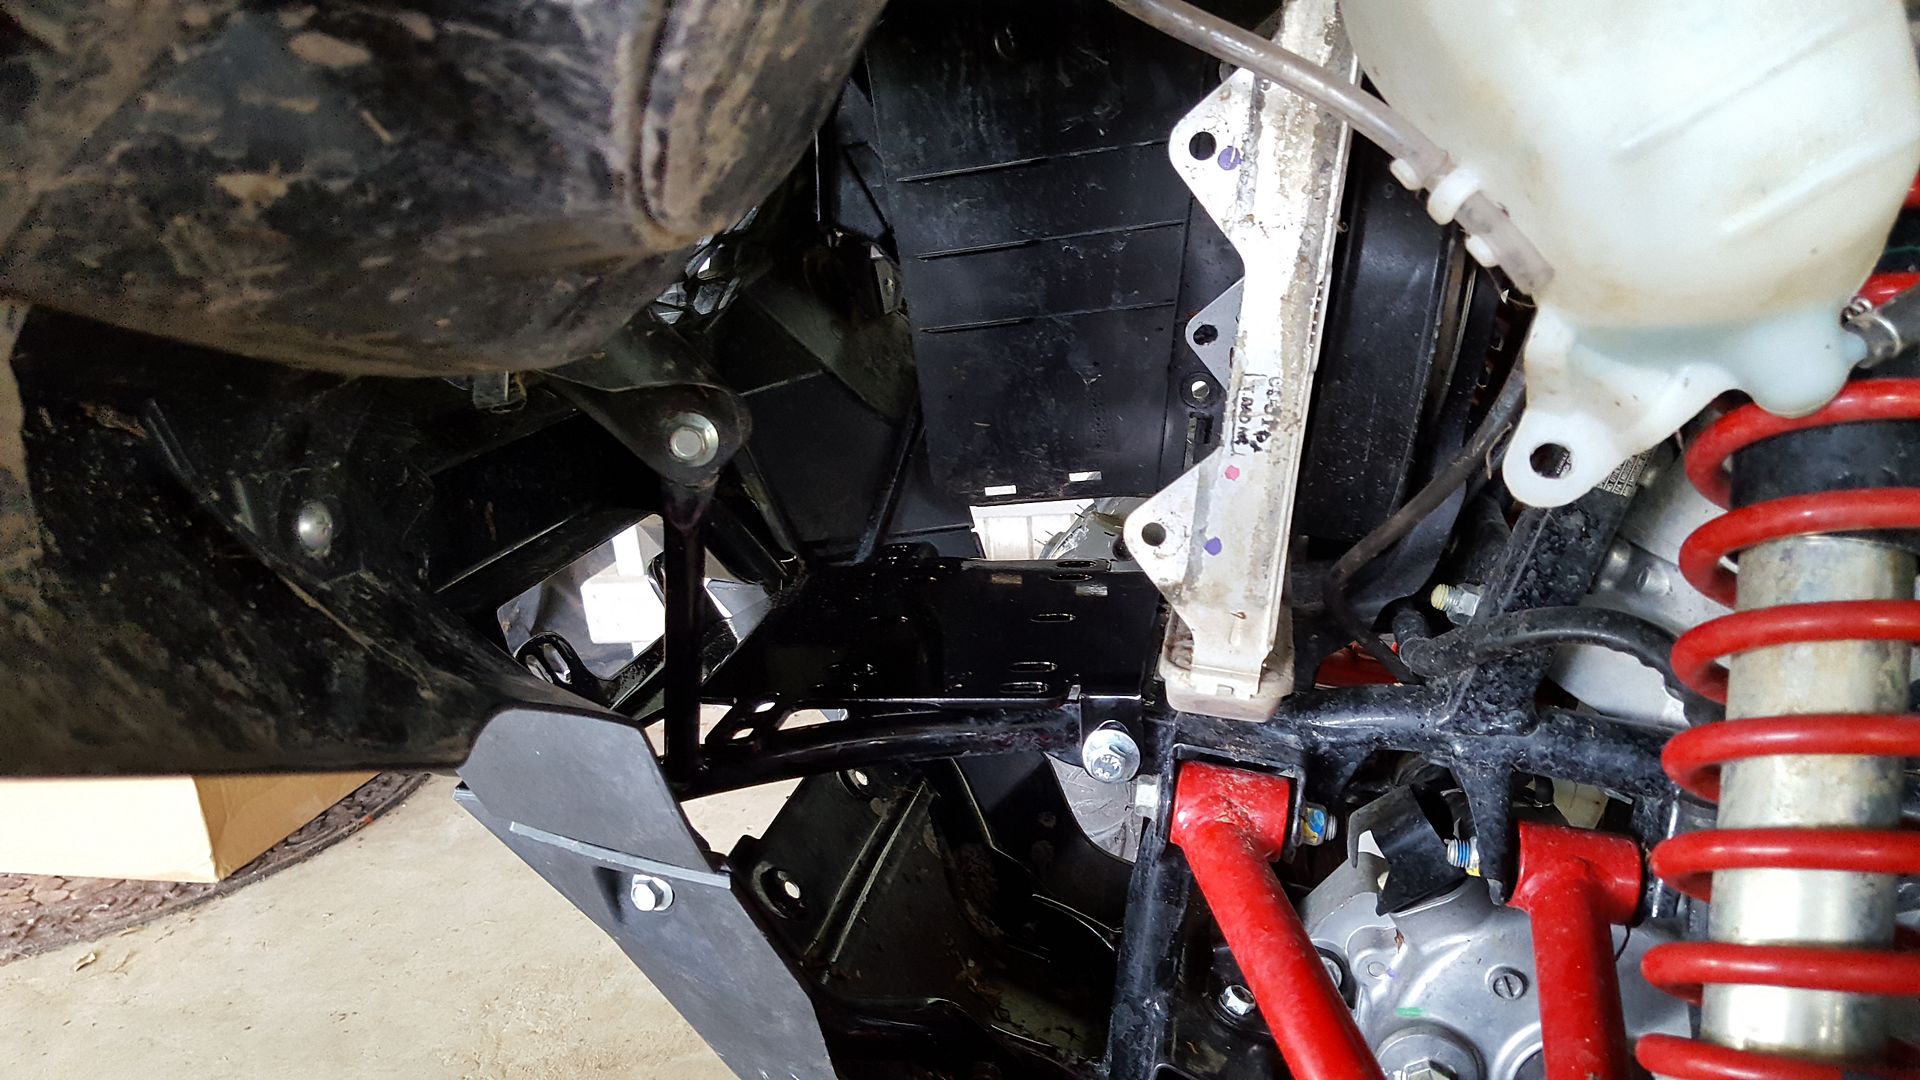
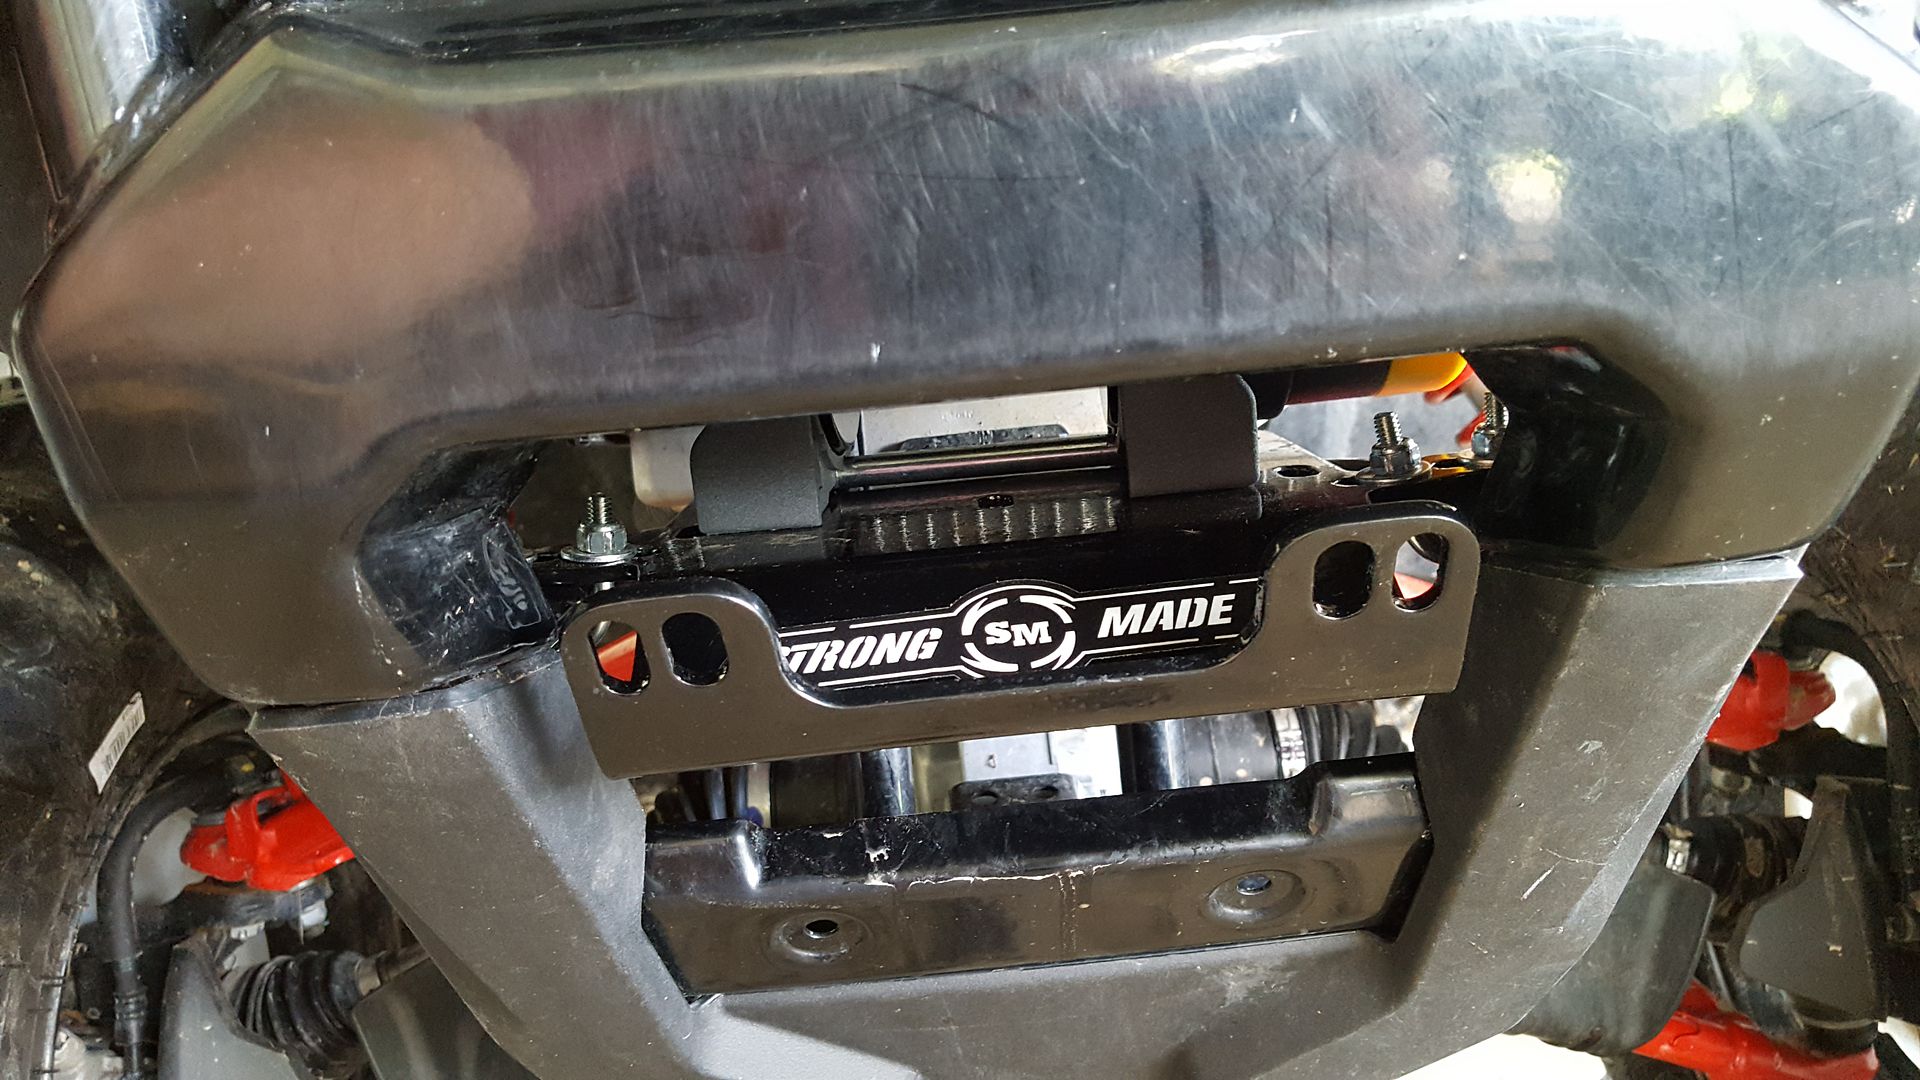
Now it is time to trim some plastic. Cut away enough plastic on the right radiator side guard to allow the winch to be mounted on the center of the plate.

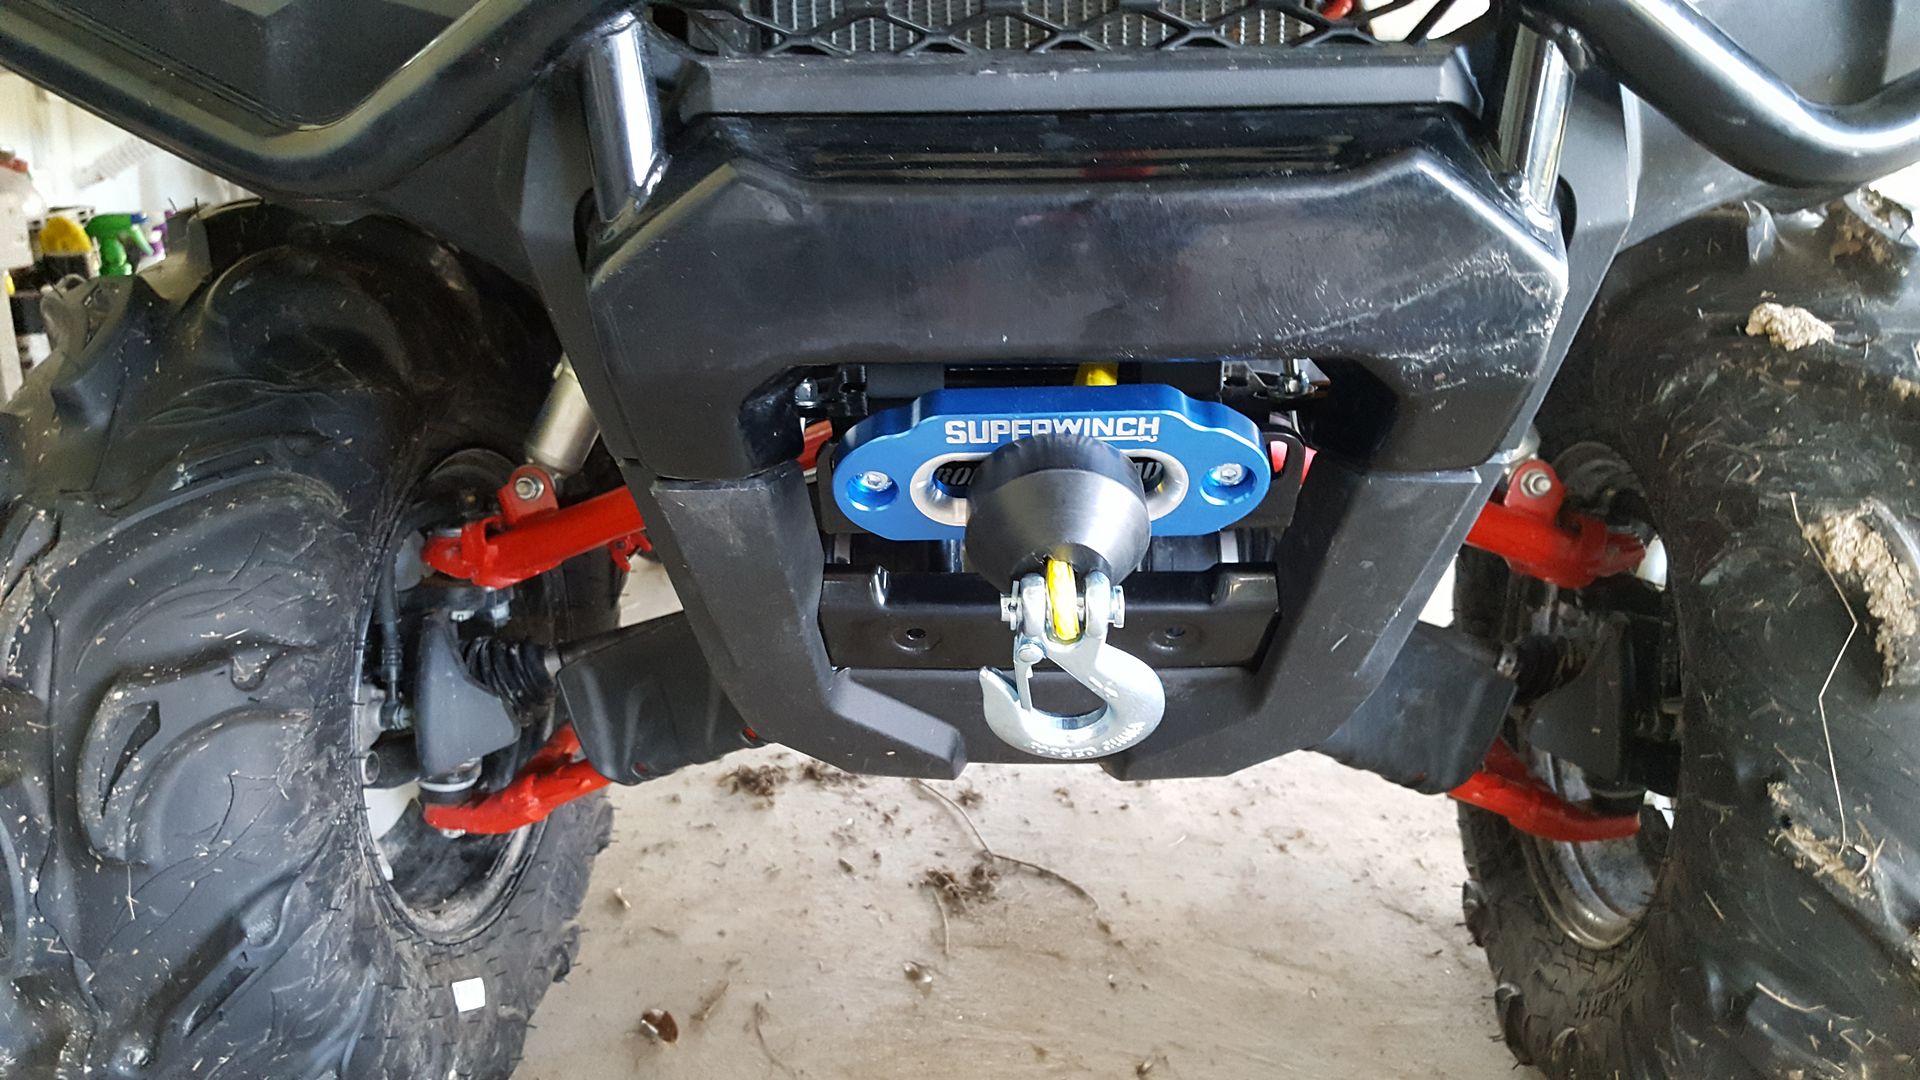
The winch can now be mounted on the center of the plate:
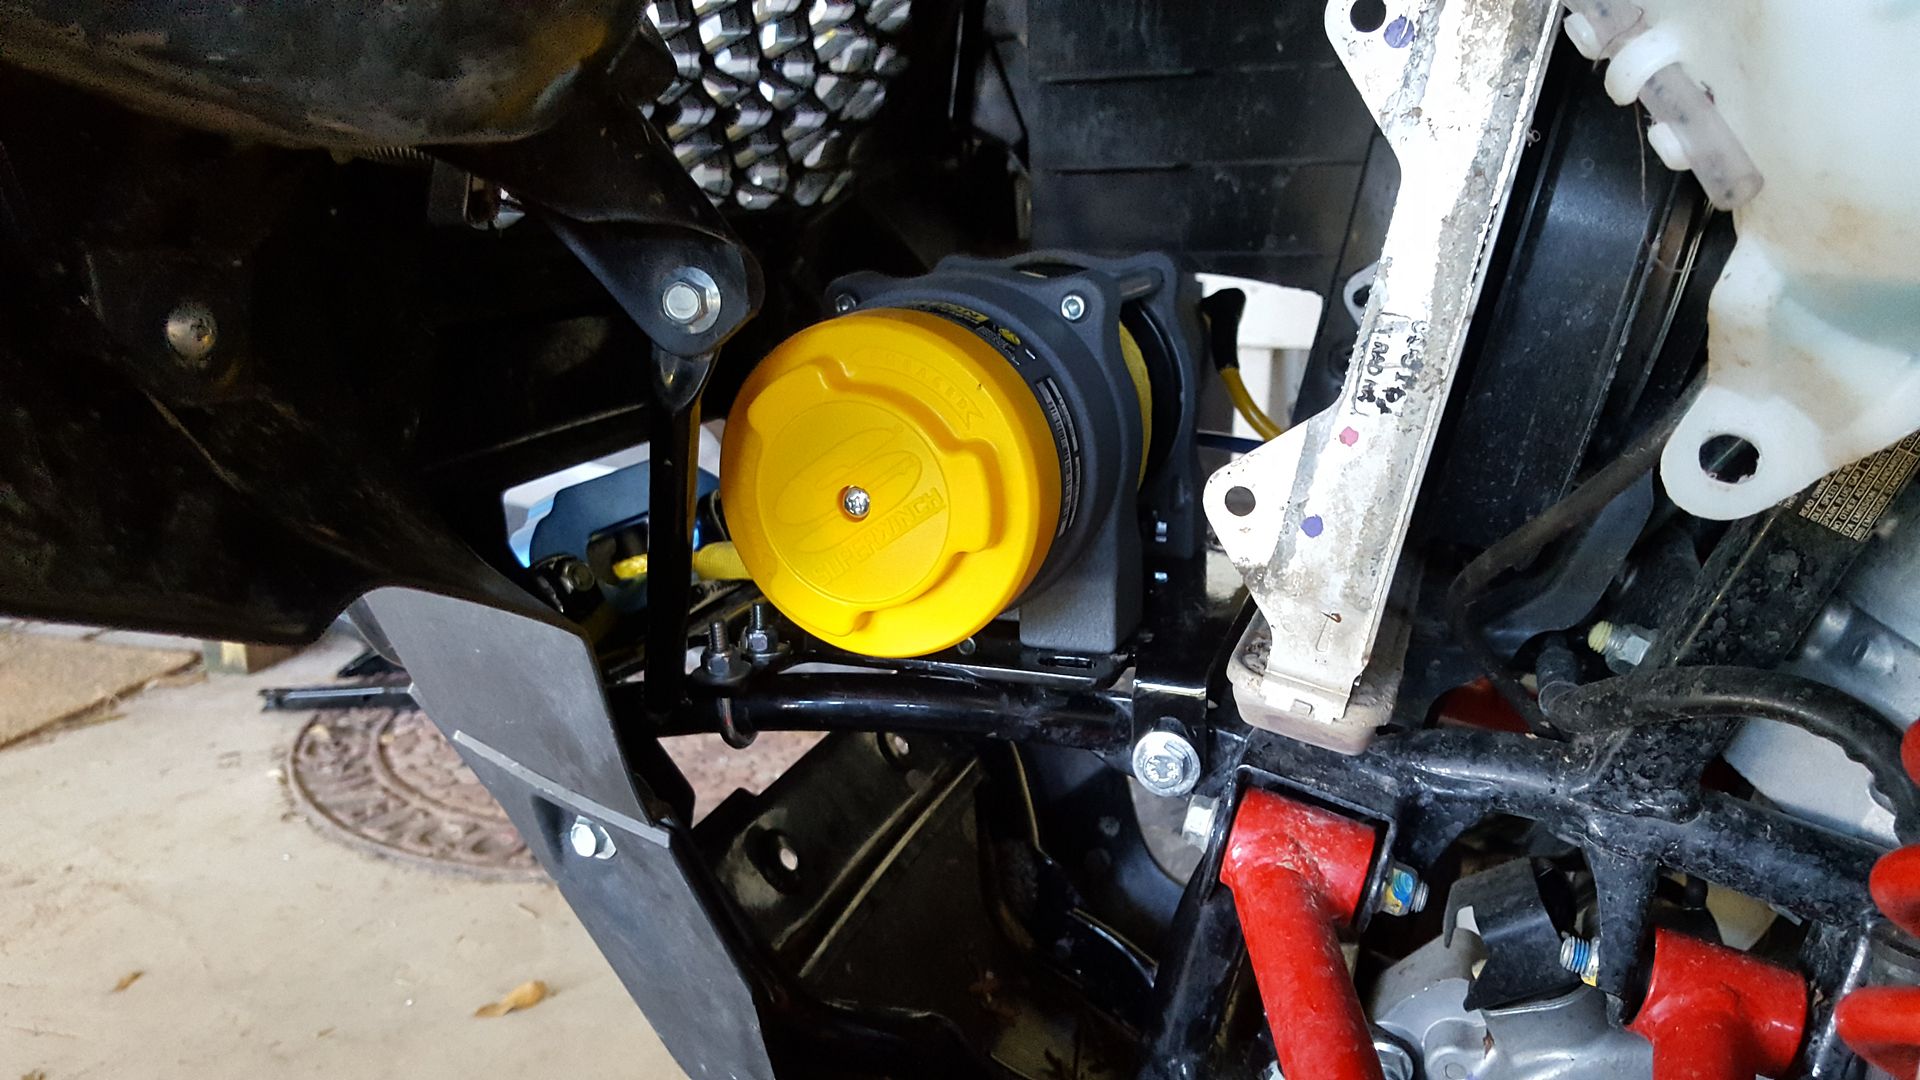
Next trim the left side guard enough to allow it to be reinstalled.

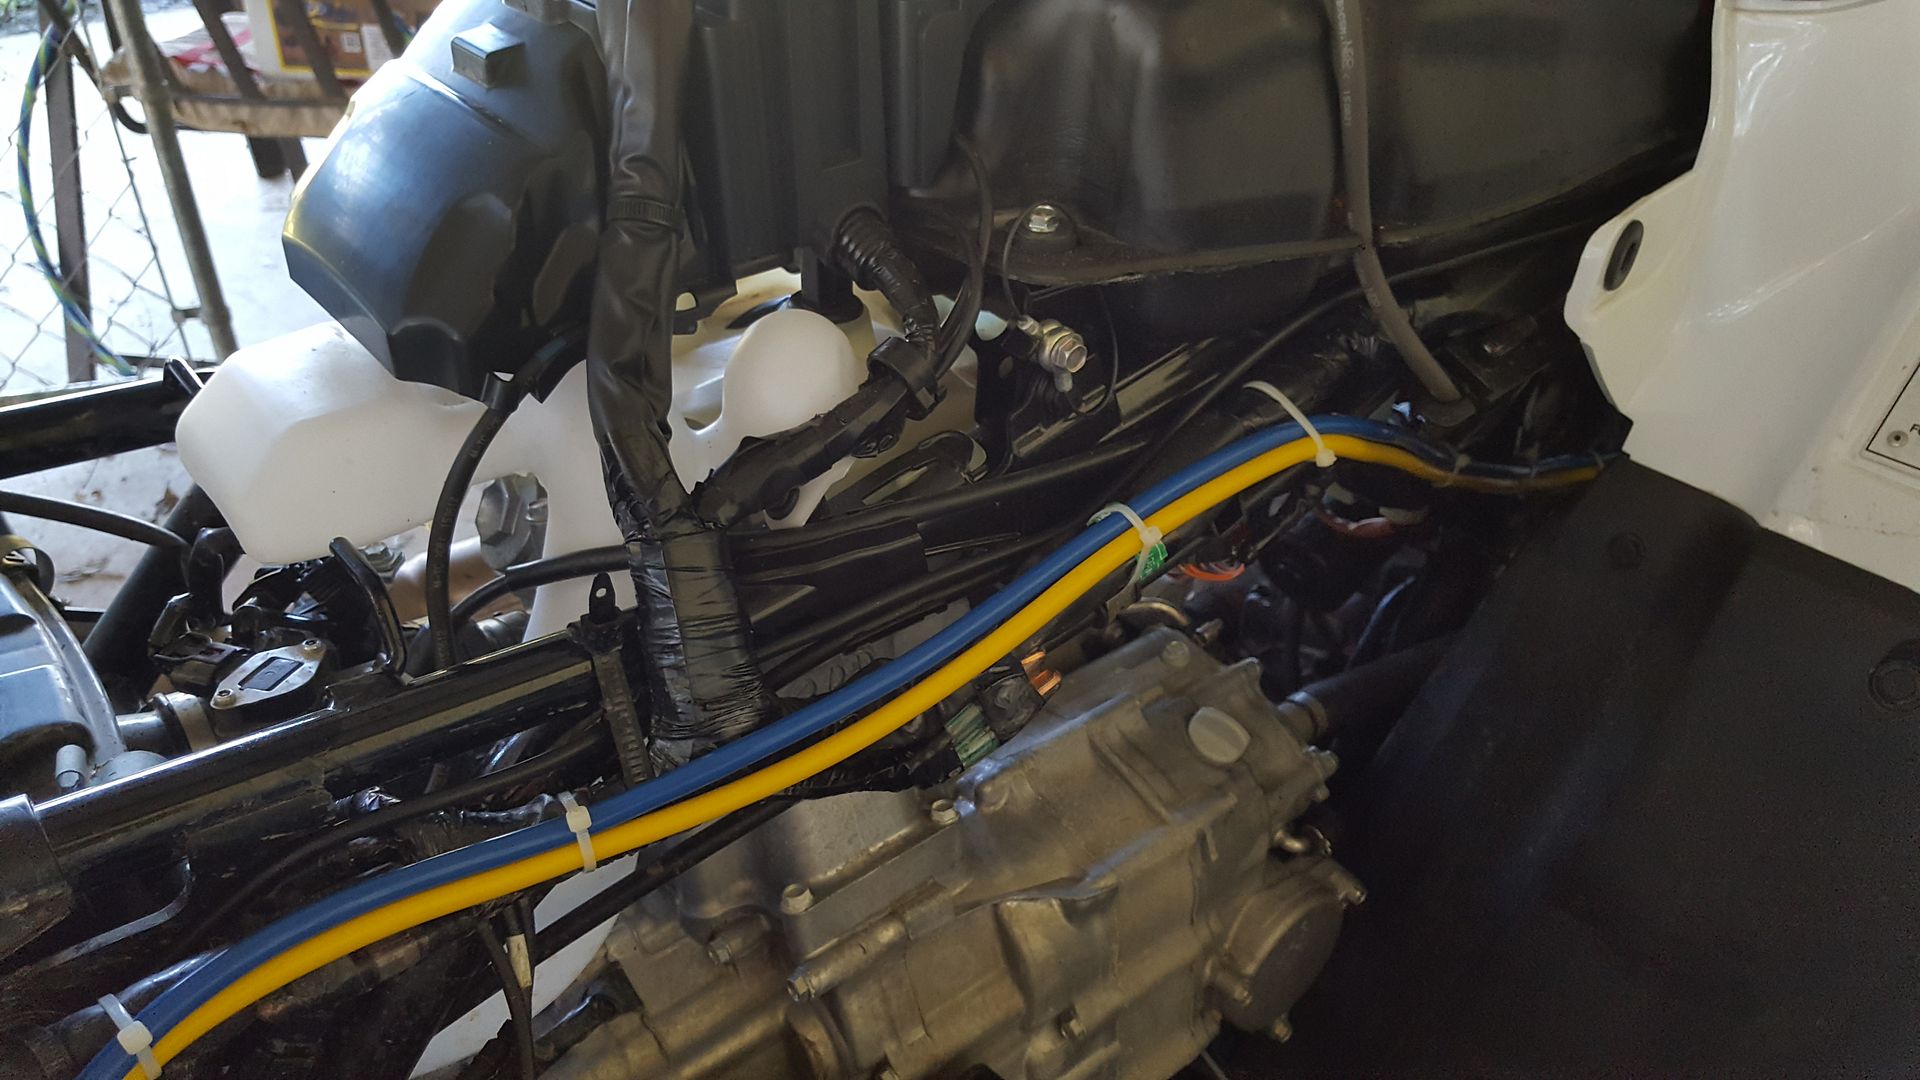
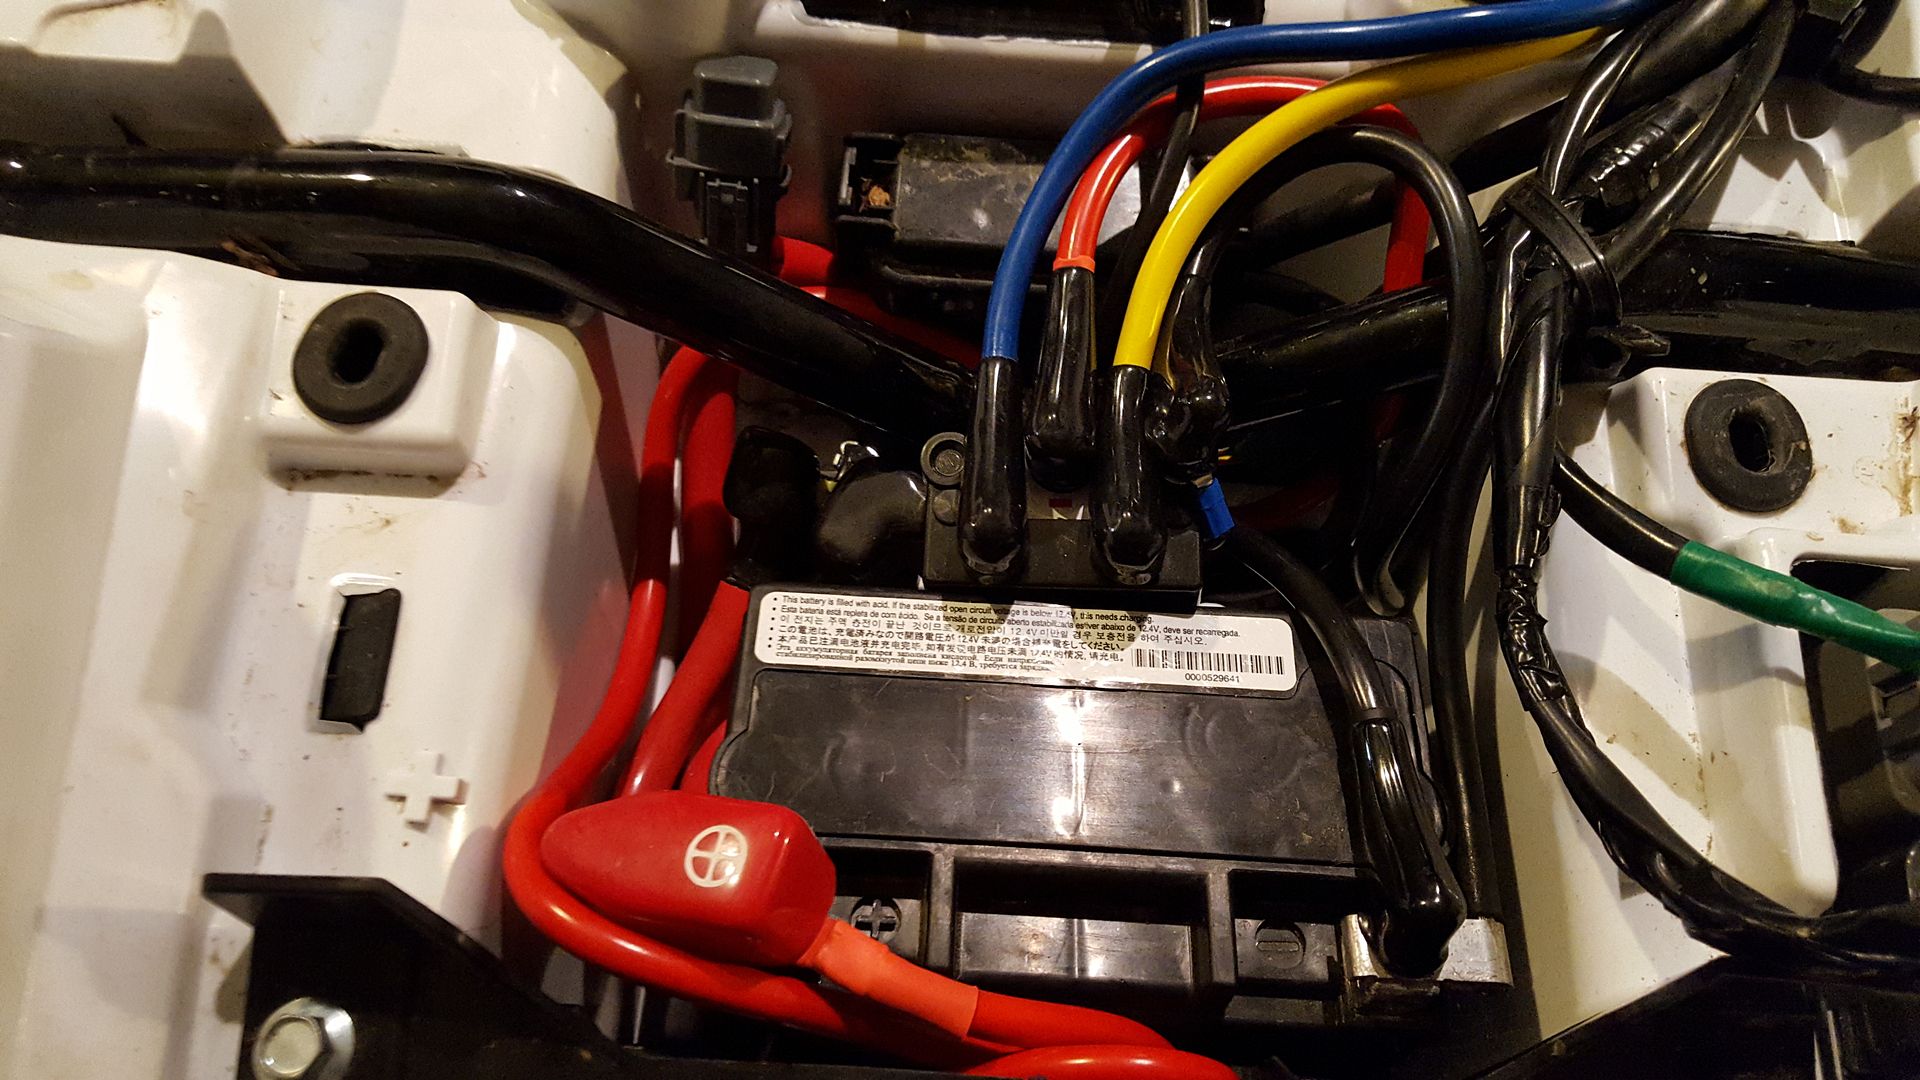
These next pics will show how i ran the wiring. I was able to follow the factory harnesses and even fit wires through the factory cable ties to keep the install clean.

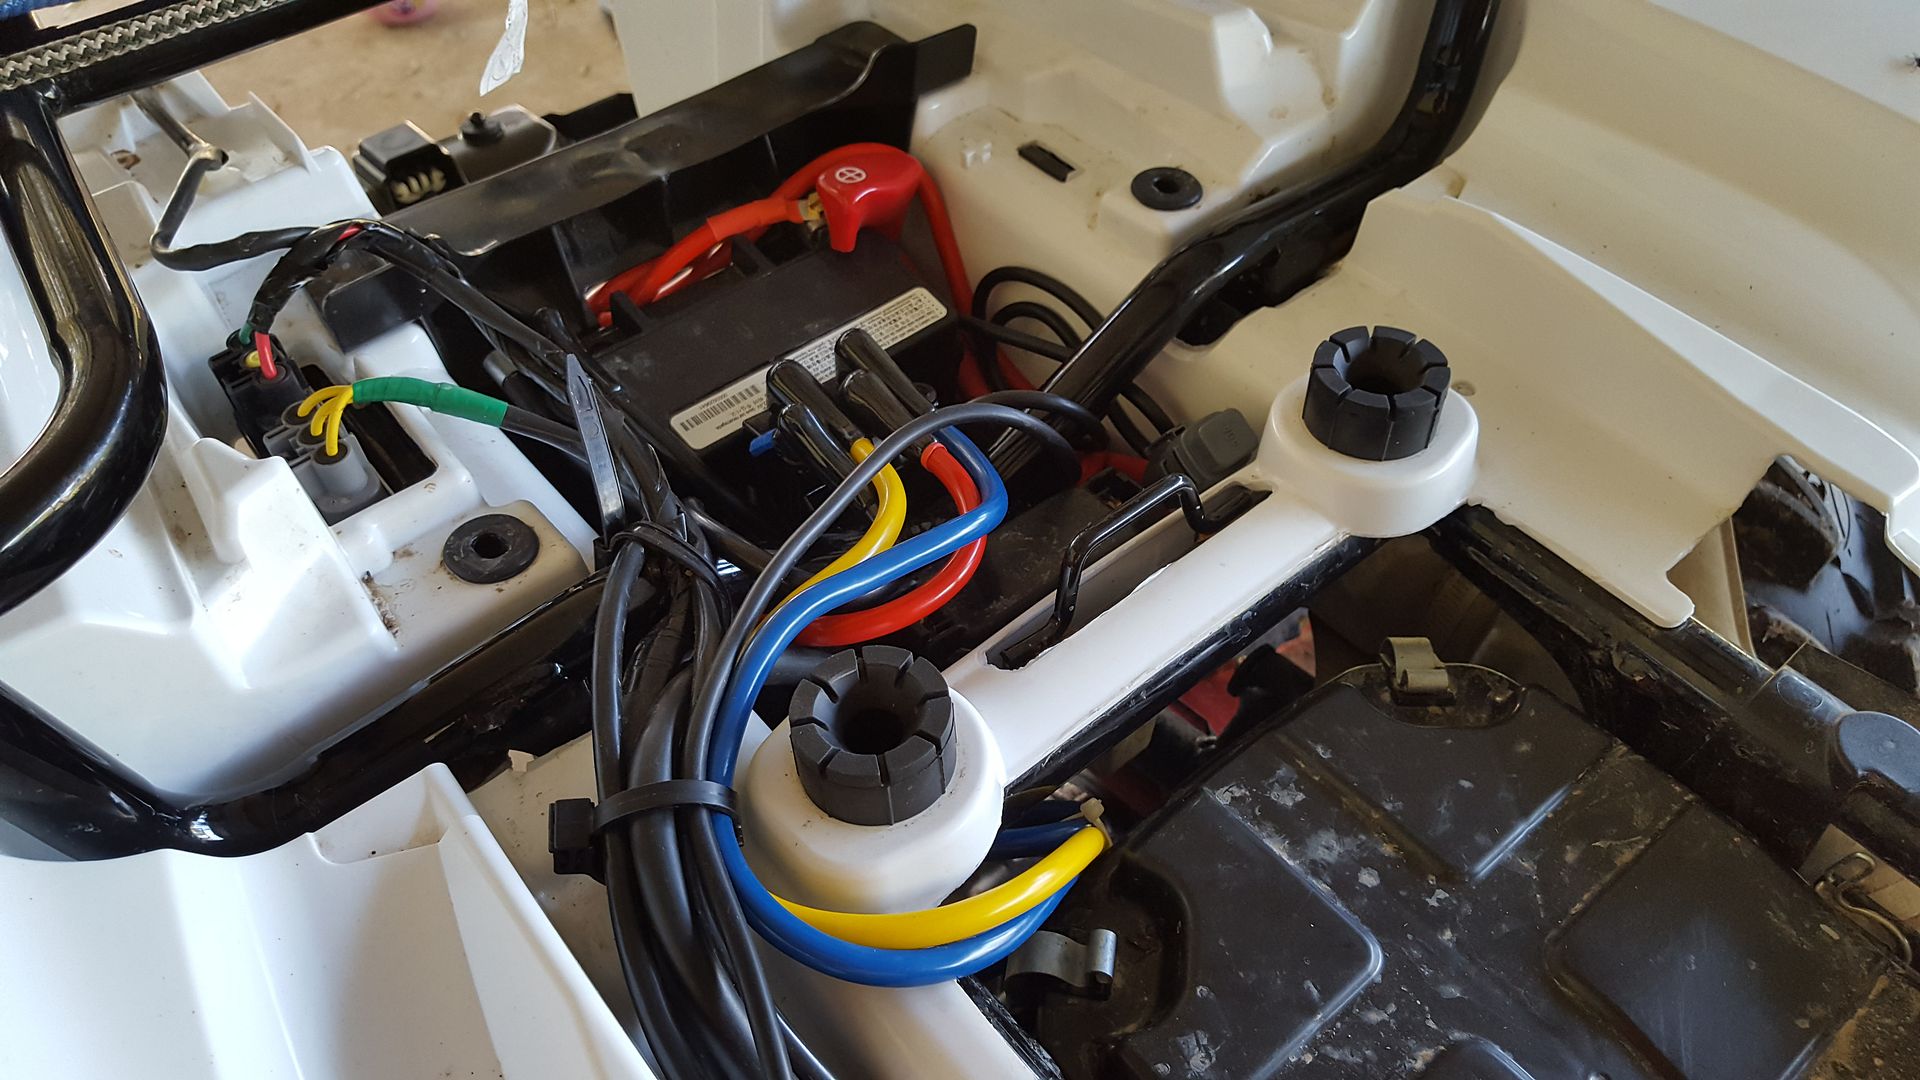
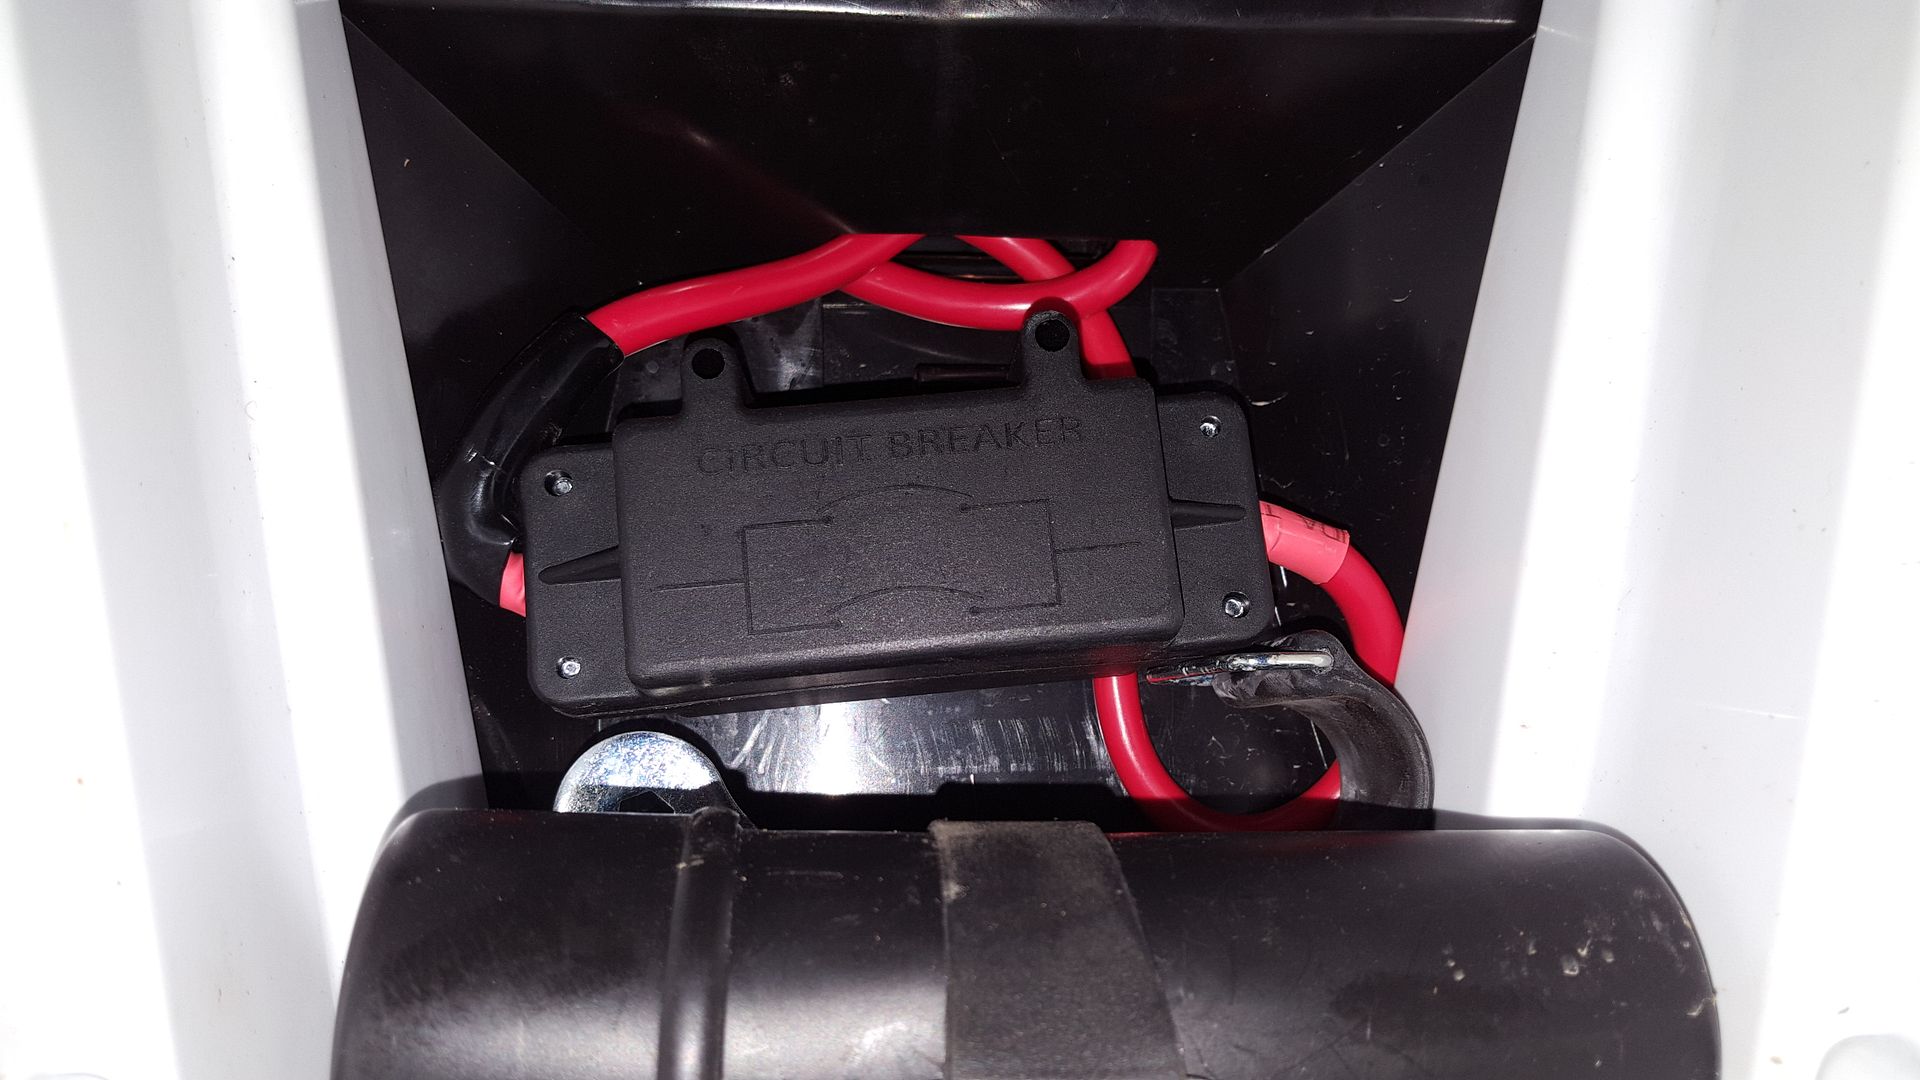
The relay fit nicely in front of the battery and i put the breaker in the rear box:
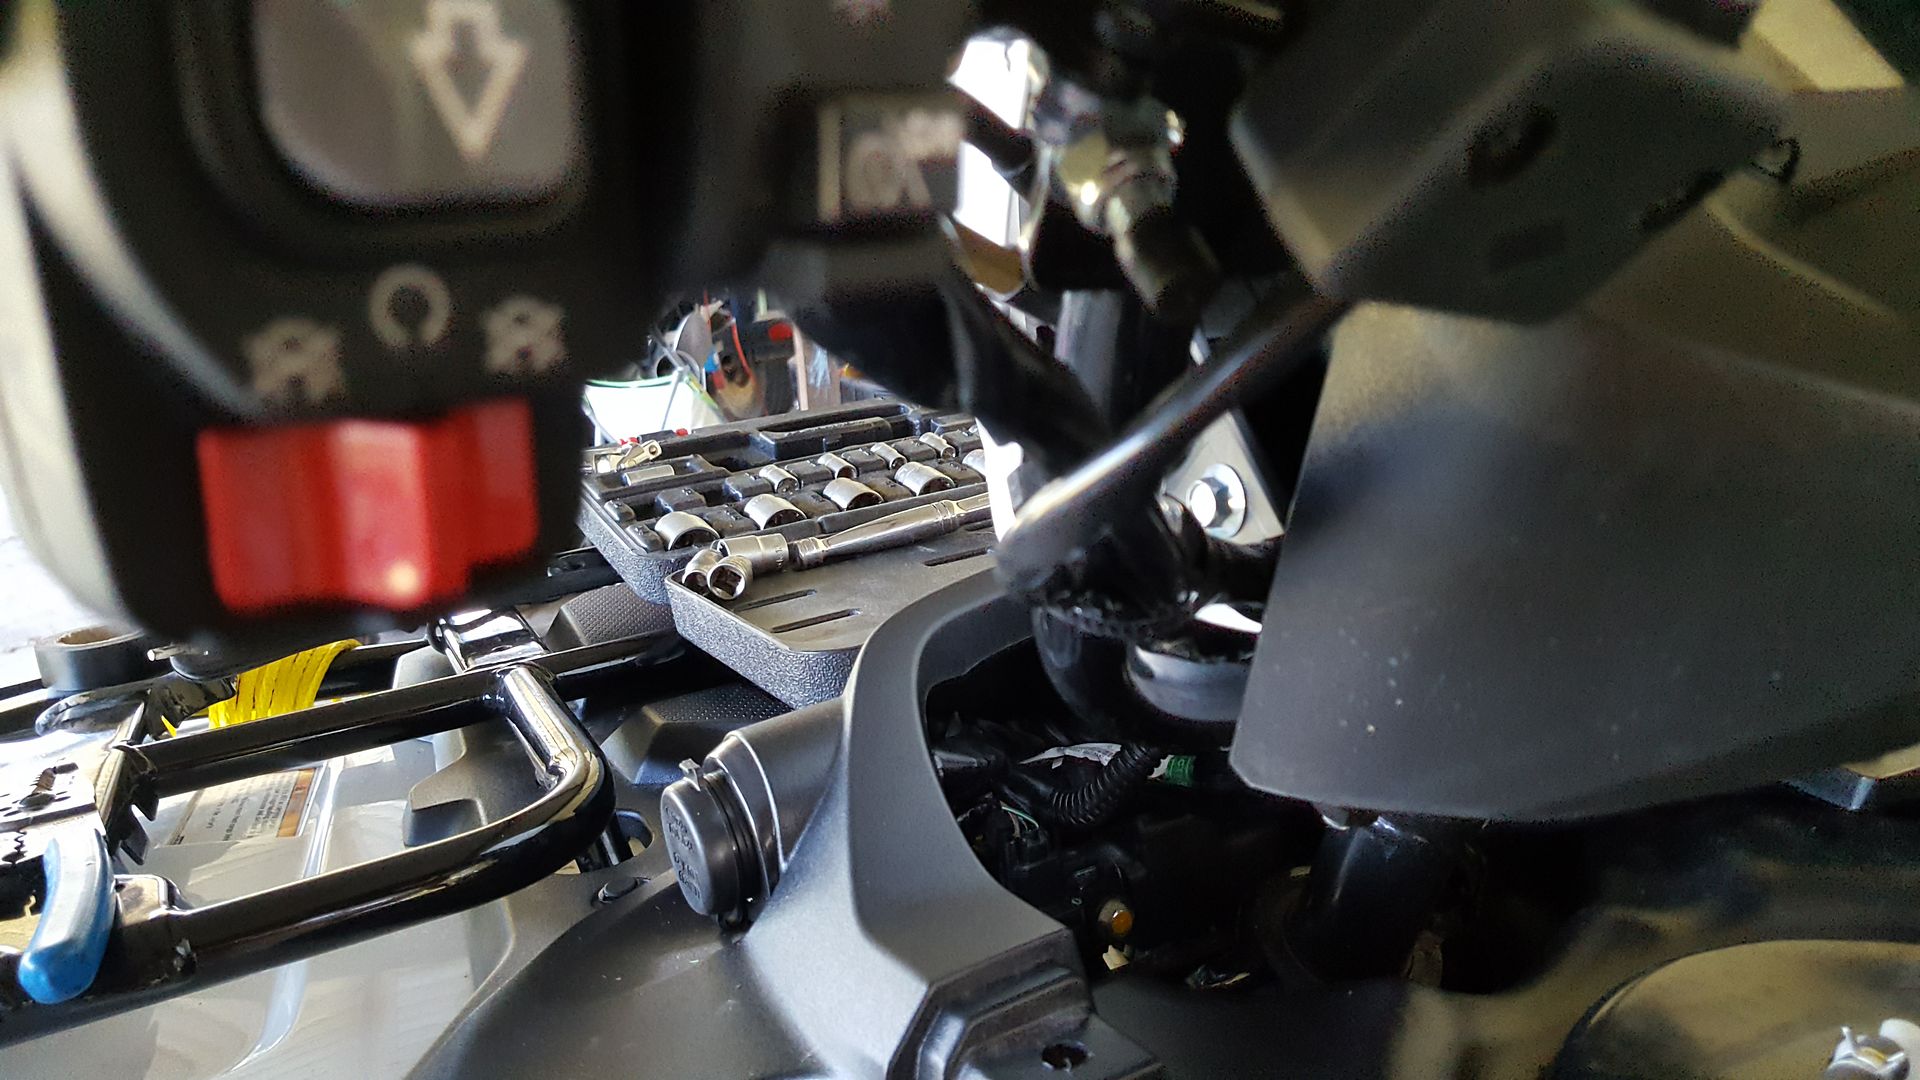
I was able to run the wiring for the switch through the factory cable tie on the handle, then down through the light pod. Kind of hard to see in the pic:
The switch has a red wire in its harness that has to be tied into a wire that is hot only when the key is on. I used a displacement connector to clip it to the white wire coming out of the 12v accessory plug. I then used cable protector and electrical tape to hide the connector and red wire.


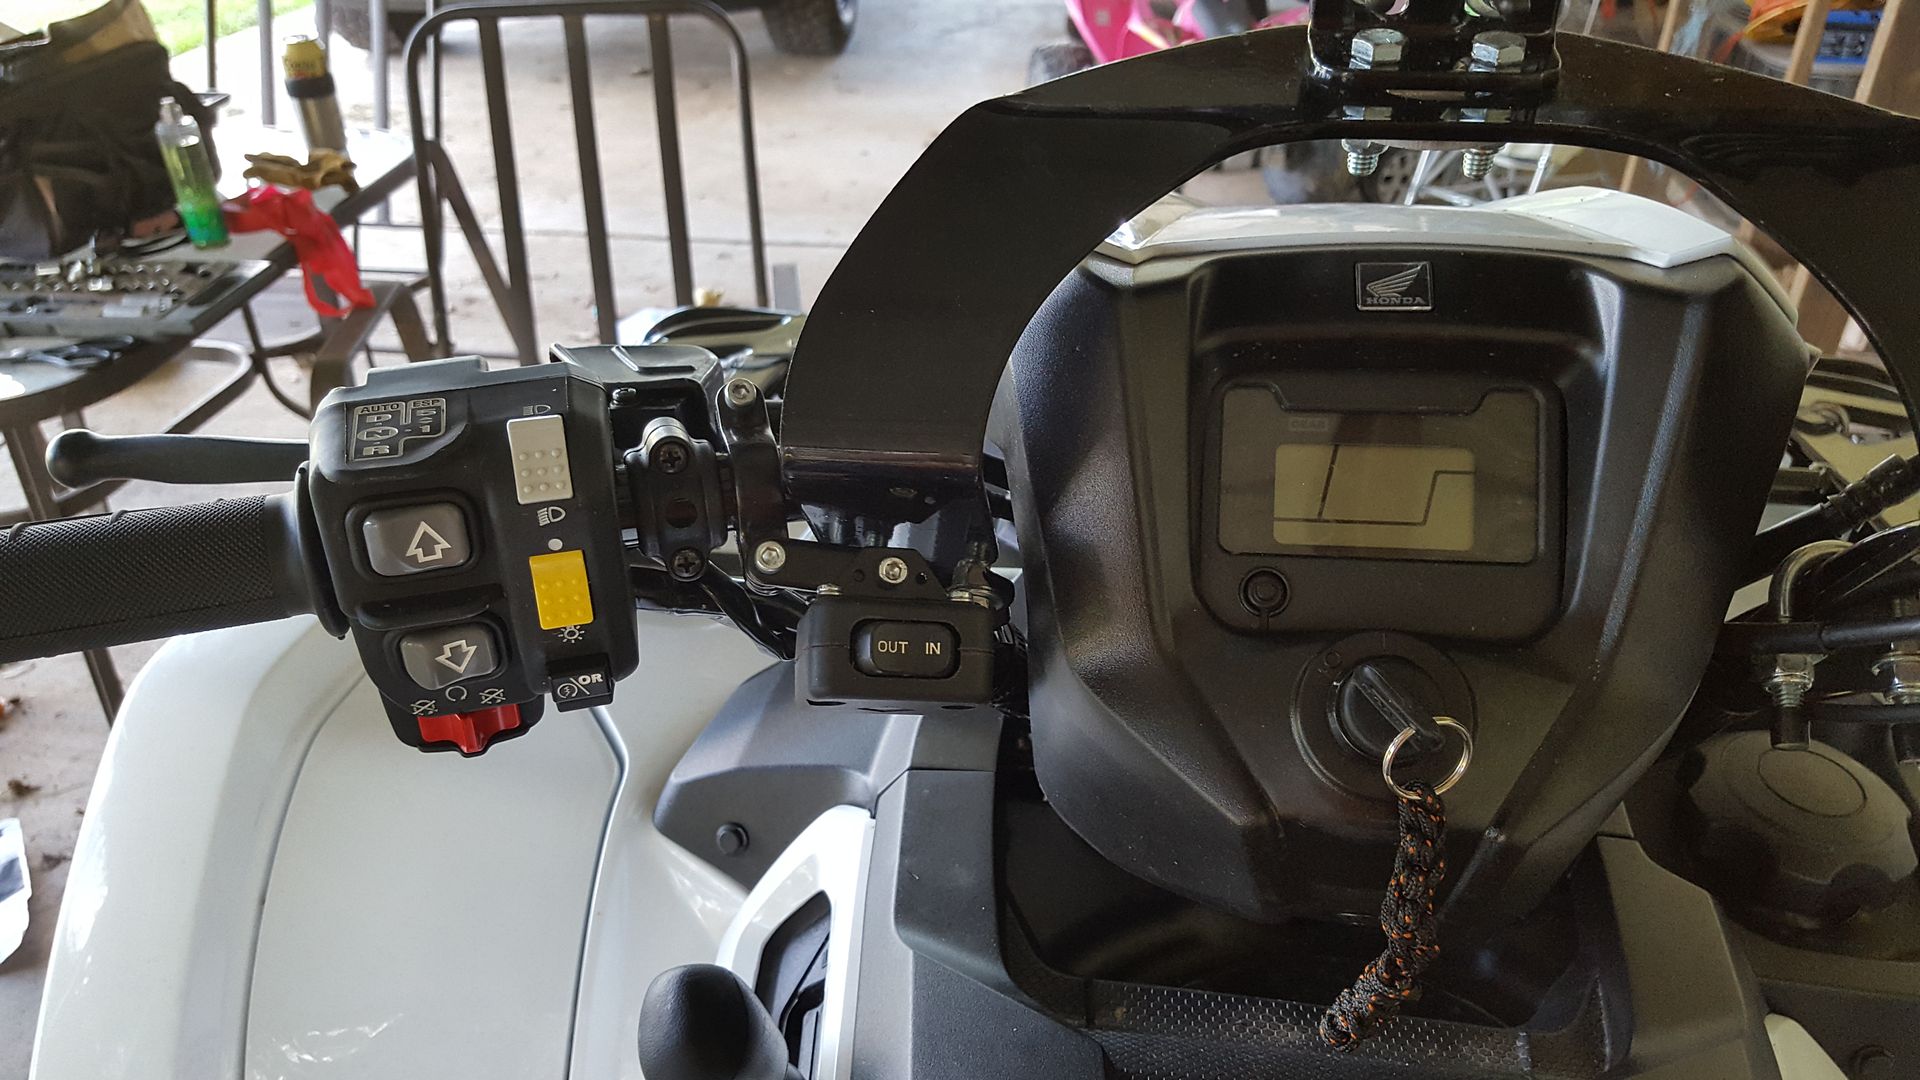
I mounted my switch next to my gun holder bracket:
This install took me about 4 hours and some trial and error. The hardest part was mounting the winch. I am going to see if i can trim the center radiator guard to fit back in there.