Category Archives: Projects and How-To
Lets see your fiberglass work
Installing ORB Front Lower Arms
PS Sorry, I had a cold, I was trying to hide it, not sure I did
OPT-7 8″ C2 Series Light Bar Install
1) Obviously more light for night riding.
2) An option that was budget-friendly, but not so cheap it would be ruined in a year. This includes a harness, switch, and mounting brackets.
3) Easy to mount in a protected location and maintain full functionality of accessories (flip-up windshield mainly).
Here’s the Amazon link where I bought it:
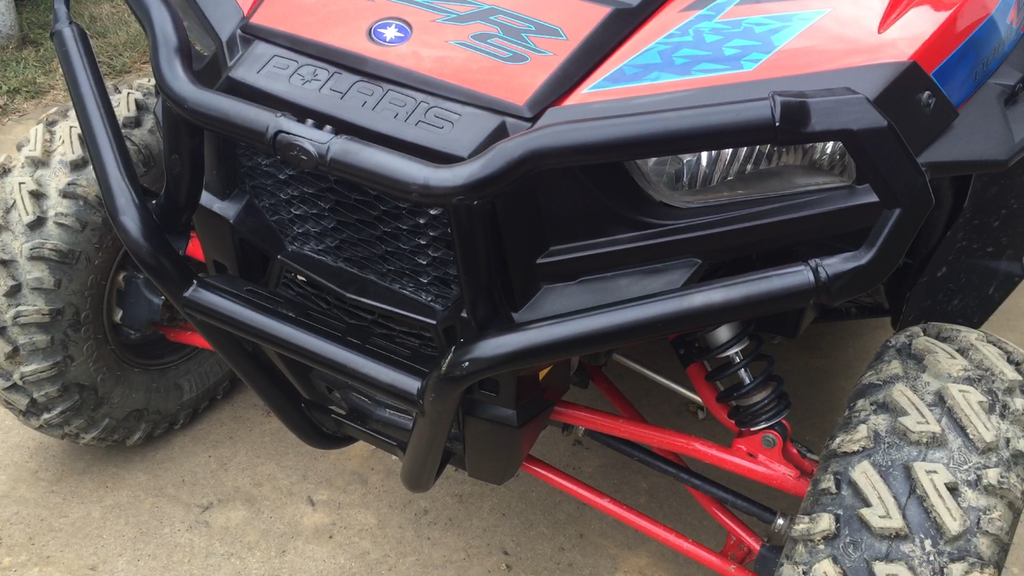
First things first, I’ll be mounting this on the front bumper brackets of the Polaris Extreme front bumper:
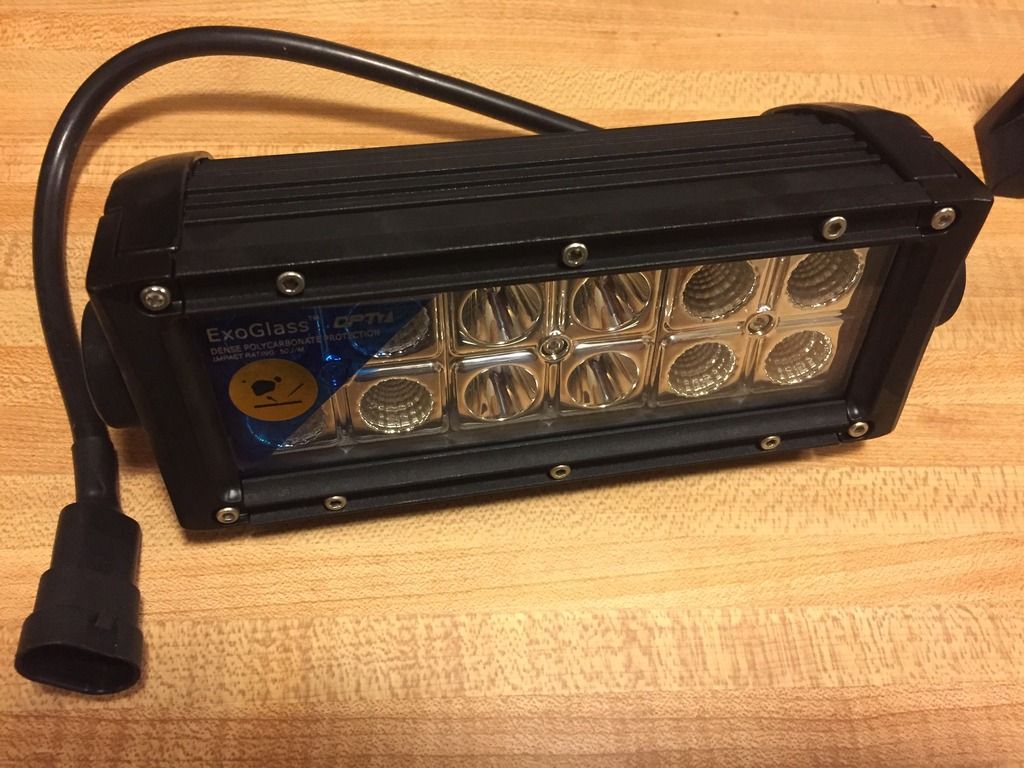
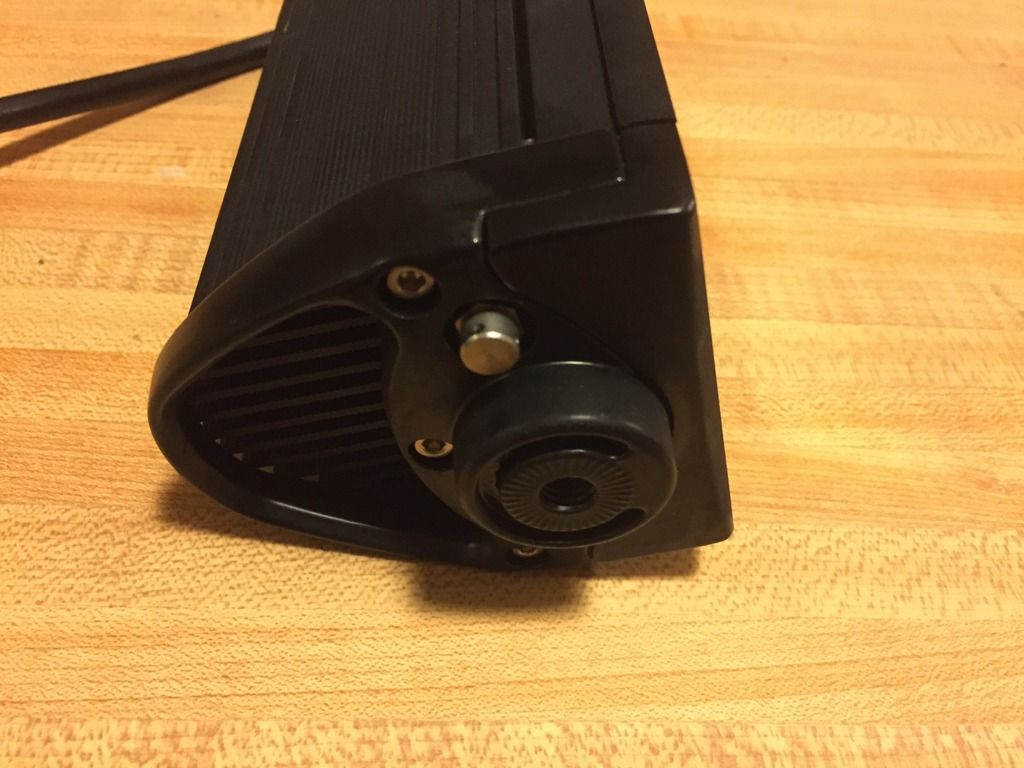
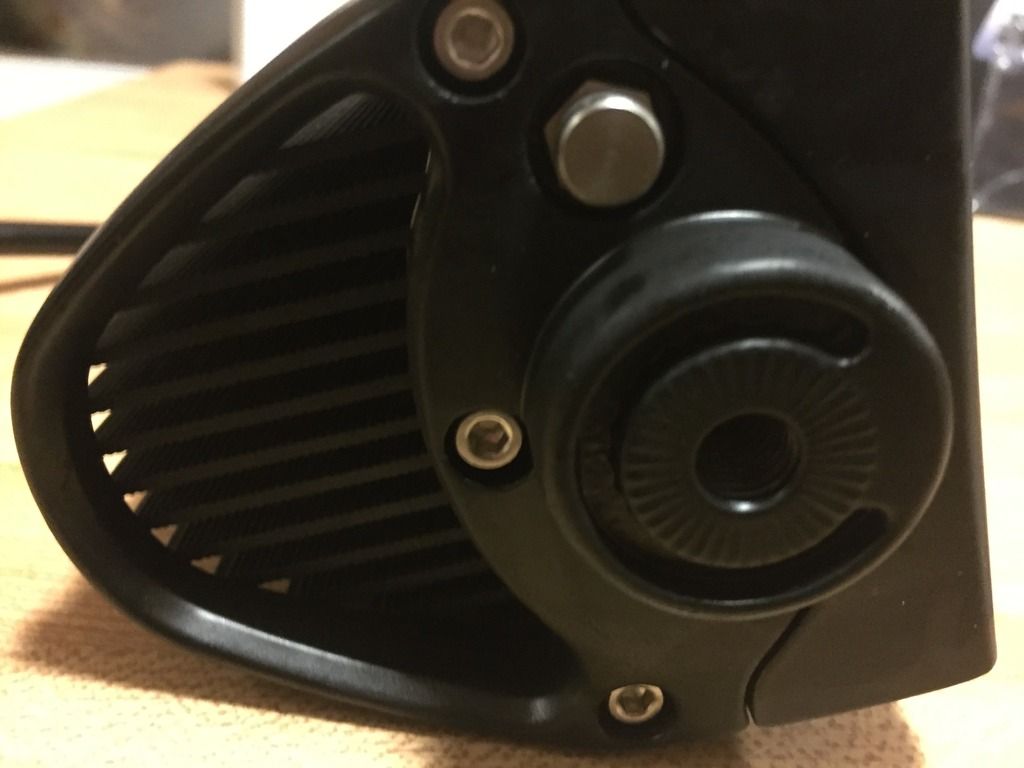
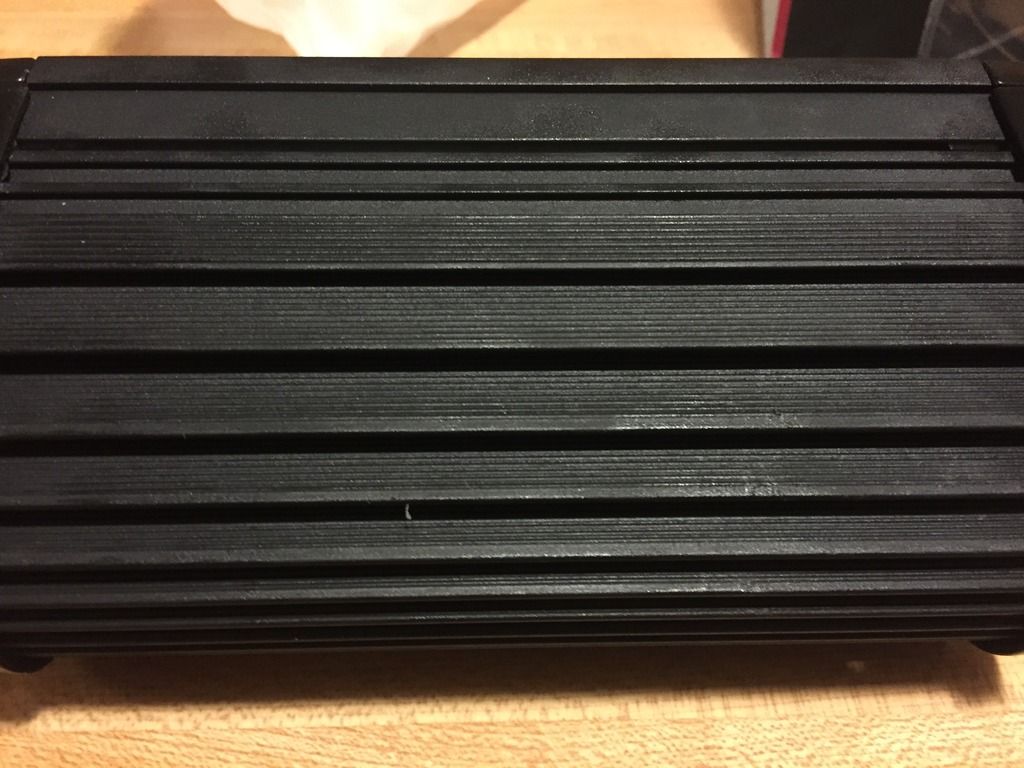
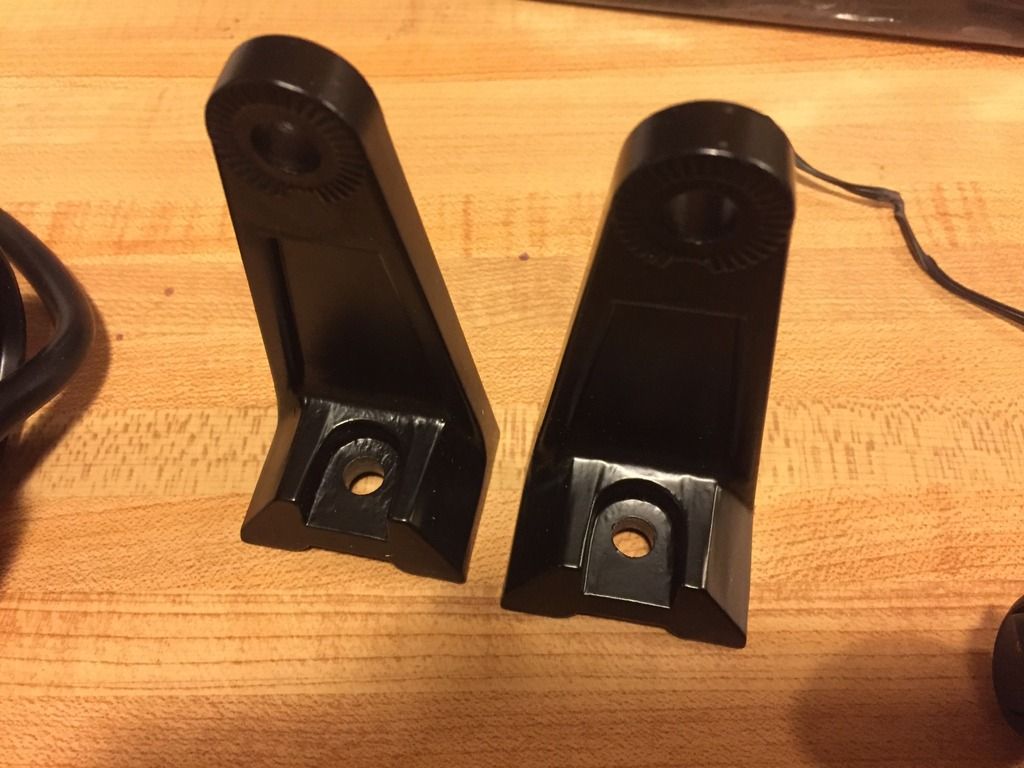
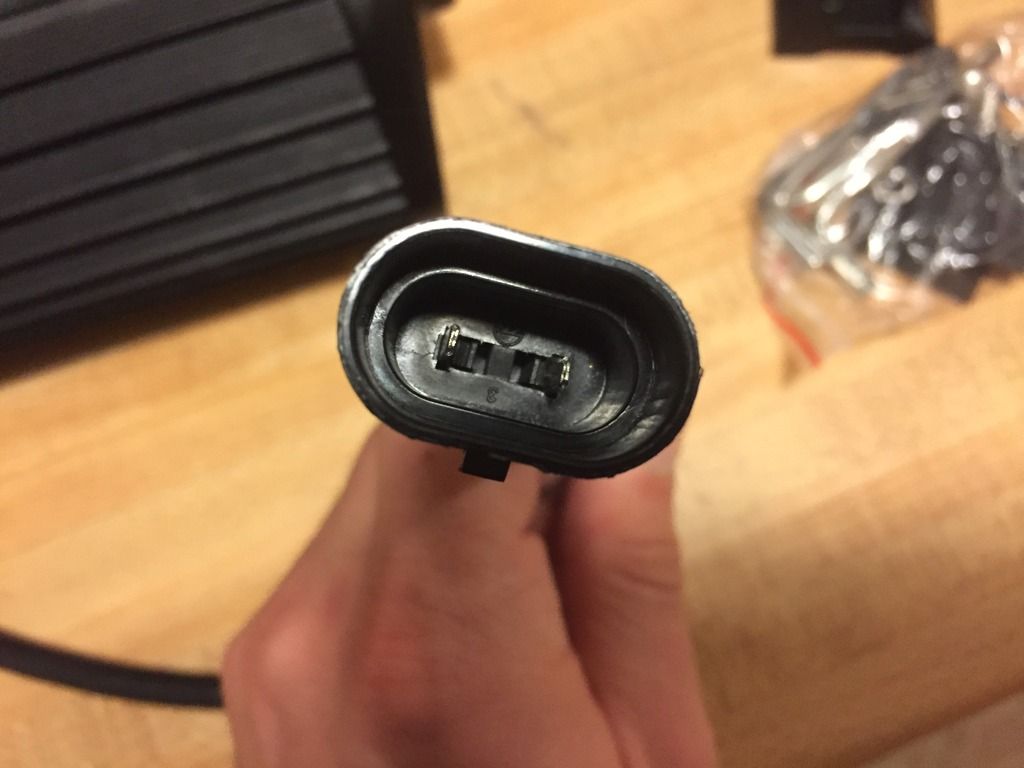
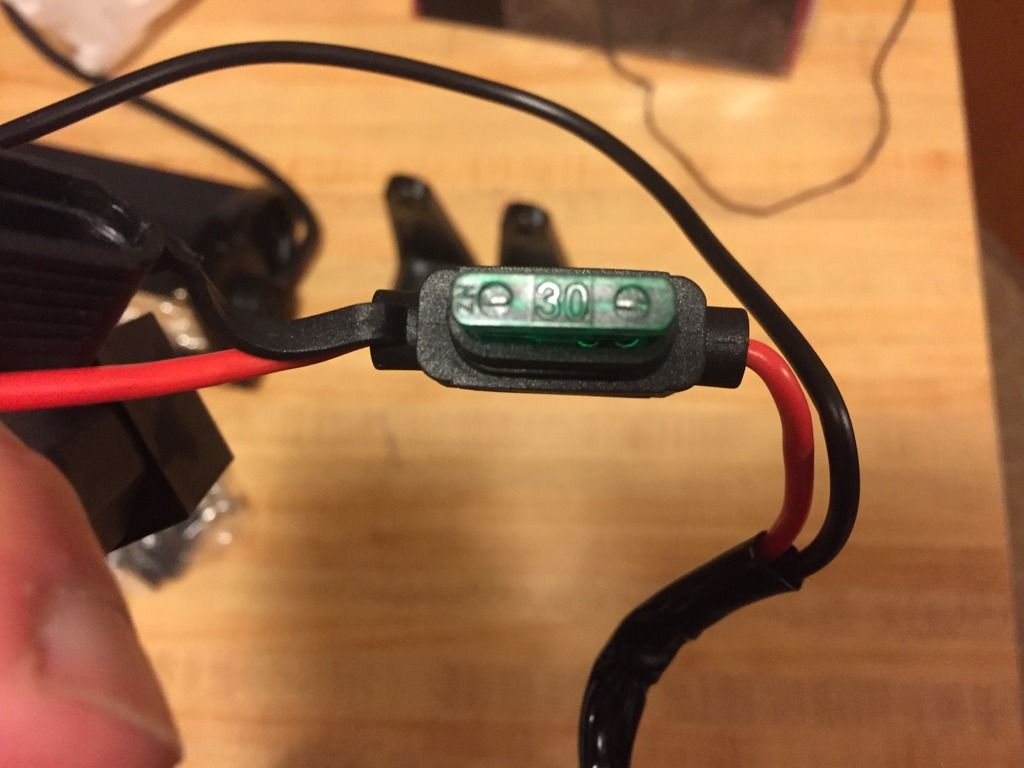
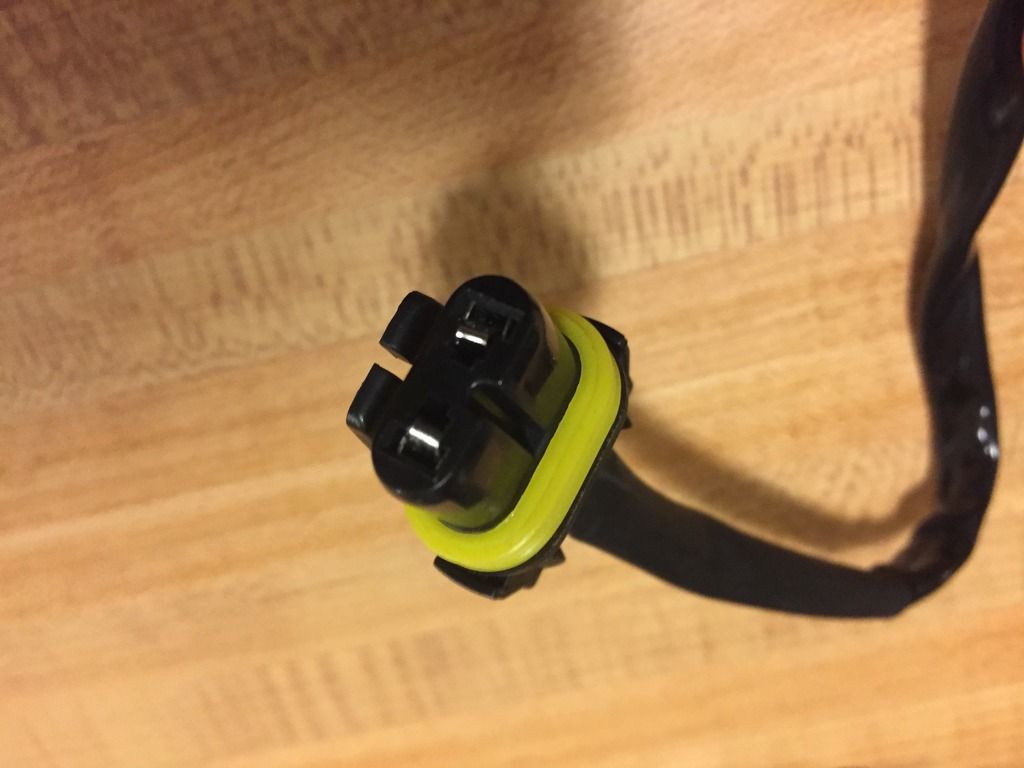
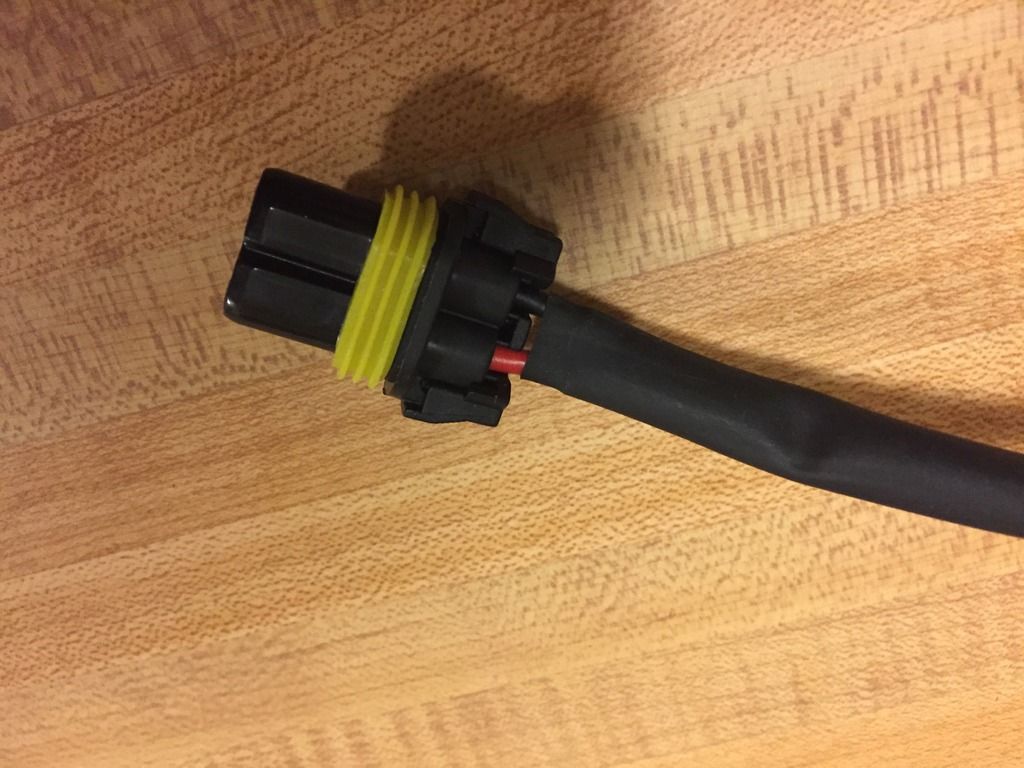
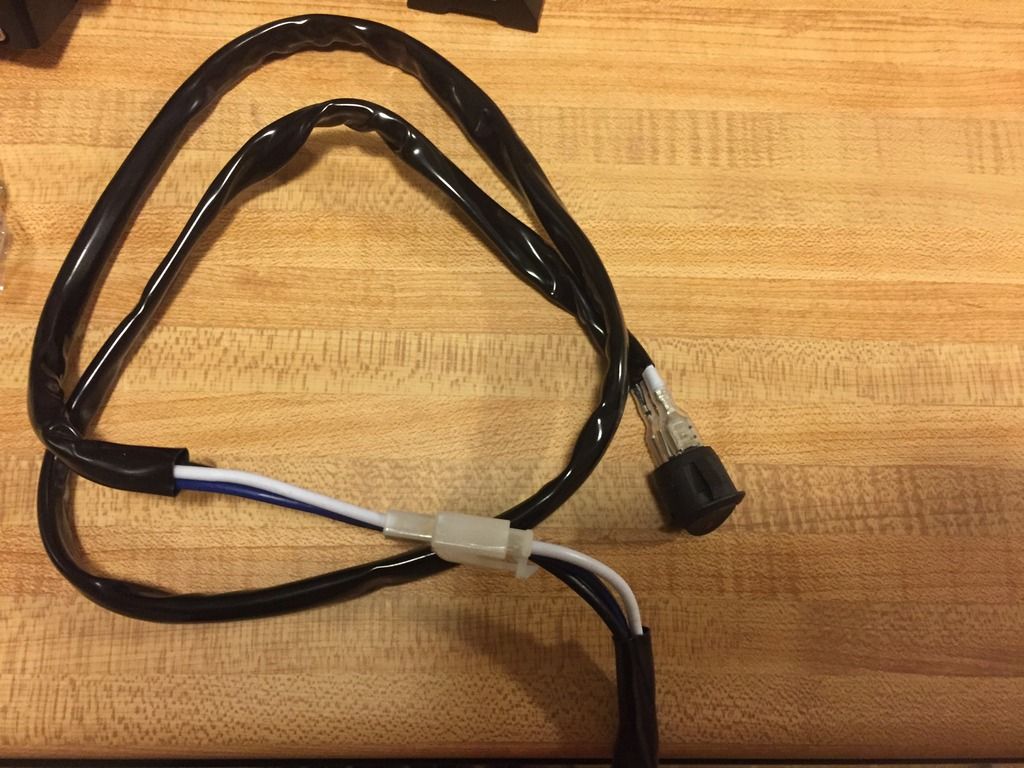
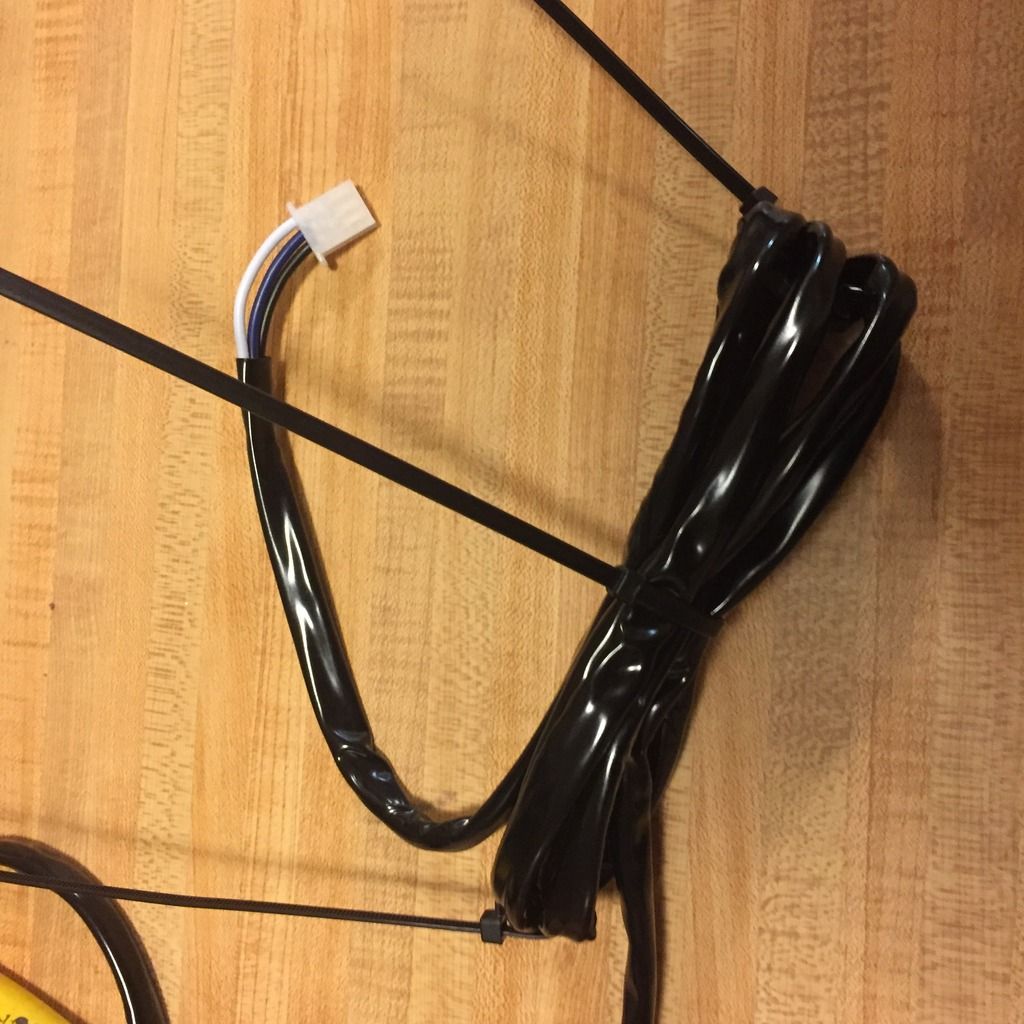
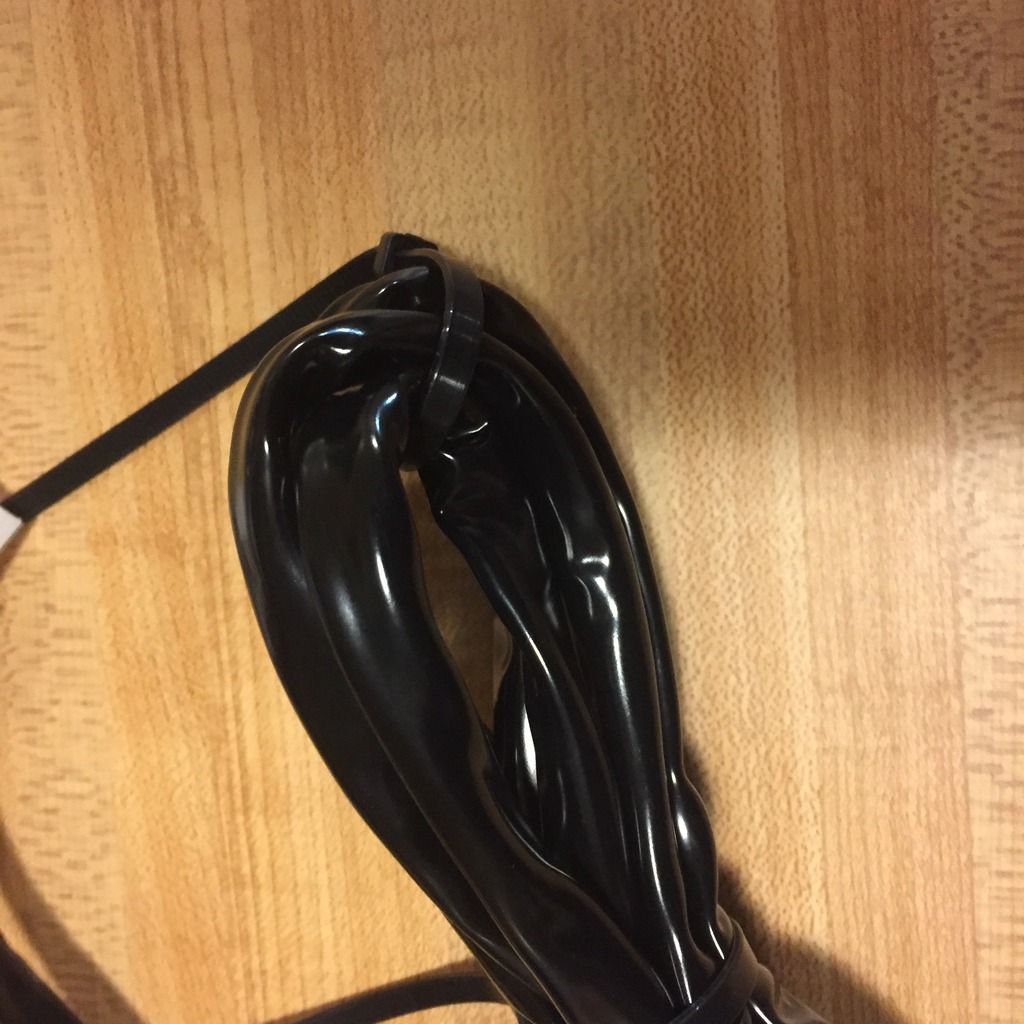
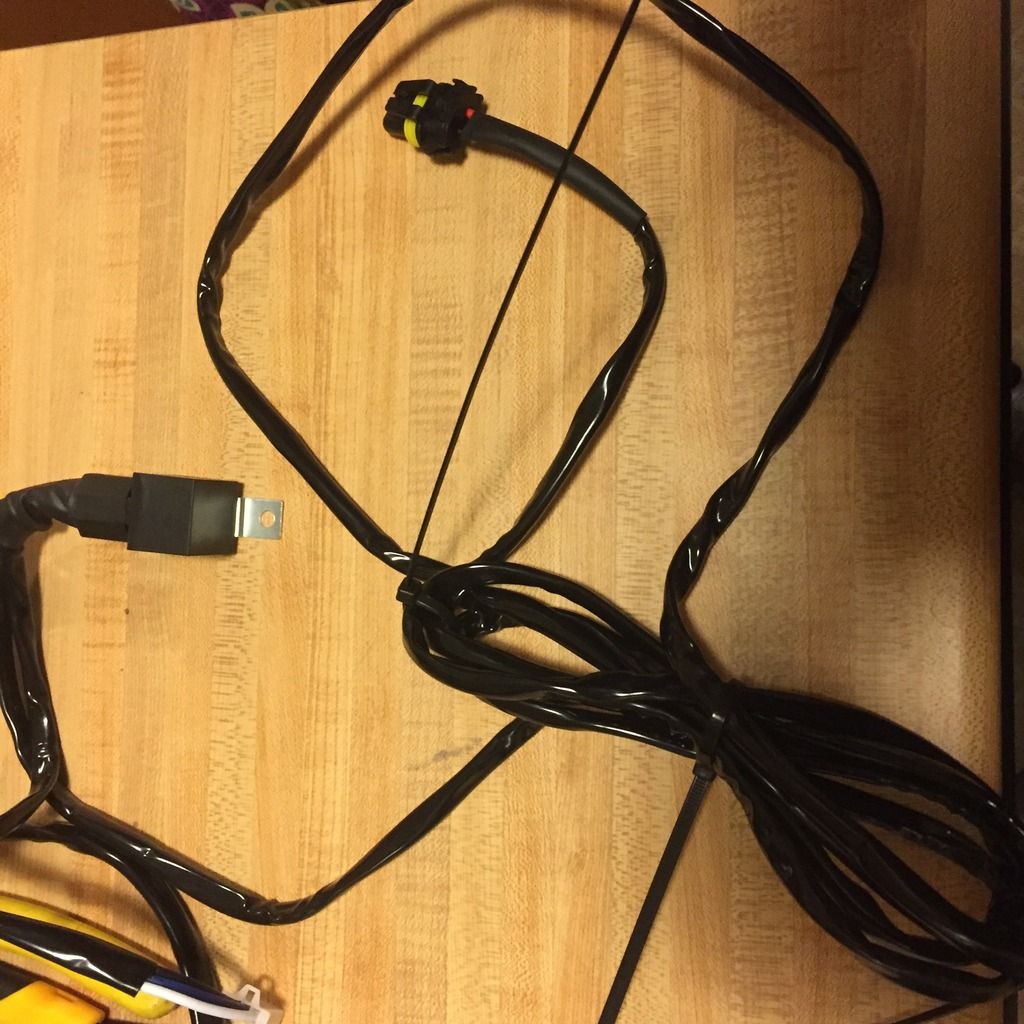
Here are some pictures of the light bar:
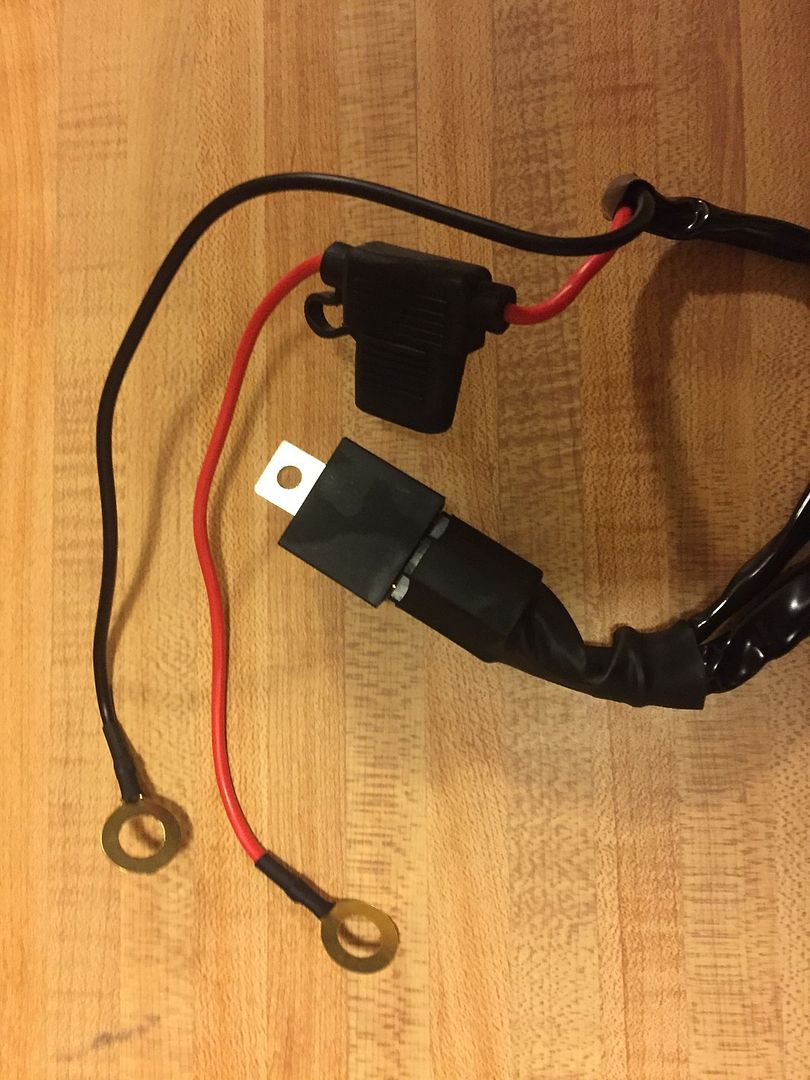
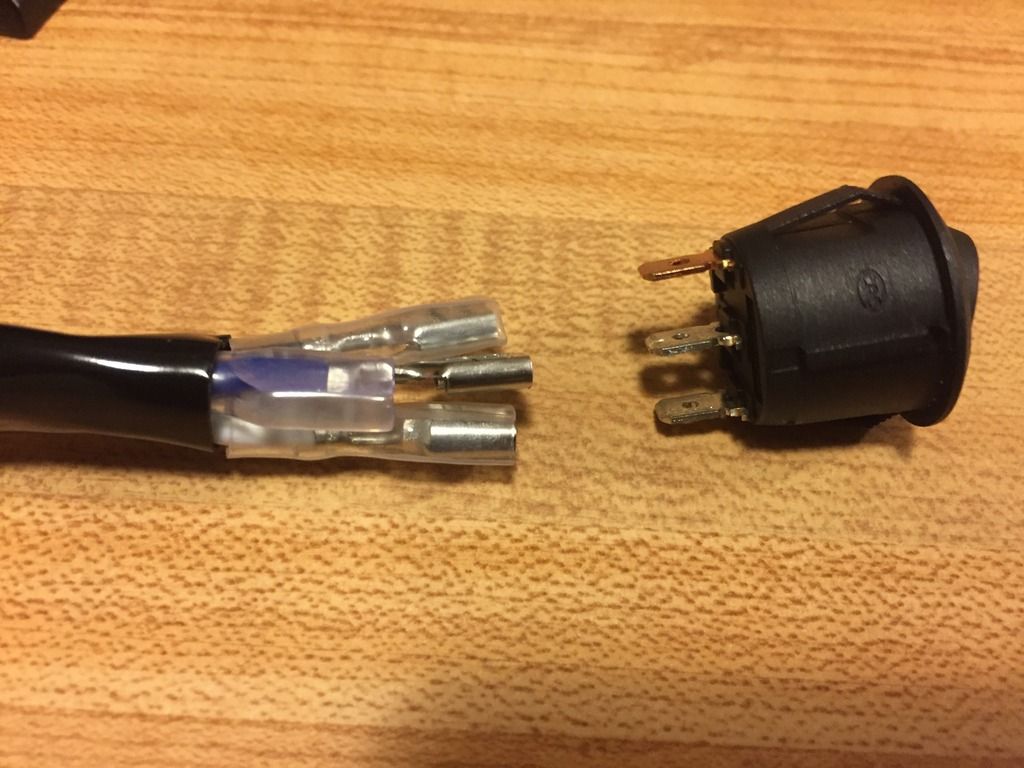
It definitely seems to be well made and use quality materials. Water-tight connections, 8 feet of harness wire, 40-amp relay, 30-amp inline fuse, and a toggle on/off switch.
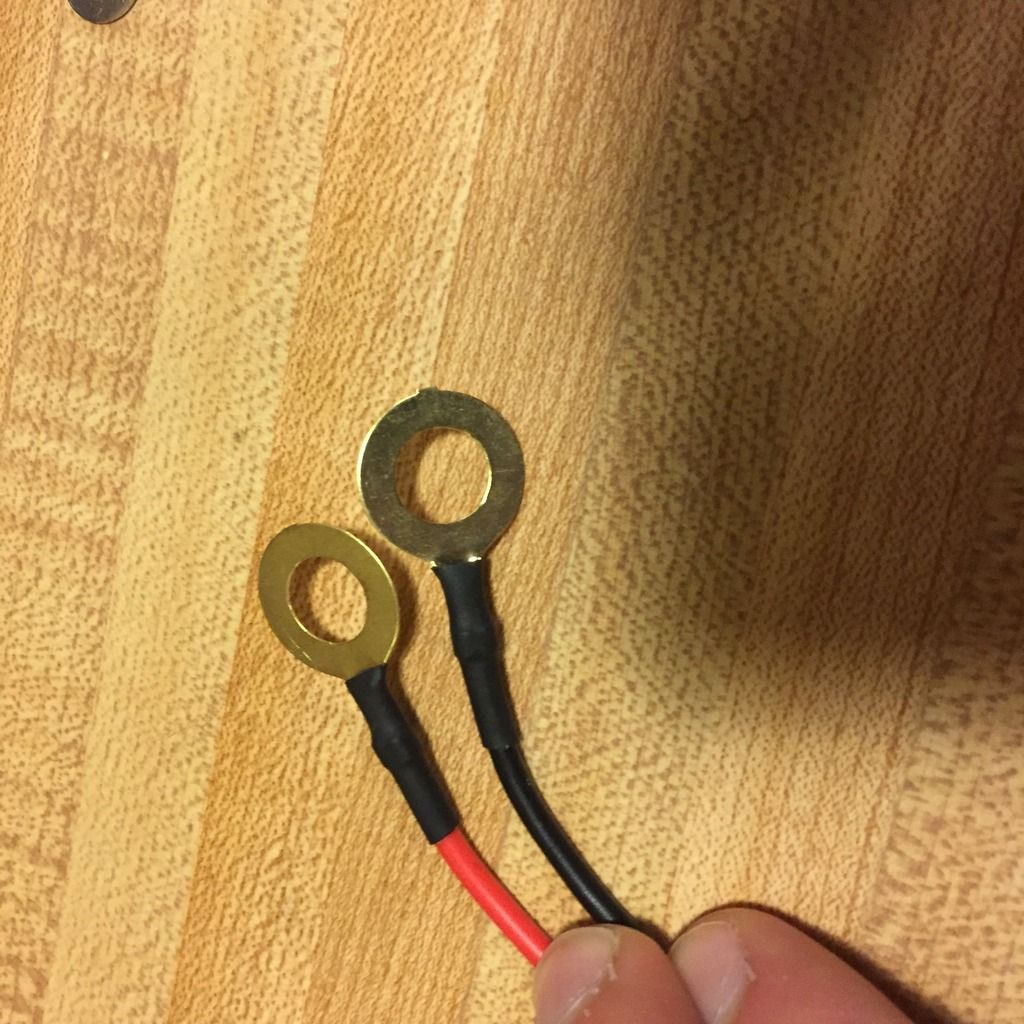
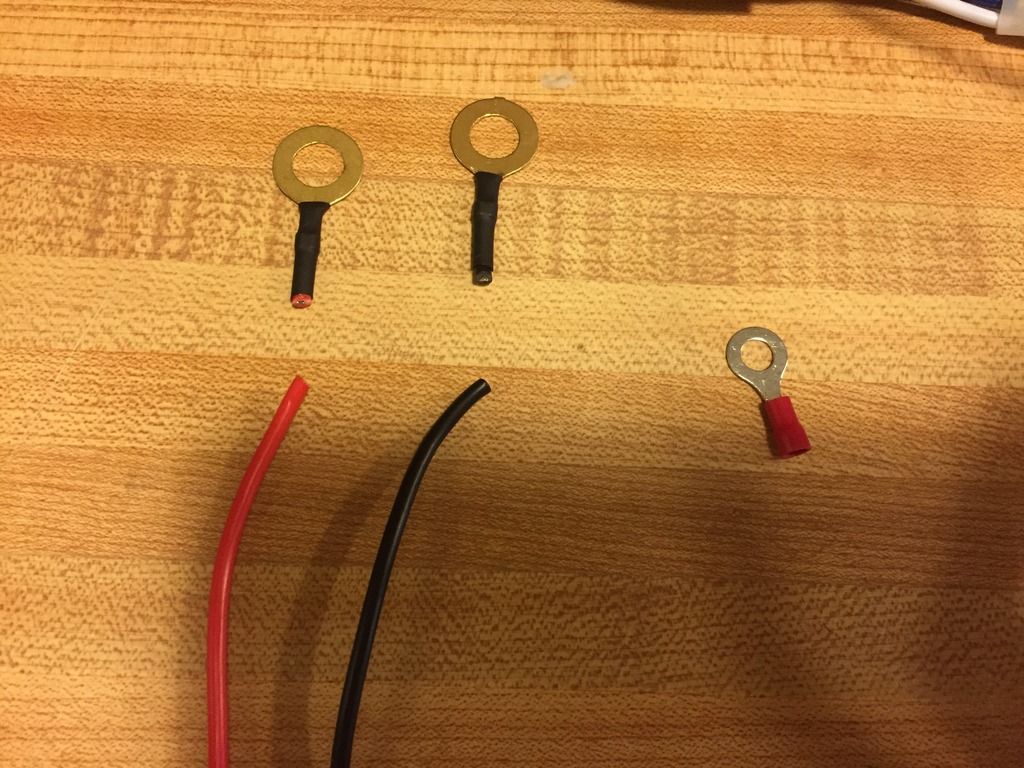
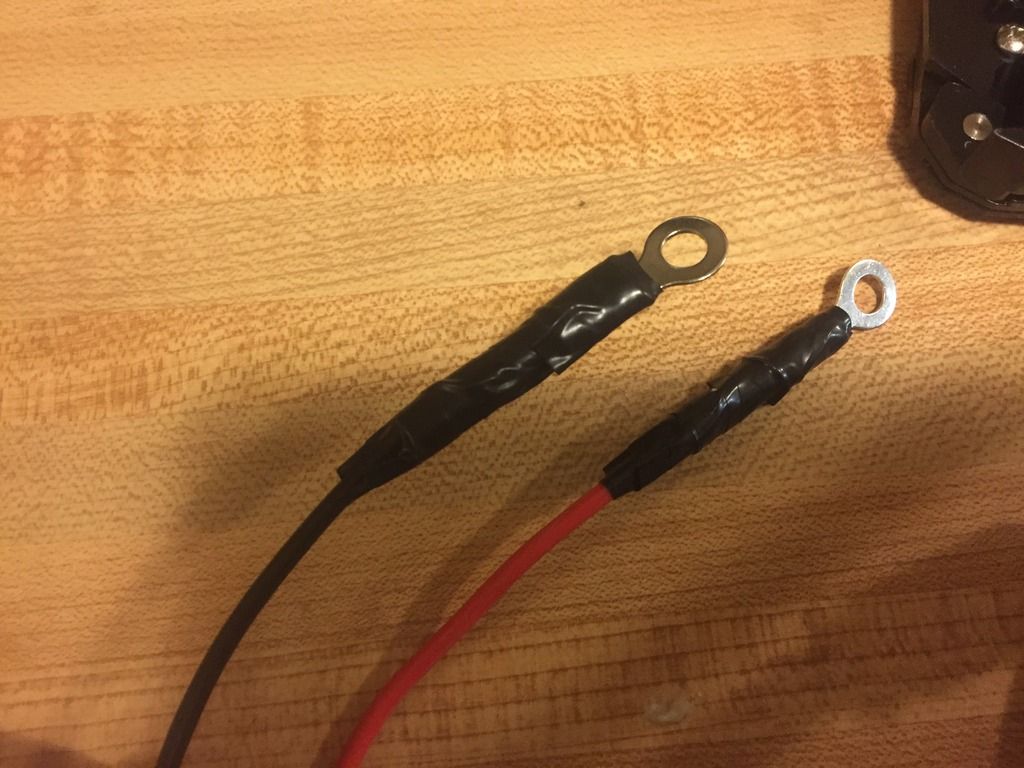
I needed to change the terminal rings so they’d fit on my accessory busbar. The standard rings should be large enough for most battery terminals.
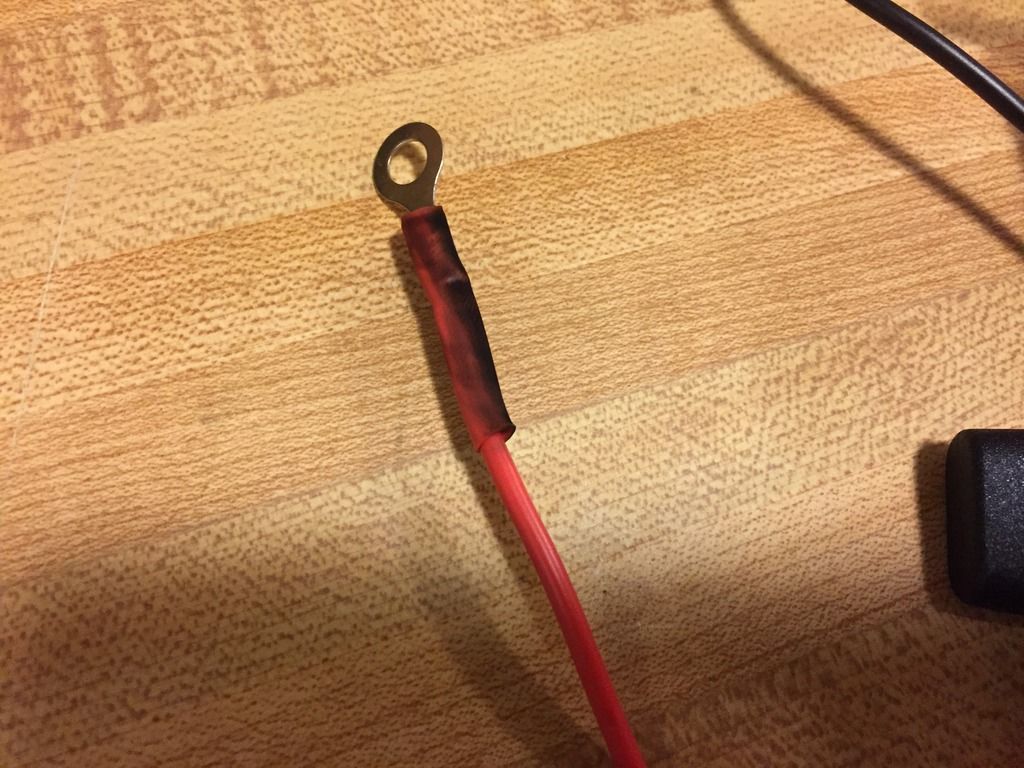
I used a lighter and didn’t like the charring of the heat shrink so I picked up a Harbor Freight heat gun for future use.
I’ll finish the install tomorrow or later this week since it’s about 20 degrees outside and I don’t have heat or good lighting in the garage, but I did quickly hook it up to test the lights and it’s impressive especially for an 8" bar.
Where to Buy Hollow Fiberglass rods for making custom whips?
goodwinds has the solid rods available but where can I get some hollow ones to run some wires through them?
Thanks!
DIY Radius Rod Reinforcement


DIY Radius Rod Reinforcement


Tubing software
Tubing software
Make any LED Dual Brightness, Turn Signals etc…
The resistor doesn’t really need to be 2 watts (1 Watt would be ok) but as cheap as they are I took the safe route.
The 300 ohm value for the Parking light leg worked great for the 60ma LEDS that I chose, I ran 2 in parallel at each location. Feel free to experiment with resistor value for your application.
I bought these LED’s from SuperBright LED’s.
https://www.superbrightleds.com/more…FYI_aQodn9EODA
This is a simple circuit that can be soldered up and encased in heat shrink and used for lots of purposes. Hope it helps some of you out.

