
This is my story with a few pics. Needing some info on what happened and if i can just get by with a piston. http://www.hondaatvforums.net/forums…1745-250r.html click on the 250R in red.
Category Archives: Builds, Projects & DIY
1989 250R hole in piston
This is my story with a few pics. Needing some info on what happened and if i can just get by with a piston. http://www.hondaatvforums.net/forums…1745-250r.html click on the 250R in red.
Bobcat and 2 trx300 4×4’s!!!!!!!
Hey guys…Got a few projects! First is an old bobcat 642…The guy’s nephew smoked the wiring while he cranked the battery into the ground:r_c:Got it for a steal….
Also picked a ’91 and ’93 300fw…One "runs" the other seized the piston and grenaded the crank because the PO didn’t check the oil!:dry:$450 each….
Winski357’s 2015 Foreman 4×4 !!PICS!!
Finally got to pick up my new toy! Well it was last Sunday but i’ve been too busy riding to post on here! :icon_ peace: i’ve been loving every minute of it so far! very glad i got the manual shift, and also having no problems without the power steering. It is still stock, but i have a couple small things i might do soon. Anyway, just thought i’d post some pictures of the new ride, and i will keep updating this thread with pictures of any mods i do just to keep it all in one place.
Thanks for all your help when i was deciding what model and options i wanted. I’m extremely happy with what i got and i’m having a blast cruising the trails behind my subdivision.
Without further ado, some pics!
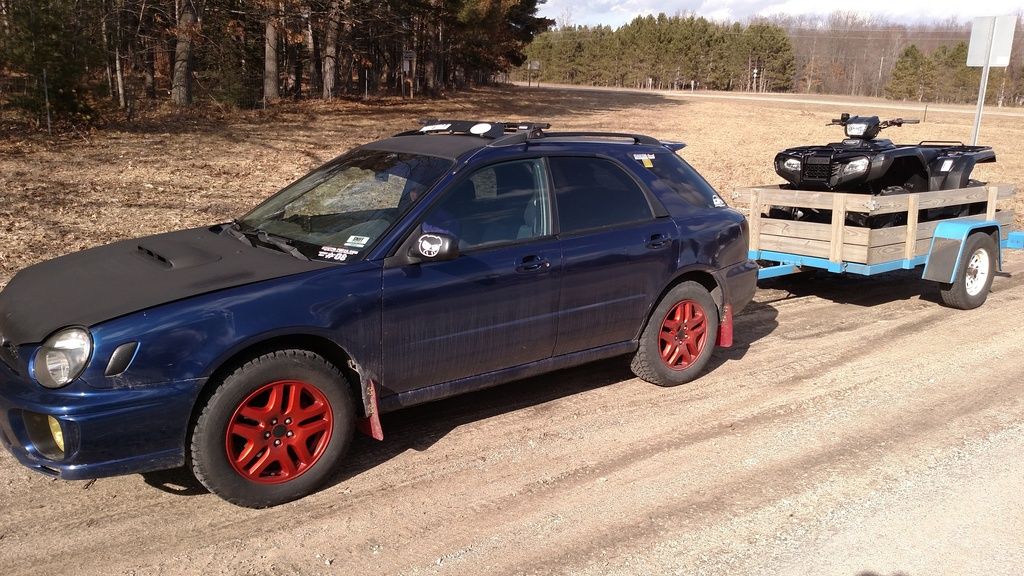
loaded up at Hacker’s Yamaha Honda of Houghton Lake, MI
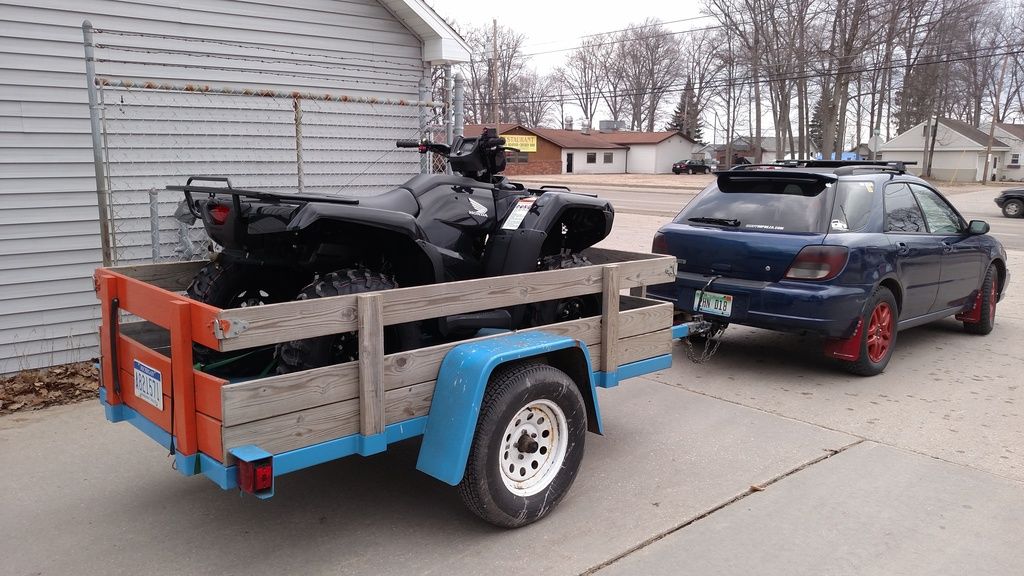
making sure everything is tied down half way home
out riding behind my subdivision. theres a lot of cool trails back there 😀


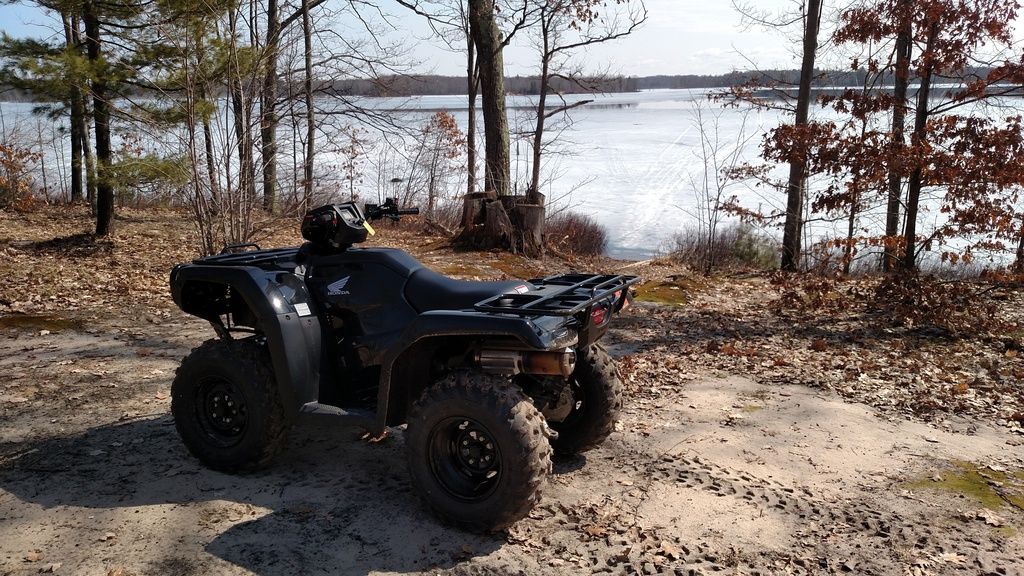
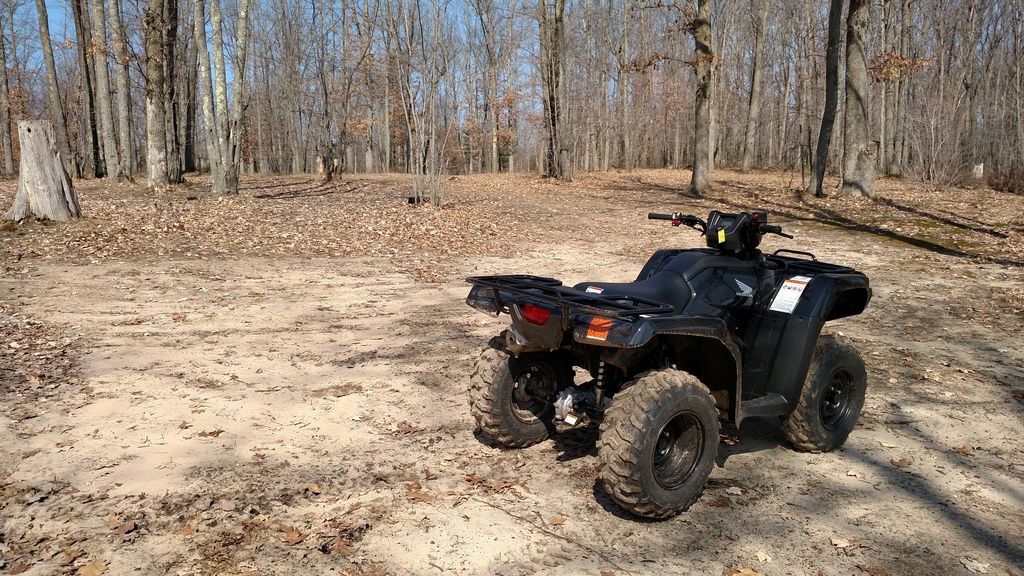


more pics to come! thanks for looking 😀
Winski357’s 2015 Foreman 4×4 !!PICS!!
Finally got to pick up my new toy! Well it was last Sunday but i’ve been too busy riding to post on here! :icon_ peace: i’ve been loving every minute of it so far! very glad i got the manual shift, and also having no problems without the power steering. It is still stock, but i have a couple small things i might do soon. Anyway, just thought i’d post some pictures of the new ride, and i will keep updating this thread with pictures of any mods i do just to keep it all in one place.
Thanks for all your help when i was deciding what model and options i wanted. I’m extremely happy with what i got and i’m having a blast cruising the trails behind my subdivision.
Without further ado, some pics!
loaded up at Hacker’s Yamaha Honda of Houghton Lake, MI
making sure everything is tied down half way home
out riding behind my subdivision. theres a lot of cool trails back there 😀
more pics to come! thanks for looking 😀
Headlight upgrade
So as some of you may know you can have all the led might bars you want. But if you ride at night at a park chances are you can’t use it(mostly out of respect for other riders). And let’s face it the stock headlights suck. So I got some foglight projectors of a car I worked on today. Worked a little magic with a dremel and DAMN what a difference. Btw the left side headlight is ON. but you can’t even tell Attachment 23584Attachment 23585Attachment 23586Attachment 23587Attachment 23588
How to build a rocking audio system
This is been a big project of mine. Thought I’d share how to/how I did it. I’ll be adding a bunch more pictures later. But I’m gonna add and do what I can now.
I’ll start by saying if your afraid to make holes in you atv(specifically the front rack and fender). Then you can still do this it just won’t be as clean or reliable. So I was at a Honda dealership the other day and saw those atv sound tubes. And for $360, with what looked like very questionable brand speakers, and who knows what kind of amp. I believe I could build something much better. MUCH BETTER
So to start as far as materials your looking at about $40-50 in hardware and PVC.
As far as audio equipment I bought a set off Memphis 15-MXA62 speakers(about $150). Also these can only be purchased at a Memphis authorized distributor. If you buy from online they will not honor a warranty. These are some of the BEST marine class speakers on the market
These speakers have been on my atv for a while in a different location. And have seen so much abuse yet still remain sharp and clear
For the amp, I got a clarion XC2410 which is around $150 and quite small. It is a 4x50watt amp. I’ll get into the 3rd and 4th speakers here In a bit
I couldn’t decide for along time on whether I wanted to spend money on a Bluetooth controller or have a physical connection. I eventually got this for about $50.http://www.memphiscaraudio.com/produ…fiers/16sabts/
its great because it allows you to keep your audio device in a safe location, but still allows you to control volume, pause/play songs, and even skip songs
This amp and speaker combination is a match made in heaven. I can use full range on the pass without any distortion or speaker stress at full volume.
this setup has overpowered all of the pre-made systems you can buy(that ive tested against) on the 4 wheeler market. Yes it’ll cost a bit more, but with this amp I can(and am currently in the process of) adding 2 more speakers.. In the long run its better to spent this kind of money($300-500) on something of quality then go cheap, you will regret it in the long run especially with audio equipment
I bought a 2 foot green section of 6 inch PVC piping. 4x PVC 6 inch end caps, and some U-bolts(actually quite hard to locate at Home Depot).
DO NOT GLUE END CAPS ON UNTIL WE ARE NEAR FINISHED.
I cut the 2 foot section into even 12 inch sections, and decided it was too long, so i cut 2" off of each section
Start by making your holes for your speakers in 2 of the PVC end caps. NOTE actual mounting hole size will vary between speakers)
Attachment 23554
At this point you should have two tubes that’s have a solid end cap on one side and one with a hole for the speaker on the other. Now we place both tubes on the front rack for positioning.
Attachment 23555Attachment 23556
Now when you have them in postion your going to look under your rack and up at the tube. The tubes should be sitting on some part of the rack. Take a sharpie and make both sides of the bar(this is where the 2 U-bolts will go). Now drill your holes and perform a test fit. Finger tight and what not
Attachment 23557
Now to mount the amp. The one in the pictures is the one I used to use, but I needed something more powerful but the procedure for mounting is the same. Your going to make two pieces of "half moon" shaped mounting brackets. Attachment 23558
the amp will be screwed to these mounts.(make sure to pre drill your screw holes as you can risk cracking the wood). Next you want the amp on the very top or too the side of the tube in case water does get in there the amp isn’t sitting in a puddle.
…..