Have you ever wondered if you can change your own tires?
Or, do you already change your own tires and wonder if there is an easier way to do it?
The answer is YES and YES.
You can take your tires to the shop and let them do it for you, but that means accommodating their schedule, not yours. And if you like to do your own work, what’s the sense in paying someone else when you can do it yourself, when you want and where you want? Plus being able to change your own tires yourself means you are never stuck with a flat that can’t be repaired. When we go trail riding, we always bring extra tires to the cabin or trailhead in case someone trashes a tire, and if you do this often enough, you know its bound to happen.
Here is a list of tools that you need to change tires:
1. Valve stem core tool

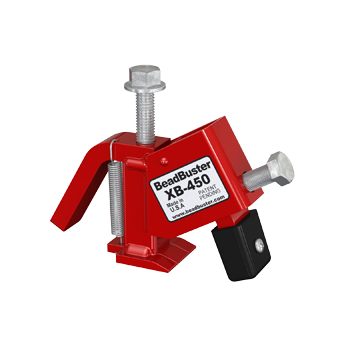
2. Bead Breaker
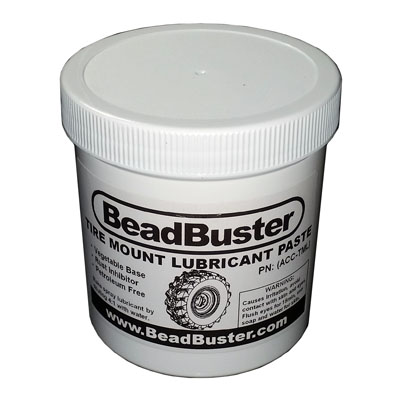
3. Tire mount lube or soapy water.
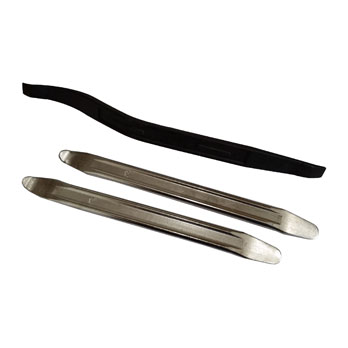
4. Tire spoons. Some folks use screwdrivers or pry bars, but these don’t really work as well. And can damage your rim
Here are the 6 steps to changing a tire:
1. Remove the valve stem core.
This will ensure there is no pressure in the tire while you are trying collapse it.
2. Break the tire bead.
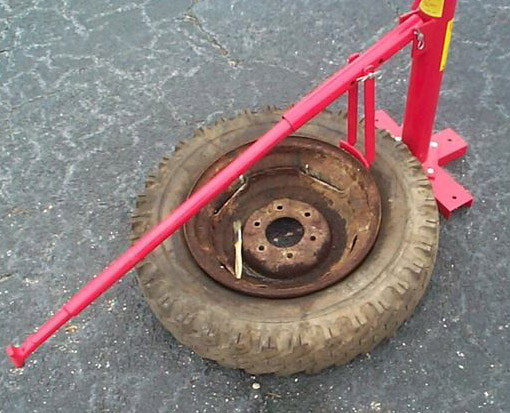
This is usually the most difficult step in the process. Depending the type of rims, tires and how long the tire has been on the rim, breaking the bead can be VERY difficult. UTV and ATV rims have a Bead Retainer that makes breaking beads even more difficult. There are several ways to break the bead. Some DIY methods include putting a 2×10 on the side wall and driving over it with a car, or using a jack under a trailer hitch to apply force on the side wall.
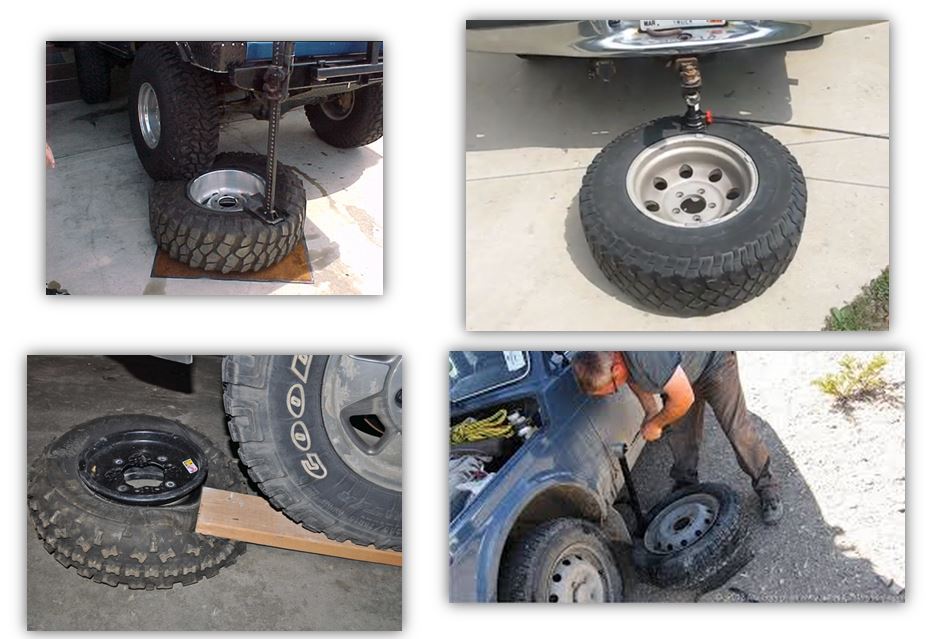
These methods can be effective if it’s an easy tire to break the bead on. There are also several types of bead breaker tools readily available.
A) The shoe & lever type that Harbor Freight sells is very low cost but will not work on stubborn beads and it must be bolted down to the floor which means it’s not portable.
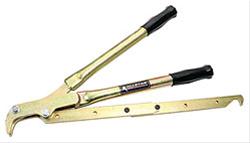
B) The plier type bead breaker is portable, but must be adjusted for the rim size being used on, and often scratches the sealing surface on the rim.
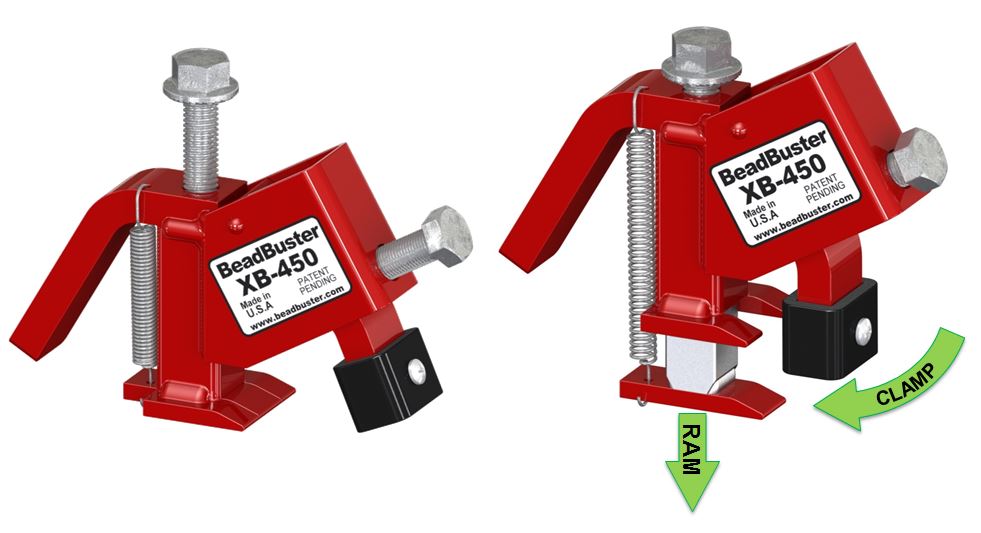
C) The Clamp & Ram type bead breaker is about the size of a hand gun (6”x 6”x1.5”) and therefore very portable. It is also very powerful which means it will work on even the most stubborn tires. Many PowerSports dealers buy these to use when their large floor mounted machines can’t break the bead. The Clamp & Ram type bead breaker is available from BeadBuster.com
Once you have a bead breaker in hand, apply tire lube or soapy water to a section of the sidewall right next to the rim.
Always start with the side of the wheel nearest the drop center, which is usually the outside of the wheel.
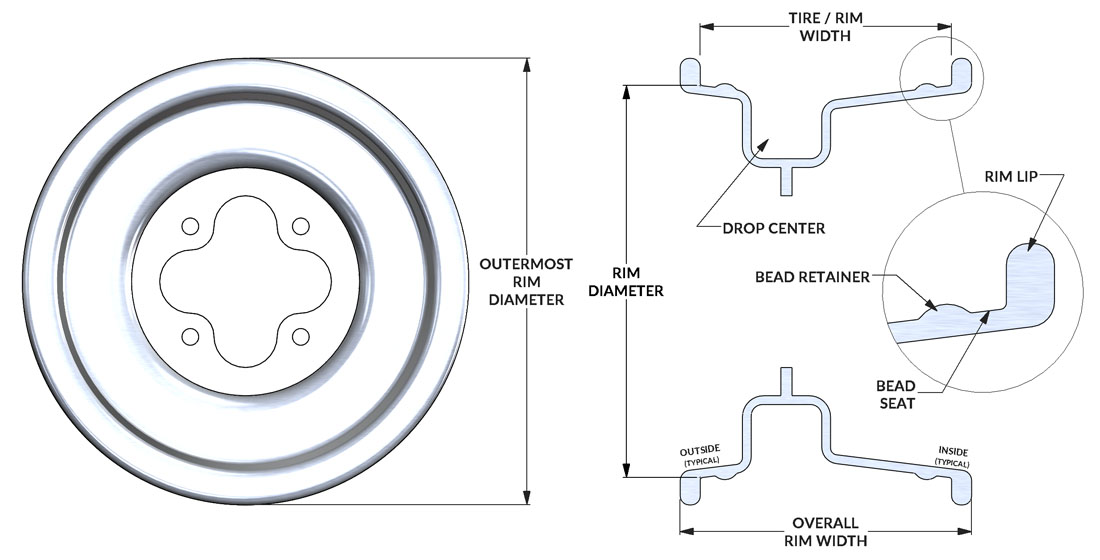
Use the tool per the manufacturer’s instructions to press the tire bead down about one inch. Remove the tool and reposition it about three inches from the first application point after spraying the surface with tire lube. Again, press the bead down about an inch. Repeat this process until the tire moves inward and can be pushed into the drop center on the rim.
3. Flip the tire over and repeat the process on the other side.
If you have beadlock rims, you are fortunate and only need to break the bead on the inside of the rims.
4. Once the bead has been broken on both sides and the tire is loose on the rim, you can use tire spoons to remove the tire from the rim.
The secret to making this step easy is lubrication. BeadBuster also sells an outstanding Tire Mount Lubricant Paste that comes in convenient pint containers. It can be diluted down in a spray bottle or applied directly. Apply a lot of lube to the tire bead and edge of the rim to help the tire to slide easily over the rim surface. Start on the side of rim which is closest to the drop center. On the side of the rim closest to yourself, push on the sidewall down so the tire can slide in to the drop center. Using your knee may help with this task and leave your hands free to use the tire spoons. Then use a tire spoon on the opposite side to pry the bead up over the rim. Insert a second tire spoon as close to the first one as possible, and again pry the bead up over the rim. Repeat this process until the first side of the tire is off the rim. Usually, it is very difficult to use the same process on the second side of the tire. One way to remove the second side of the tire is to make sure there is plenty of lube on the bead and rim, then push one section of the tire into drop center, while pulling the opposite side of tire off the rim. Once it starts to slide over the rim, it will become easy. ATV’s require sturdy spoons with a good curved shape. BeadBuster sells a 3-pc Tire Iron set that is perfect for ATV’s, off-road trucks, and other stubborn tires.
5. Install the new tire.
Starting with the side of rim closest to the drop center, lubricate the rim and tire bead and press the tire on over the lip of the rim. This is often easy to do by hand, without the use of tire spoons. Then lubricate the other side of the tire and install it using the tire spoons.
6. Inflate the new tire.
This may sound easy but sometimes it isn’t. Often times new tires are shipped “flat packed”, and wrapped with plastic to reduce the bulk. That’s great for the shipper but makes things difficult when trying to inflate the tire. If the tire bead is not in contact with the rim during inflation, air may blow past the gap and escape. Things you can do to help this situation include applying tire lube to the mating surfaces, wrapping a strap around the center of the tire and applying tension, and use a blow gun to push high volumes of air directly through the valve stem while the valve core is still removed. We have seen many folks use starter fluid and a lighter to create a blast of air inside the tire. This technique is certainly effective but we can’t recommend it because it is dangerous.
NOTES:
Tires can suffer dry rot from aging. When they do, the rubber loses its strength and toughness and become very difficult to work with while attempting to remove from an old rim. When trying to break a tire bead on a dry rotted tire, it is really important to use a bead breaker that applies pressure to the steel bead bundle inside the tire and not the sidewall. The BeadBuster tools apply force against the steel bead bundle and are very effective on dry rotted tires.
Leaving a tire installed on a rim for an extended period of time can create an effective bond at the tire/rim contact surfaces. It can be very difficult to get the tire to slide against the rim surface on old rims as needed to break the bead. Only a strong bead breaker capable of high forces can be effective in these cases.
